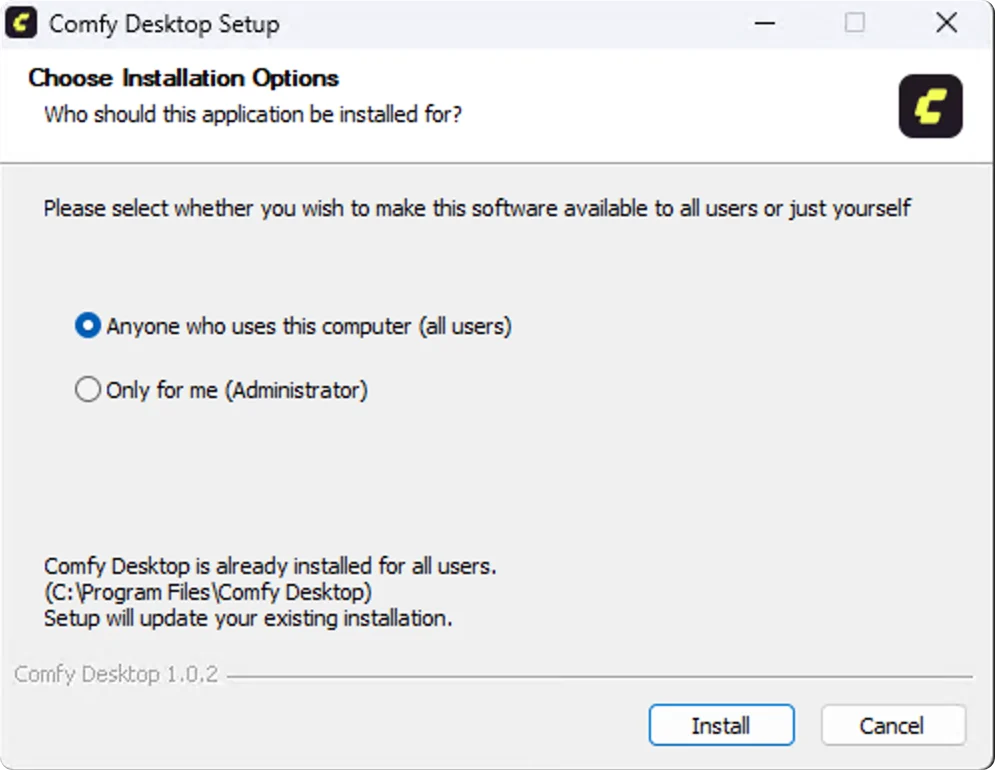
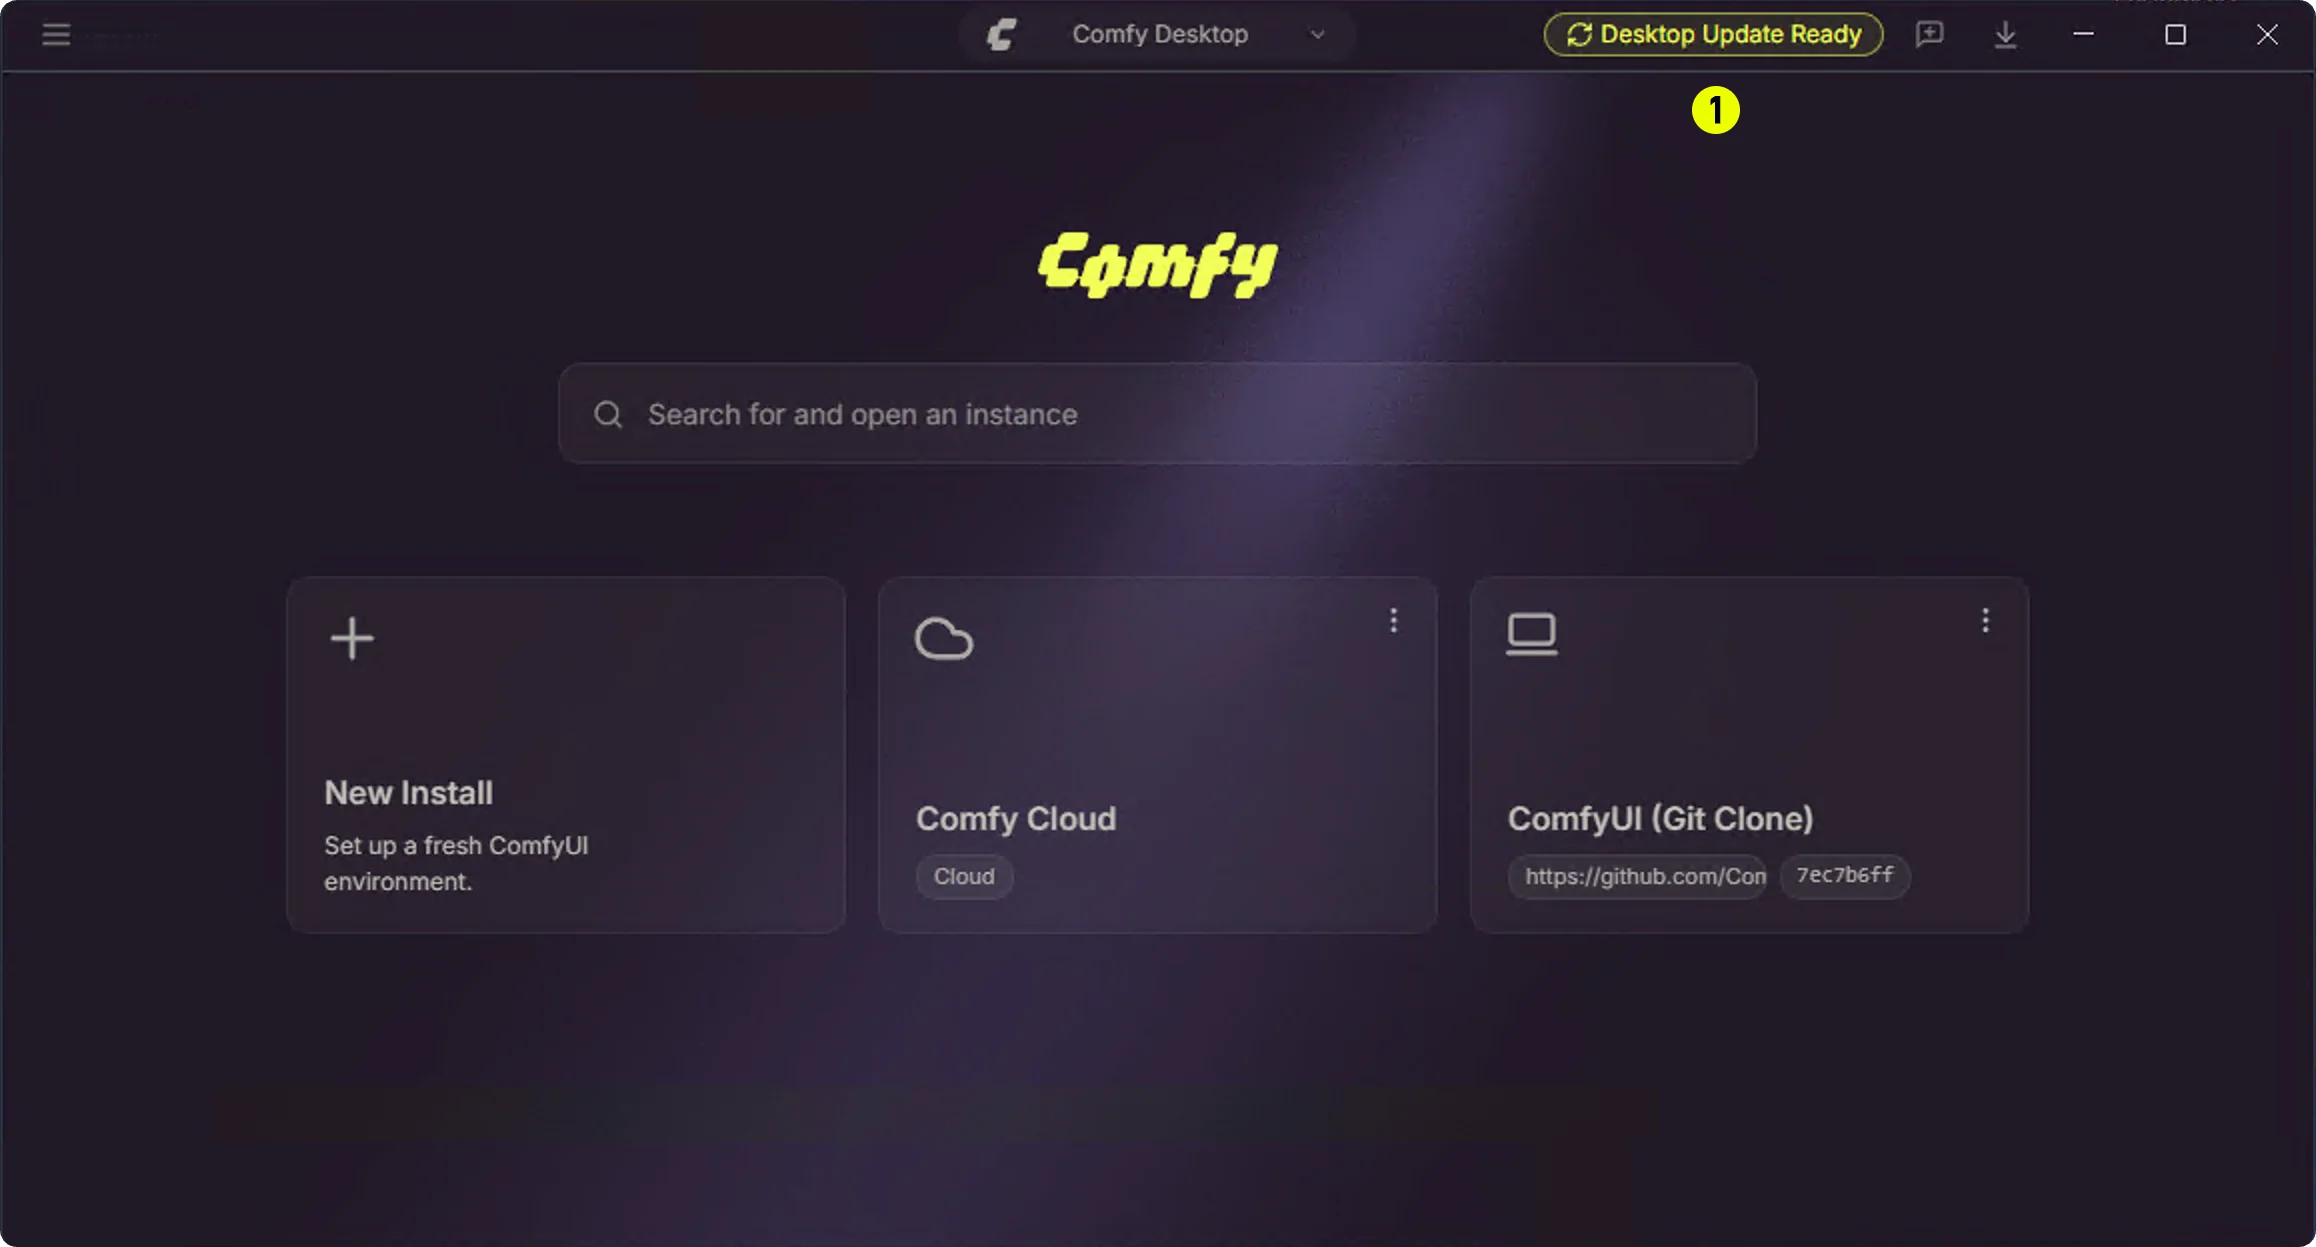
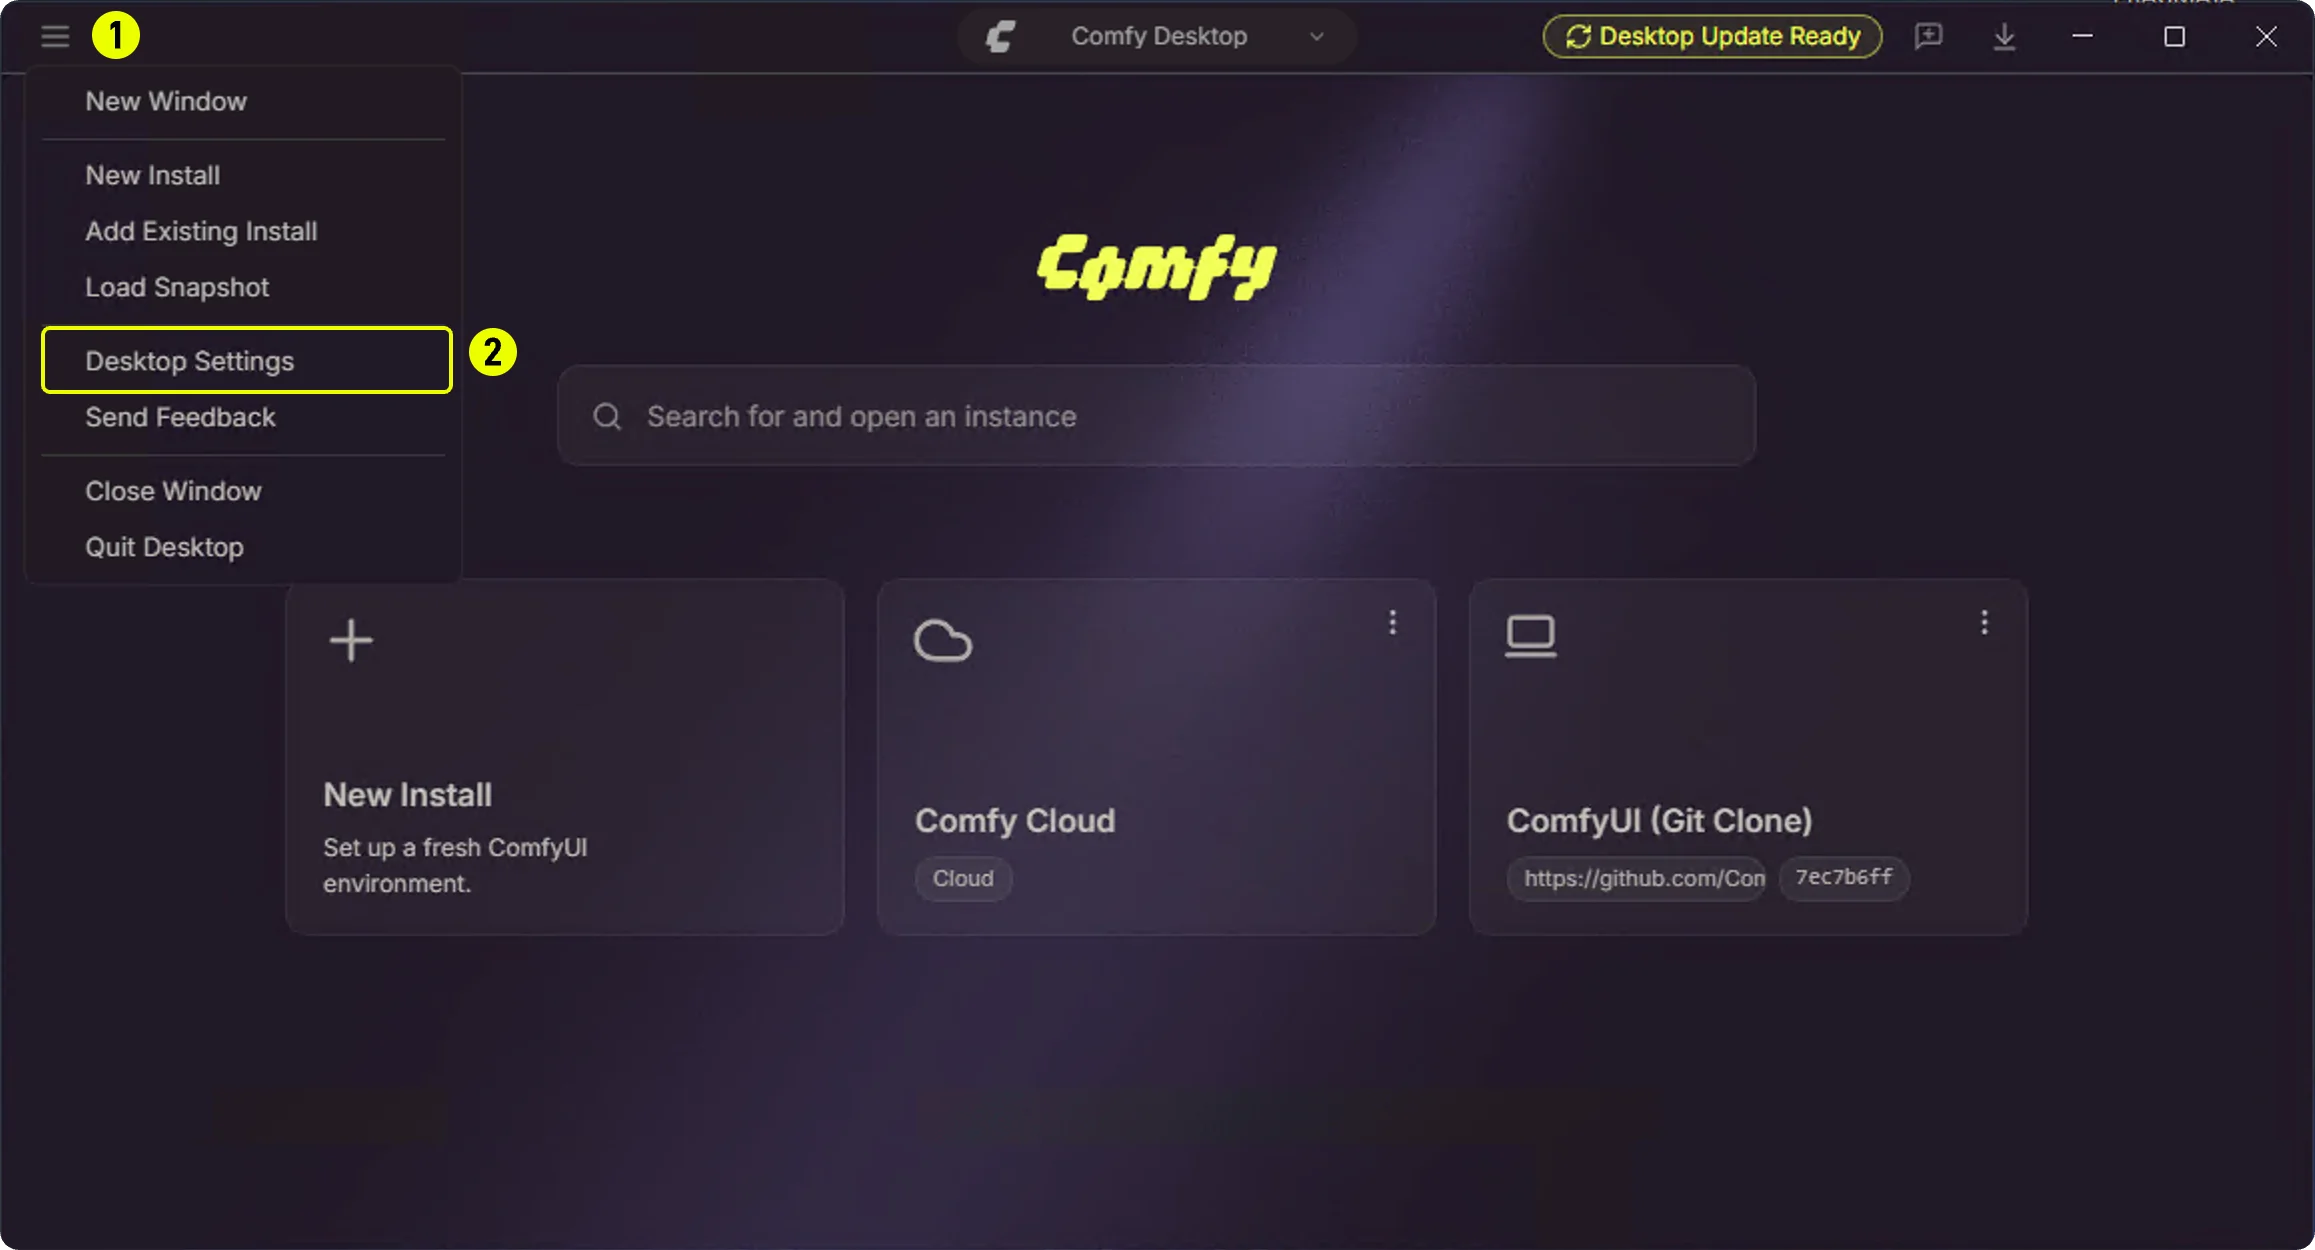
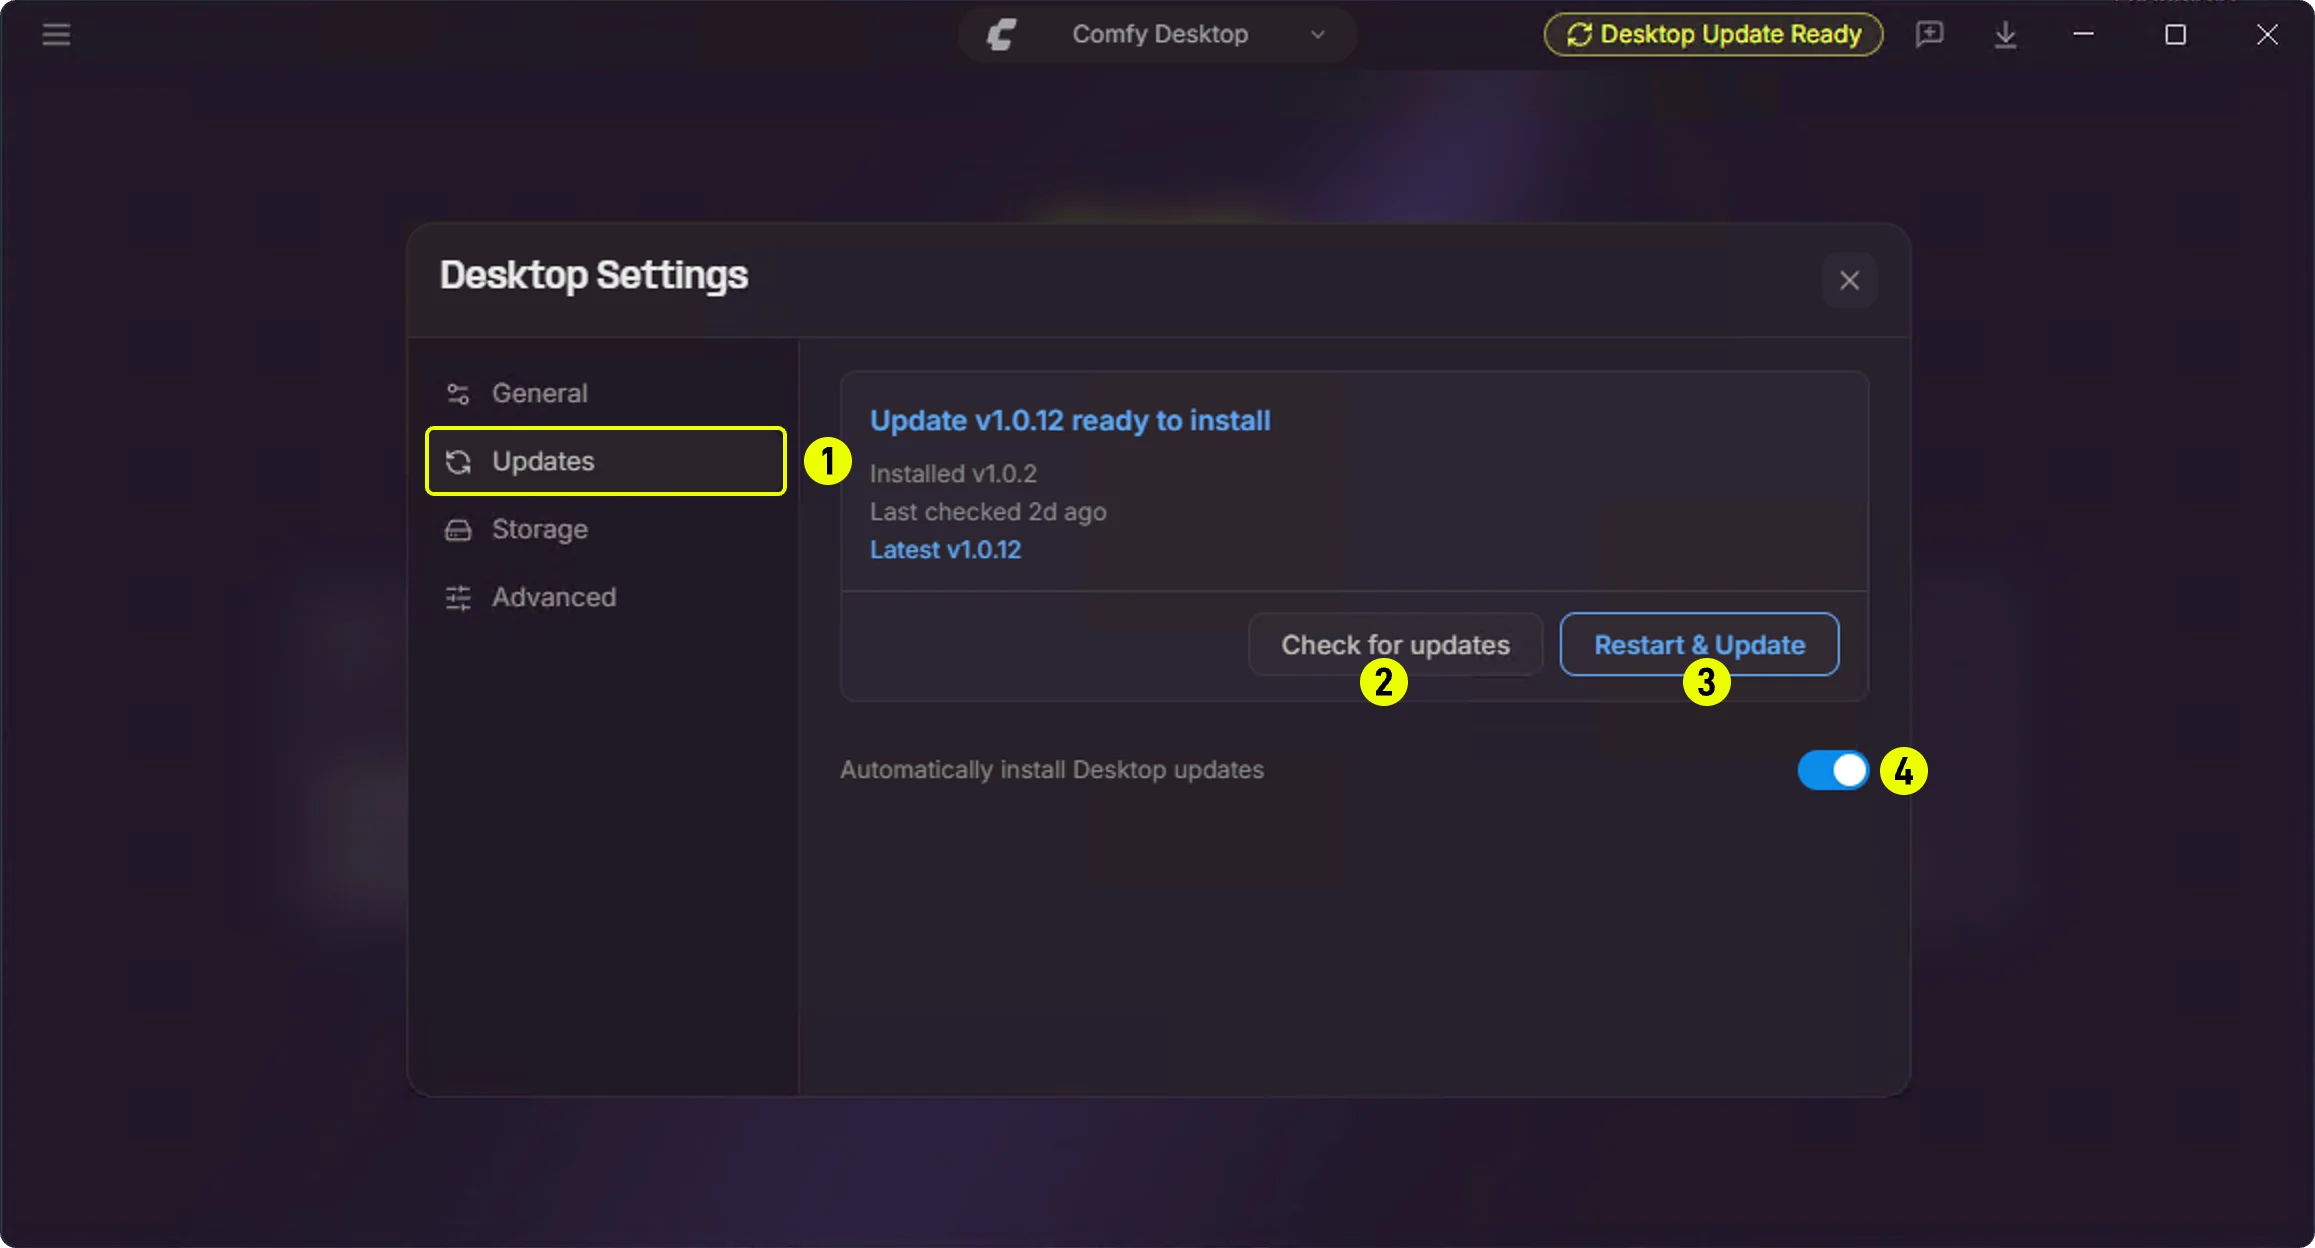
> ## Documentation Index
> Fetch the complete documentation index at: https://docs.comfy.org/llms.txt
> Use this file to discover all available pages before exploring further.

# Windows Desktop — Local Self-Hosted

> This article introduces how to download, install and use ComfyUI Desktop for Windows

export const log_path_0 = "C:\\Users\\<YOUR_USERNAME>\\AppData\\Roaming\\ComfyUI\\logs"

export const config_path_0 = "C:\\Users\\<YOUR_USERNAME>\\AppData\\Roaming\\ComfyUI"

**ComfyUI Desktop** is a standalone installation version that can be installed like regular software. It supports quick installation and automatic configuration of the **Python environment and dependencies**, and supports one-click import of existing ComfyUI settings, models, workflows, and files. You can quickly migrate from an existing [ComfyUI Portable version](/installation/comfyui_portable_windows) to the Desktop version.

ComfyUI Desktop is an open source project, please visit the full code [here](https://github.com/Comfy-Org/desktop)

ComfyUI Desktop hardware requirements:

* NVIDIA GPU

This tutorial will guide you through the software installation process and explain related configuration details.

<Warning>As **ComfyUI Desktop** is still in **Beta** status, the actual installation process may change</Warning>

## ComfyUI Desktop (Windows) Download

Please click the button below to download the installation package for Windows **ComfyUI Desktop**

<a className="prose" href="https://download.comfy.org/windows/nsis/x64" style={{ display: 'inline-block', backgroundColor: '#0078D6', color: '#ffffff', padding: '10px 20px', borderRadius: '8px', borderColor: "transparent", textDecoration: 'none', fontWeight: 'bold'}}>
  <p className="prose" style={{ margin: 0, fontSize: "0.8rem" }}>Download for Windows (NVIDIA)</p>
</a>

## ComfyUI Desktop Installation Steps

Double-click the downloaded installation package file, which will first perform an automatic installation and create a **ComfyUI Desktop** shortcut on the desktop

<img src="https://mintcdn.com/dripart/pIpAu-6SWS2CNARw/images/desktop/win-comfyui-desktop-shortcut.jpg?fit=max&auto=format&n=pIpAu-6SWS2CNARw&q=85&s=5cd9d65bed38abdf41acdb485fdead98" alt="ComfyUI logo" width="731" height="486" data-path="images/desktop/win-comfyui-desktop-shortcut.jpg" />

Double-click the corresponding shortcut to enter ComfyUI initialization settings

### ComfyUI Desktop Initialization Process

<Steps>
  <Step title="Start Screen">
    <Tabs>
      <Tab title="Normal Start">
        <img src="https://mintcdn.com/dripart/CGWmMjlFmU7msQ5S/images/desktop/win-comfyui-desktop-1.jpg?fit=max&auto=format&n=CGWmMjlFmU7msQ5S&q=85&s=778c2d6e0d08a961278a5d0f917221d4" alt="ComfyUI Installation Steps - Start" width="1514" height="1139" data-path="images/desktop/win-comfyui-desktop-1.jpg" />

        Click **Get Started** to begin initialization
      </Tab>

      <Tab title="Maintenance Page">
        There are many reasons you might have issues installing ComfyUI. Maybe a network connection failed when installing pytorch (15 GB). Or you don’t have git installed. The maintenance page automatically opens when it detects an issue and provides a way to resolve the issue.

        You can use it to resolve most issues:

        * Create a python virtual environment
        * Reinstall all missing core dependencies to your Python virtual environment that’s managed by Desktop
        * Install git, VC redis
        * Choose a new install location

        The default maintenance page displays the current error content

        <img src="https://mintcdn.com/dripart/CGWmMjlFmU7msQ5S/images/desktop/maintenance-1.jpg?fit=max&auto=format&n=CGWmMjlFmU7msQ5S&q=85&s=2a01daff7808d4d342aeb423a072308f" alt="ComfyUI Maintenance Page" width="971" height="715" data-path="images/desktop/maintenance-1.jpg" />

        Clicking `All` allows you to view all the content that can be operated on currently

        <img src="https://mintcdn.com/dripart/CGWmMjlFmU7msQ5S/images/desktop/maintenance-2.jpg?fit=max&auto=format&n=CGWmMjlFmU7msQ5S&q=85&s=b987fe536f542650e7bd16bbb81a9b1a" alt="ComfyUI Maintenance Page" width="1213" height="1028" data-path="images/desktop/maintenance-2.jpg" />
      </Tab>
    </Tabs>
  </Step>

  <Step title="Select GPU">
    <img src="https://mintcdn.com/dripart/CGWmMjlFmU7msQ5S/images/desktop/win-comfyui-desktop-2.jpg?fit=max&auto=format&n=CGWmMjlFmU7msQ5S&q=85&s=a815bed3616548ac875a6ad832b0d69b" alt="ComfyUI Installation Steps - GPU Selection" width="1514" height="1139" data-path="images/desktop/win-comfyui-desktop-2.jpg" />

    The three options are:

    1. **Nvidia GPU (Recommended):** Direct support for pytorch and CUDA
    2. **Manual Configuration:** You need to manually install and configure the python runtime environment. Don't select this unless you know how to configure
    3. **Enable CPU Mode:** For developers and special cases only. Don't select this unless you're sure you need it

    Unless there are special circumstances, please select **NVIDIA** as shown and click **Next** to proceed
  </Step>

  <Step title="Install location">
    <img src="https://mintcdn.com/dripart/CGWmMjlFmU7msQ5S/images/desktop/win-comfyui-desktop-3.jpg?fit=max&auto=format&n=CGWmMjlFmU7msQ5S&q=85&s=040fa19f9a519d4b96d23b494f2ff8c3" alt="ComfyUI Installation Steps - Installation Location" width="1514" height="1103" data-path="images/desktop/win-comfyui-desktop-3.jpg" />

    In this step, you will select the installation location for the following ComfyUI content:

    * **Python Environment**
    * **Models Model Files**
    * **Custom Nodes Custom Nodes**

    Recommendations:

    * Please select a **solid-state drive** as the installation location, which will increase ComfyUI's performance when accessing models.
    * Please create a separate empty folder as the ComfyUI installation directory
    * Please ensure that the corresponding disk has at least around **15G** of disk space to ensure the installation of ComfyUI Desktop

    <Note>Not all files are installed in this directory, some files will still be installed on the C drive, and if you need to uninstall in the future, you can refer to the uninstallation section of this guide to complete the full uninstallation of ComfyUI Desktop</Note>

    After completing this step, click **Next** to proceed to the next step
  </Step>

  <Step title="Migrate from Existing Installation (Optional)">
    <img src="https://mintcdn.com/dripart/CGWmMjlFmU7msQ5S/images/desktop/win-comfyui-desktop-4.jpg?fit=max&auto=format&n=CGWmMjlFmU7msQ5S&q=85&s=d86e70017f3266e2d8ab290f50814967" alt="ComfyUI Installation Steps - File Migration" width="1514" height="1103" data-path="images/desktop/win-comfyui-desktop-4.jpg" />

    In this step you can migrate your existing ComfyUI installation content to ComfyUI Desktop. As shown, I selected my original **D:\ComfyUI\_windows\_portable\ComfyUI** installation directory. The installer will automatically recognize:

    * **User Files**
    * **Models:** Will not be copied, only linked with desktop version
    * **Custom Nodes:** Nodes will be reinstalled

    Don't worry, this step won't copy model files. You can check or uncheck options as needed. Click **Next** to continue
  </Step>

  <Step title="Desktop Settings">
    <img src="https://mintcdn.com/dripart/CGWmMjlFmU7msQ5S/images/desktop/win-comfyui-desktop-5.jpg?fit=max&auto=format&n=CGWmMjlFmU7msQ5S&q=85&s=daa7e4b3ea6d11d6a157538d3827f34f" alt="ComfyUI Installation Steps - Desktop Settings" width="1514" height="1103" data-path="images/desktop/win-comfyui-desktop-5.jpg" />

    These are preference settings:

    1. **Automatic Updates:** Whether to set automatic updates when ComfyUI updates are available
    2. **Usage Metrics:** If enabled, we will collect **anonymous usage data** to help improve ComfyUI
    3. **Mirror Settings:** Since the program needs internet access to download Python and complete environment installation, if you see a red ❌ during installation indicating this may cause installation failure, please follow the steps below

    <img src="https://mintcdn.com/dripart/CGWmMjlFmU7msQ5S/images/desktop/win-comfyui-desktop-6.jpg?fit=max&auto=format&n=CGWmMjlFmU7msQ5S&q=85&s=a32fdb0f21efef4aeca85590d019ee38" alt="ComfyUI Installation Steps - Mirror Settings" width="1514" height="1103" data-path="images/desktop/win-comfyui-desktop-6.jpg" />

    Expand the mirror settings to find the specific failing mirror. In this screenshot the error is **Python Install Mirror** failure.

    For different mirror errors, you can refer to the following content to try to manually find different mirrors and replace them

    The following cases mainly apply to users in China.

    #### Python Installation Mirror

    If the default mirror is unavailable, please try using the mirror below.

    ```
    https://python-standalone.org/mirror/astral-sh/python-build-standalone
    ```

    If you need to find other alternative GitHub mirror addresses, please look for and construct a mirror address pointing to the releases of the `python-build-standalone` repository.

    ```
    https://github.com/astral-sh/python-build-standalone/releases/download
    ```

    Build a link in the following pattern

    ```
    https://xxx/astral-sh/python-build-standalone/releases/download
    ```

    <info>Since most of the Github mirror services are provided by third parties, please pay attention to the security during use.</info>

    #### PyPI Mirror

    * Alibaba Cloud: [https://mirrors.aliyun.com/pypi/simple/](https://mirrors.aliyun.com/pypi/simple/)
    * Tencent Cloud: [https://mirrors.cloud.tencent.com/pypi/simple/](https://mirrors.cloud.tencent.com/pypi/simple/)
    * University of Science and Technology of China: [https://pypi.mirrors.ustc.edu.cn/simple/](https://pypi.mirrors.ustc.edu.cn/simple/)
    * Shanghai Jiao Tong University: [https://pypi.sjtu.edu.cn/simple/](https://pypi.sjtu.edu.cn/simple/)

    #### Torch Mirror

    * Aliyun: [https://mirrors.aliyun.com/pytorch-wheels/cu121/](https://mirrors.aliyun.com/pytorch-wheels/cu121/)
  </Step>

  <Step title="Complete the installation">
    If everything is correct, the installer will complete and automatically enter the ComfyUI Desktop interface, then the installation is successful

    <img src="https://mintcdn.com/dripart/-uf1LbfqYw9IrpmN/images/desktop/comfyui-interface.jpg?fit=max&auto=format&n=-uf1LbfqYw9IrpmN&q=85&s=5fc5c0932897a4ab0076db79fec7b4ea" alt="ComfyUI Desktop Interface" width="2000" height="1414" data-path="images/desktop/comfyui-interface.jpg" />
  </Step>
</Steps>

## Important: Do not modify the resource/ComfyUI folder

<Warning>
  Do not add or modify any content in the `/resource/ComfyUI` folder. All content in this folder will be reset when ComfyUI Desktop updates.

  Unlike other ComfyUI versions, the Desktop version manages this folder automatically. During installation, you chose a custom location for your models, custom nodes, and other user files - please use that location instead.
</Warning>

## First Image Generation

After successful installation, you can refer to the section below to start your ComfyUI journey\~

<Card title="First Image Generation" icon="link" href="/get_started/first_generation">
  This tutorial will guide you through your first model installation and text-to-image generation
</Card>

## How to Update ComfyUI Desktop

Currently, ComfyUI Desktop updates use automatic detection updates, please ensure that automatic updates are enabled in the settings

<img src="https://mintcdn.com/dripart/-uf1LbfqYw9IrpmN/images/desktop/comfyui-desktop-update-setting.jpg?fit=max&auto=format&n=-uf1LbfqYw9IrpmN&q=85&s=cd71c0a712ea4fca58b47f64e18beb84" alt="ComfyUI Desktop Settings" width="1942" height="1778" data-path="images/desktop/comfyui-desktop-update-setting.jpg" />

You can also choose to manually check for available updates in the `Menu` --> `Help` --> `Check for Updates`

<img src="https://mintcdn.com/dripart/-uf1LbfqYw9IrpmN/images/desktop/desktop_check_for_updates.jpg?fit=max&auto=format&n=-uf1LbfqYw9IrpmN&q=85&s=e17cb0513af8f16c0285f55992e30a5a" alt="ComfyUI Desktop Check for Updates" width="1604" height="1681" data-path="images/desktop/desktop_check_for_updates.jpg" />

## Adding Extra Model Paths

If you want to manage your model files outside of `ComfyUI/models`, you may have the following reasons:

* You have multiple ComfyUI instances and want them to share model files to save disk space
* You have different types of GUI programs (such as WebUI) and want them to use the same model files
* Model files cannot be recognized or found

We provide a way to add extra model search paths via the `extra_model_paths.yaml` configuration file

### Open Config File

<Tabs>
  <Tab title="Portable/Manual Install">
    For the ComfyUI version such as [portable](/installation/comfyui_portable_windows) and [manual](/installation/manual_install), you can find an example file named `extra_model_paths.yaml.example` in the root directory of ComfyUI:

    ```
    ComfyUI/extra_model_paths.yaml.example
    ```

    Copy and rename it to `extra_model_paths.yaml` for use. Keep it in ComfyUI's root directory at `ComfyUI/extra_model_paths.yaml`.
    You can also find the config example file [here](https://github.com/comfyanonymous/ComfyUI/blob/master/extra_model_paths.yaml.example)
  </Tab>

  <Tab title="ComfyUI Desktop">
    If you are using the [ComfyUI Desktop](/installation/desktop/windows) application, you can follow the image below to open the extra model config file:

    <img src="https://mintcdn.com/dripart/-uf1LbfqYw9IrpmN/images/desktop/extra_model_paths.png?fit=max&auto=format&n=-uf1LbfqYw9IrpmN&q=85&s=ab6847ee991439be0c941a56ec9fe3bd" alt="Open Config File" width="2004" height="1442" data-path="images/desktop/extra_model_paths.png" />

    Or open it directly at:

    <Tabs>
      <Tab title="Windows">
        ```
        C:\Users\YourUsername\AppData\Roaming\ComfyUI\extra_models_config.yaml
        ```
      </Tab>

      <Tab title="macOS">
        ```
        ~/Library/Application Support/ComfyUI/extra_models_config.yaml
        ```
      </Tab>
    </Tabs>

    You should keep the file in the same directory, should not move these files to other places.
  </Tab>
</Tabs>

If the file does not exist, you can create it yourself with any text editor.

### Example Structure

Suppose you want to add the following model paths to ComfyUI:

```
📁 YOUR_PATH/
  ├── 📁models/
  |   ├── 📁 loras/
  |   │   └── xxxxx.safetensors
  |   ├── 📁 checkpoints/
  |   │   └── xxxxx.safetensors
  |   ├── 📁 vae/
  |   │   └── xxxxx.safetensors
  |   └── 📁 controlnet/
  |       └── xxxxx.safetensors
```

Then you can configure the `extra_model_paths.yaml` file like below to let ComfyUI recognize the model paths on your device:

```
my_custom_config:
    base_path: YOUR_PATH
    loras: models/loras/
    checkpoints: models/checkpoints/
    vae: models/vae/
    controlnet: models/controlnet/
```

or

```
my_custom_config:
    base_path: YOUR_PATH/models/
    loras: loras
    checkpoints: checkpoints
    vae: vae
    controlnet: controlnet
```

<Warning>
  For the desktop version, please add the configuration to the existing configuration path without overwriting the path configuration generated during installation. Please back up the corresponding file before modification, so that you can restore it when you make a mistake.
</Warning>

Or you can refer to the default [extra\_model\_paths.yaml.example](https://github.com/comfyanonymous/ComfyUI/blob/master/extra_model_paths.yaml.example) for more configuration options. After saving, you need to **restart ComfyUI** for the changes to take effect.

Below is the original config example:

```yaml theme={null}
#Rename this to extra_model_paths.yaml and ComfyUI will load it


#config for a1111 ui
#all you have to do is change the base_path to where yours is installed
a111:
    base_path: path/to/stable-diffusion-webui/

    checkpoints: models/Stable-diffusion
    configs: models/Stable-diffusion
    vae: models/VAE
    loras: |
         models/Lora
         models/LyCORIS
    upscale_models: |
                  models/ESRGAN
                  models/RealESRGAN
                  models/SwinIR
    embeddings: embeddings
    hypernetworks: models/hypernetworks
    controlnet: models/ControlNet

#config for comfyui
#your base path should be either an existing comfy install or a central folder where you store all of your models, loras, etc.

#comfyui:
#     base_path: path/to/comfyui/
#     # You can use is_default to mark that these folders should be listed first, and used as the default dirs for eg downloads
#     #is_default: true
#     checkpoints: models/checkpoints/
#     clip: models/clip/
#     clip_vision: models/clip_vision/
#     configs: models/configs/
#     controlnet: models/controlnet/
#     diffusion_models: |
#                  models/diffusion_models
#                  models/unet
#     embeddings: models/embeddings/
#     loras: models/loras/
#     upscale_models: models/upscale_models/
#     vae: models/vae/

#other_ui:
#    base_path: path/to/ui
#    checkpoints: models/checkpoints
#    gligen: models/gligen
#    custom_nodes: path/custom_nodes

```

For example, if your WebUI is located at `D:\stable-diffusion-webui\`, you can modify the corresponding configuration to

```yaml theme={null}
a111:
    base_path: D:\stable-diffusion-webui\
    checkpoints: models/Stable-diffusion
    configs: models/Stable-diffusion
    vae: models/VAE
    loras: |
         models/Lora
         models/LyCORIS
    upscale_models: |
                  models/ESRGAN
                  models/RealESRGAN
                  models/SwinIR
    embeddings: embeddings
    hypernetworks: models/hypernetworks
    controlnet: models/ControlNet
```

### Add Extra Custom Nodes Path

Besides adding external models, you can also add custom nodes paths that are not in the default path of ComfyUI

<Tip>
  Please note that this will not change the default installation path of custom nodes, but will add an extra path search when starting ComfyUI. You still need to complete the installation of custom node dependencies in the corresponding environment to ensure the integrity of the running environment.
</Tip>

Below is a simple configuration example (MacOS), please modify it according to your actual situation and add it to the corresponding configuration file, save it and restart ComfyUI for the changes to take effect:

```yaml theme={null}
my_custom_nodes:
  custom_nodes: /Users/your_username/Documents/extra_custom_nodes
```

## Desktop Python Environment

The desktop installation will create a Python virtual environment in your chosen installation directory, typically a hidden `.venv` folder.

If you need to handle dependencies for ComfyUI plugins, you'll need to do so within this environment. Using the system command line directly risks installing dependencies to the system environment, so please follow the instructions below to activate the appropriate environment.

### How to use the Desktop Python environment?

<Tabs>
  <Tab title="Desktop (Recommended)">
    You can use the built-in terminal in the desktop app to access the Python environment.

    <img src="https://mintcdn.com/dripart/-uf1LbfqYw9IrpmN/images/desktop/desktop_terminal.png?fit=max&auto=format&n=-uf1LbfqYw9IrpmN&q=85&s=9d6c71327d98528caa7d899d4498a481" alt="ComfyUI Desktop Terminal" width="1804" height="1474" data-path="images/desktop/desktop_terminal.png" />

    1. Click the icon in the menu bar to open the bottom panel
    2. Click `Terminal` to open the terminal
    3. If you want to check the Python installation location for the corresponding environment, you can use the following command

    <Tabs>
      <Tab title="Windows">
        ```
          python -c "import sys; print(sys.executable)"
        ```
      </Tab>

      <Tab title="macOS">
        ```
        which python
        ```
      </Tab>
    </Tabs>

    <Warning>
      Unless you understand the meaning of your current operations, your actions may cause dependency issues in the corresponding environment. Please use this method with caution.
    </Warning>
  </Tab>

  <Tab title="Terminal">
    You can also use your preferred terminal to access the Python environment, but you'll need to activate the virtual environment first.

    <Warning>
      When using other terminals, if you're not familiar with the operations, you may accidentally install dependencies to the system environment. Please use this method with caution.
    </Warning>

    <img src="https://mintcdn.com/dripart/CGWmMjlFmU7msQ5S/images/desktop/terminal.jpg?fit=max&auto=format&n=CGWmMjlFmU7msQ5S&q=85&s=97cbadfa7c28f672be4eba46297a6022" alt="Using system to activate environment" width="2620" height="812" data-path="images/desktop/terminal.jpg" />

    <Warning>
      In the screenshot, it shows a macOS terminal. If you are using Windows, please refer to the following steps to activate the virtual environment on your system.
    </Warning>

    <Steps>
      <Step title="Open Terminal">
        Open your preferred terminal and use the `cd` command to navigate to your ComfyUI installation directory, for example:

        ```
        cd <your comfyui install directory>/ComfyUI
        ```
      </Step>

      <Step title="Activate Virtual Environment">
        Type the following command in the terminal to activate the virtual environment

        <Tabs>
          <Tab title="Windows">
            ```
            .venv/Scripts/activate
            ```
          </Tab>

          <Tab title="macOS">
            ```
            source .venv/bin/activate
            ```
          </Tab>
        </Tabs>

        After activation, you should see a prompt like `(ComfyUI)` in the terminal, indicating that you've activated the virtual environment.
      </Step>

      <Step title="Confirm Current Python Environment">
        Use `which python` to check the current Python installation location and confirm it's not the system environment.
      </Step>

      After completing these steps, you've activated the corresponding Python environment, and you can continue to perform dependency installation operations in this environment.
    </Steps>
  </Tab>
</Tabs>

## How to Uninstall ComfyUI Desktop

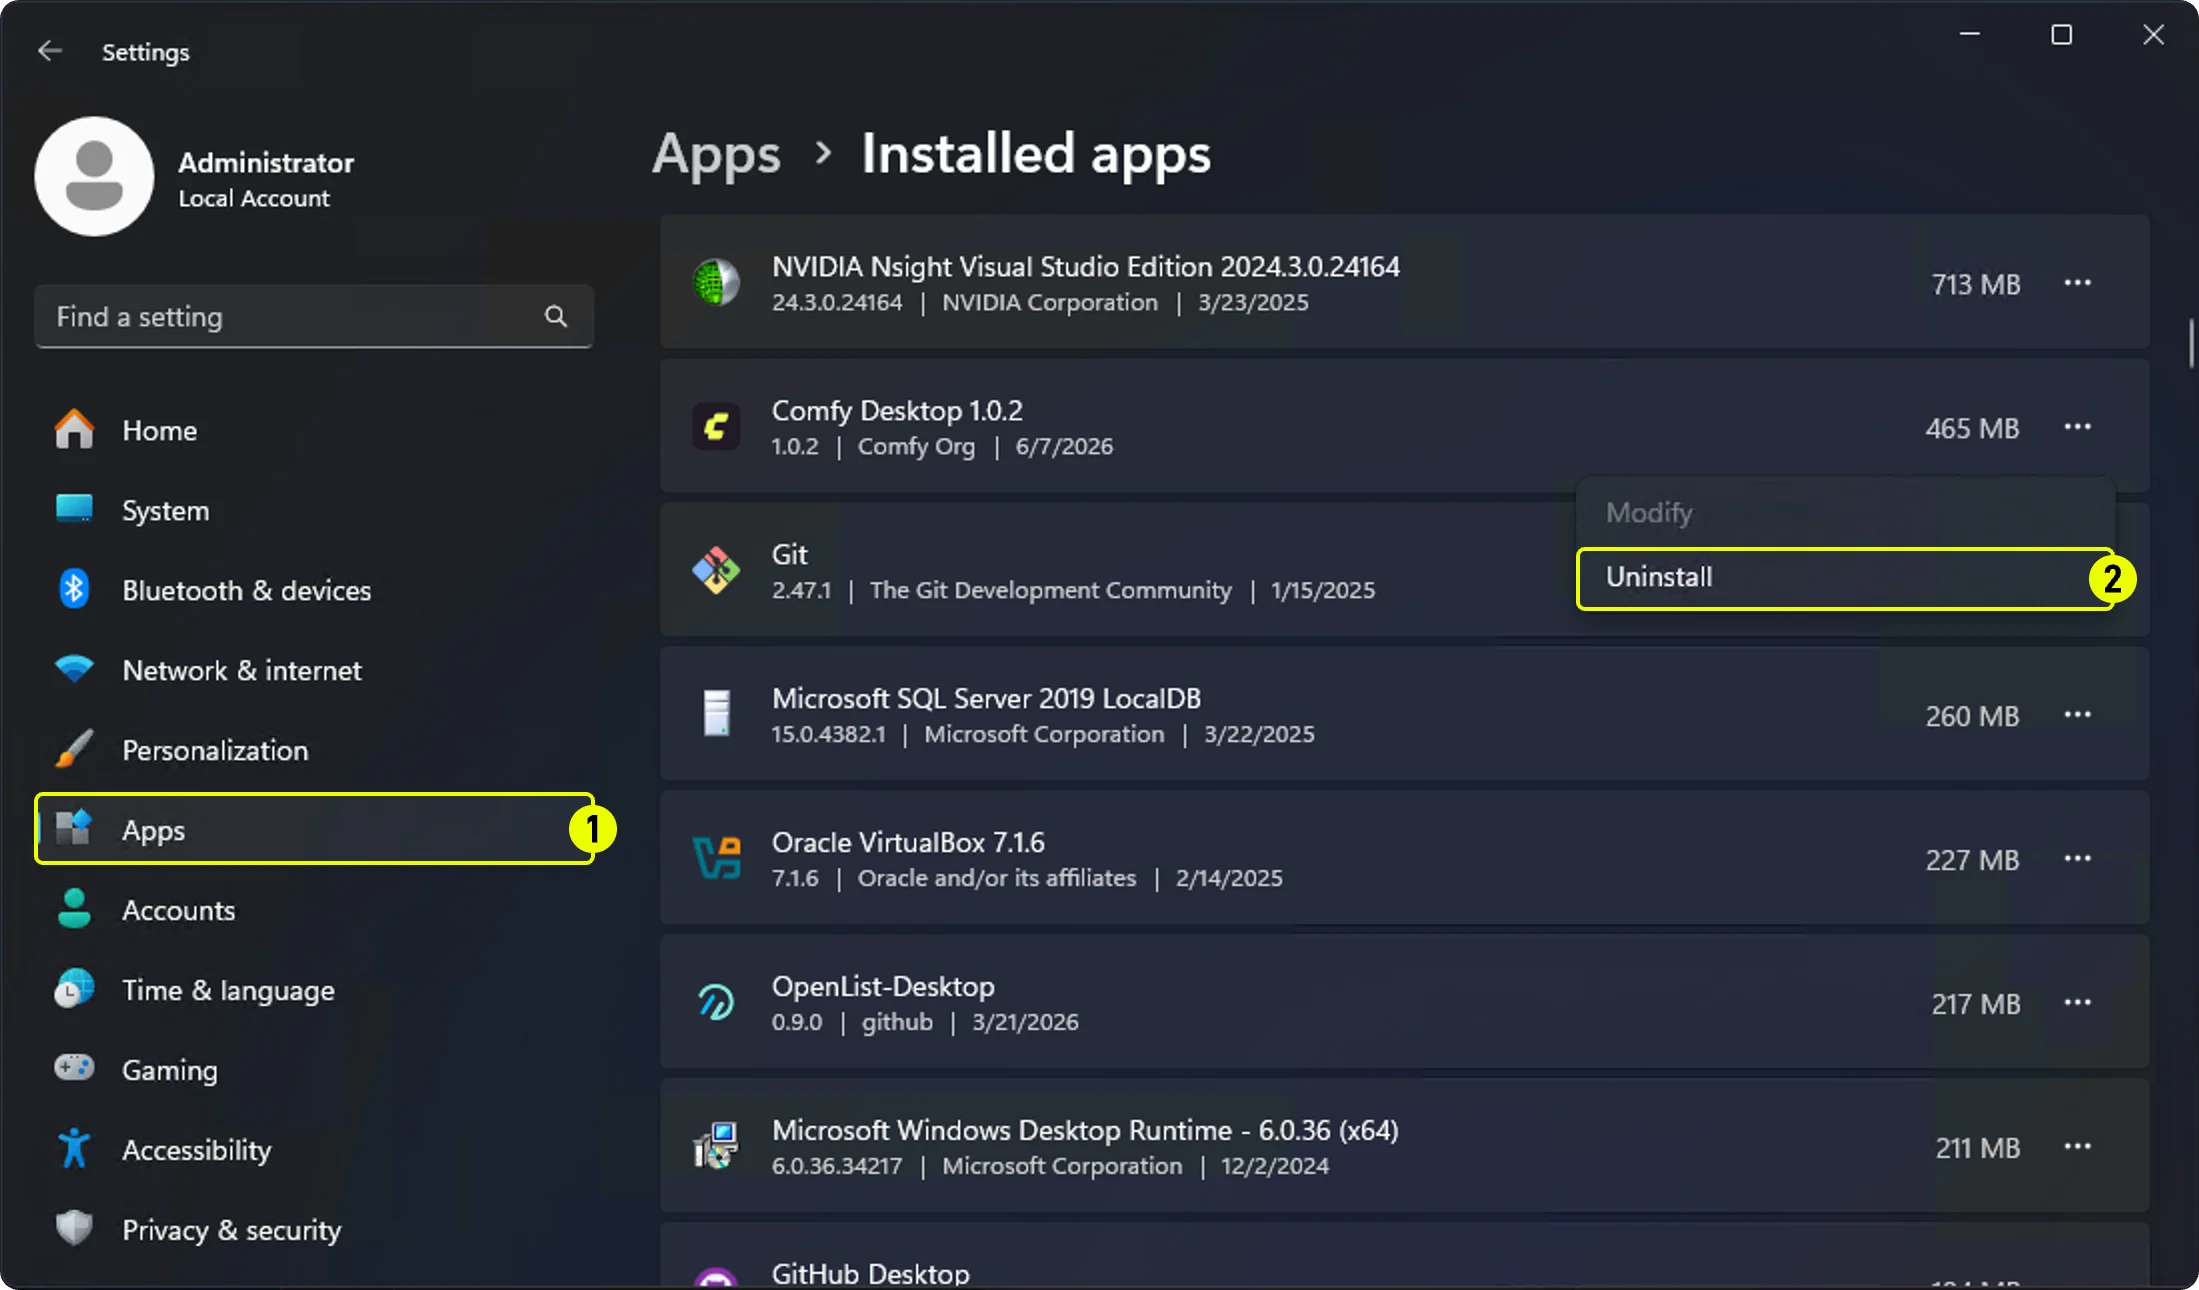
For **ComfyUI Desktop** you can use the system uninstall function in Windows Settings to complete software uninstallation

<img src="https://mintcdn.com/dripart/CGWmMjlFmU7msQ5S/images/desktop/win-uninstall-comfyui.jpg?fit=max&auto=format&n=CGWmMjlFmU7msQ5S&q=85&s=a73f165286a128bb0caac36396a68732" alt="ComfyUI Desktop Uninstallation" width="1389" height="1008" data-path="images/desktop/win-uninstall-comfyui.jpg" />

If you want to completely remove all **ComfyUI Desktop** files, you can manually delete these folders:

* C:\Users\<YOUR\_USERNAME>\AppData\Local\@comfyorgcomfyui-electron-updater
* C:\Users\<YOUR\_USERNAME>\AppData\Local\Programs\@comfyorgcomfyui-electron
* C:\Users\<YOUR\_USERNAME>\AppData\Roaming\ComfyUI

The above operations will not delete your following folders. If you need to delete corresponding files, please delete manually:

* models files
* custom nodes
* input/output directories

## Troubleshooting

### Display unsupported devices

<img src="https://mintcdn.com/dripart/CGWmMjlFmU7msQ5S/images/desktop/win-comfyui-desktop-0.jpg?fit=max&auto=format&n=CGWmMjlFmU7msQ5S&q=85&s=b698b91cdff0cca7232fa501f02d0cec" alt="ComfyUI Installation Steps - Unsupported Device" width="1646" height="1070" data-path="images/desktop/win-comfyui-desktop-0.jpg" />

Since ComfyUI Desktop (Windows) only supports **NVIDIA GPUs with CUDA**, you may see this screen if your device is not supported

* Please switch to a supported device
* Or consider using [ComfyUI Portable](/installation/comfyui_portable_windows) or through [manual installation](/installation/manual_install) to use ComfyUI

### Antivirus flags `uv.exe` as malicious

ComfyUI Desktop bundles [`uv`](https://github.com/astral-sh/uv) (from Astral) to manage the Python environment. Some antivirus products — including **360 Total Security**, **Windows Defender**, **BitDefender**, and **DeepInstinct** — occasionally flag `uv.exe` as malicious. This is a **known false positive** affecting `uv` itself, not ComfyUI.

**Symptoms:**

* Antivirus quarantines or deletes `uv.exe` during installation or updates
* Installation fails partway through Python environment setup
* "Python environment failed to install" or similar errors after antivirus warnings

**Solution:** Add the ComfyUI installation directory to your antivirus's trusted list / whitelist, then reinstall or repair the installation. The directories to whitelist are:

* Your selected ComfyUI install directory (chosen during the [installation steps](#install-location))
* `C:\Users\<YOUR_USERNAME>\AppData\Local\Programs\@comfyorgcomfyui-electron`
* `C:\Users\<YOUR_USERNAME>\AppData\Roaming\ComfyUI`

**Reference:** Tracked upstream in the `uv` project — see [astral-sh/uv#1587](https://github.com/astral-sh/uv/issues/1587), [#10079](https://github.com/astral-sh/uv/issues/10079), [#12621](https://github.com/astral-sh/uv/issues/12621), and [#15011](https://github.com/astral-sh/uv/issues/15011).

### ​Error identification​

If installation fails, you should see the following screen

<img src="https://mintcdn.com/dripart/CGWmMjlFmU7msQ5S/images/desktop/win-comfyui-desktop-7.jpg?fit=max&auto=format&n=CGWmMjlFmU7msQ5S&q=85&s=1b5506d072a12fec06e4e8109c07a81f" alt="ComfyUI Installation Failed" width="1514" height="1103" data-path="images/desktop/win-comfyui-desktop-7.jpg" />

It is recommended to take these steps to find the error cause:

1. Click `Show Terminal` to view error output
2. Click `Open Logs` to view installation logs
3. Visit official forum to search for error reports
4. Click `Reinstall` to try reinstalling

Before submitting feedback, it's recommended to provide the **error output** and **log files** to tools like **GPT**

<img src="https://mintcdn.com/dripart/CGWmMjlFmU7msQ5S/images/desktop/win-comfyui-desktop-8.jpg?fit=max&auto=format&n=CGWmMjlFmU7msQ5S&q=85&s=8775711eafb69c06fd88c068d457d621" alt="ComfyUI Installation Failed - Error Log" width="1514" height="1142" data-path="images/desktop/win-comfyui-desktop-8.jpg" />

<img src="https://mintcdn.com/dripart/CGWmMjlFmU7msQ5S/images/desktop/win-comfyui-desktop-9.jpg?fit=max&auto=format&n=CGWmMjlFmU7msQ5S&q=85&s=cac5f2c54db6f17fde50029a8fcfb315" alt="ComfyUI Installation Failed - GPT Feedback" width="1514" height="1649" data-path="images/desktop/win-comfyui-desktop-9.jpg" />

As shown above, ask the GPT for the cause of the corresponding error, or remove ComfyUI completely and retry the installation.

### Feedback Installation Failure

If you encounter any errors during installation, please check if there are similar error reports or submit errors to us through:

* Github Issues: [https://github.com/Comfy-Org/desktop/issues](https://github.com/Comfy-Org/desktop/issues)
* Comfy Official Forum: [https://forum.comfy.org/](https://forum.comfy.org/)

When submitting error reports, please ensure you include the following logs and configuration files to help us locate and investigate the issue:

1. Log Files

| Filename    | Description                                                                                     | Location     |
| ----------- | ----------------------------------------------------------------------------------------------- | ------------ |
| main.log    | Contains logs related to desktop application and server startup from the Electron process       | {log_path_0} |
| comfyui.log | Contains logs related to ComfyUI normal operation, such as core ComfyUI process terminal output | {log_path_0} |

<img src="https://mintcdn.com/dripart/CGWmMjlFmU7msQ5S/images/desktop/win-comfyui-desktop-10-logs.jpg?fit=max&auto=format&n=CGWmMjlFmU7msQ5S&q=85&s=b3d3056cd0203c90712562126a5c204d" alt="ComfyUI Log Files Location" width="1527" height="987" data-path="images/desktop/win-comfyui-desktop-10-logs.jpg" />

2. Configuration Files

| Filename                 | Description                                                                     | Location        |
| ------------------------ | ------------------------------------------------------------------------------- | --------------- |
| extra\_model\_paths.yaml | Contains additional paths where ComfyUI will search for models and custom nodes | {config_path_0} |
| config.json              | Contains application configuration. This file should not be edited directly     | {config_path_0} |

<img src="https://mintcdn.com/dripart/CGWmMjlFmU7msQ5S/images/desktop/win-comfyui-desktop-11-config.jpg?fit=max&auto=format&n=CGWmMjlFmU7msQ5S&q=85&s=82fac333832e9222b4534b35131f856d" alt="ComfyUI Config Files Location" width="1527" height="987" data-path="images/desktop/win-comfyui-desktop-11-config.jpg" />