> ## Documentation Index
> Fetch the complete documentation index at: https://docs.comfy.org/llms.txt
> Use this file to discover all available pages before exploring further.
# Grok Imagine Image 2.0 in ComfyUI: AI Image Generation and Editing
> Generate and edit images with Grok Imagine Image 2.0 in ComfyUI: Aurora engine, crisp short-text rendering, 1K/2K output, and up to 3 reference images
Grok Imagine Image 2.0 is xAI's latest image model, available in ComfyUI through the Grok partner nodes. Built on the Aurora engine, it excels at crisp short-text rendering and produces 1K or 2K images across 14 aspect ratios, making it well suited for posters, covers, product and brand visuals, and character-driven scenes where consistency matters.
To use the Partner Nodes, you need to ensure that you are logged in properly and using a permitted network environment. Please refer to the [Partner Nodes Overview](/tutorials/partner-nodes/overview) section of the documentation to understand the specific requirements for using the Partner Nodes.
Make sure your ComfyUI is updated.
* [Download ComfyUI](https://www.comfy.org/download)
* [Update Guide](/installation/update_comfyui)
Workflows in this guide can be found in the [Workflow Templates](/interface/features/template).
If you can't find them in the template, your ComfyUI may be outdated.
If nodes are missing when loading a workflow, possible reasons:
1. You are not using the latest ComfyUI version (Nightly version)
2. Some nodes failed to import at startup
* [Cloud](https://cloud.comfy.org) will update after ComfyUI stable release.
So, if you find any core node missing in this document, it might be because the new core nodes have not yet been released in the latest stable version. Please wait for the next stable release.
## Grok Imagine Image 2.0: Text to Image
Generate a full poster-style image from a single text prompt with the Aurora engine. This workflow excels at crisp short-text rendering, making it well suited for posters, covers, product and brand visuals, and character-driven scenes. It outputs 1K or 2K images across 14 aspect ratios, with low or medium quality options to control cost.
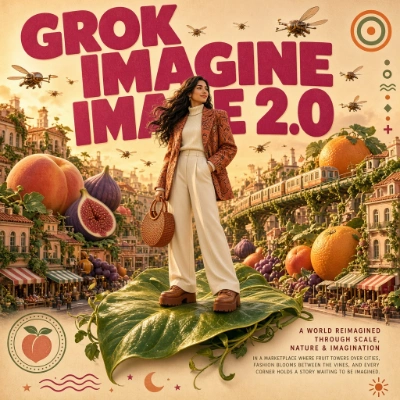 Open in Comfy Cloud
Download JSON or search "Grok Imagine Image 2.0" in Template Library
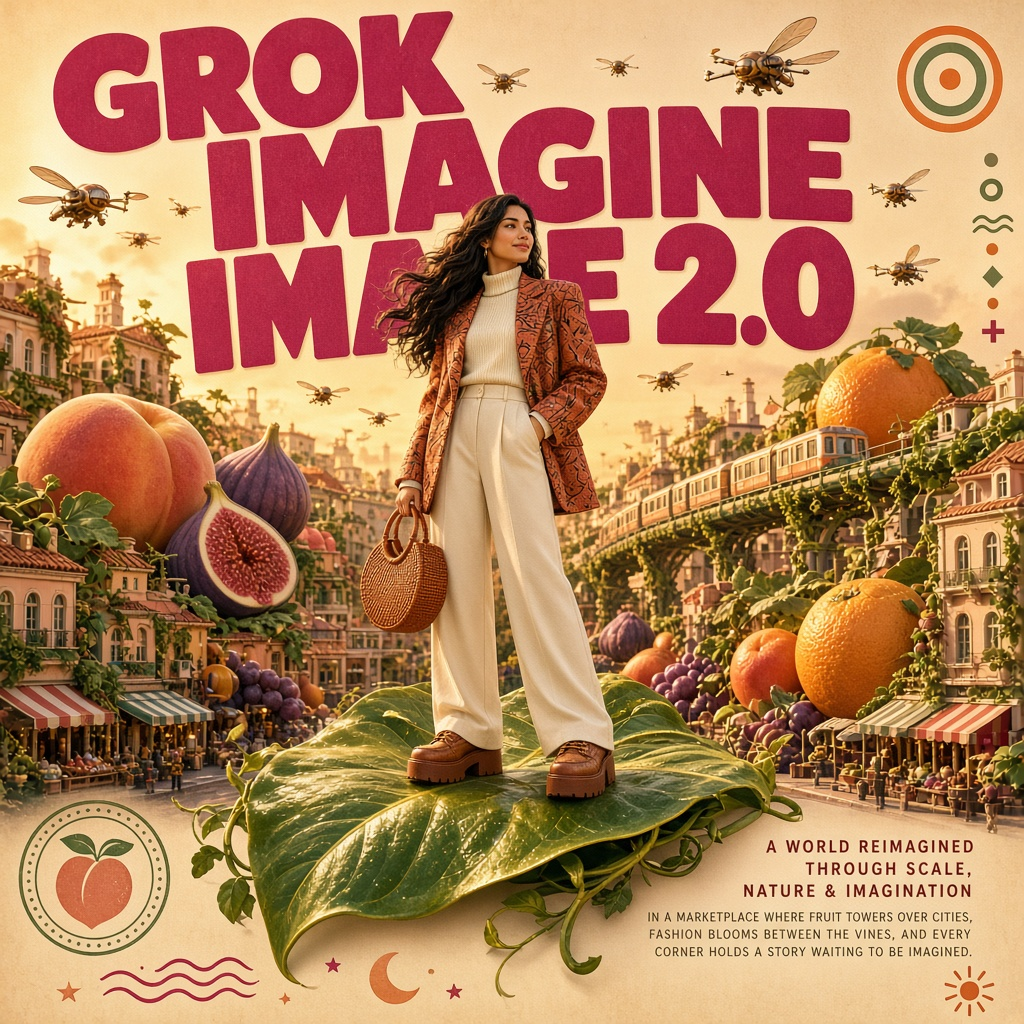
### Workflow overview
This workflow uses two nodes:
* **GrokImageNode**: the core node, configured with the `grok-imagine-image-2.0` model
* **SaveImageAdvanced**: saves the generated image as PNG
### Steps to run
1. **Enter your prompt**: describe the scene, style, and any text you want rendered in the **GrokImageNode**
2. **Choose aspect ratio**: pick from 14 ratios, from `1:1` to `9:20`
3. **Select resolution**: `1K` for faster results or `2K` for more detail
4. **Set quality**: `low` or `medium` to control cost and fidelity
5. **Set seed**: control whether the node re-runs; outputs are not reproducible regardless of seed
6. **Click Queue**: press `Ctrl+Enter` to generate
## Grok Imagine Image 2.0: Image Edit
Edit images with precise, natural-language instructions and up to 3 reference images. Use this workflow to modify specific elements, swap backgrounds, restyle scenes, or keep a character consistent across multiple outputs. The Aurora engine delivers crisp short-text rendering at 1K or 2K resolution across 14 aspect ratios.
Open in Comfy Cloud
Download JSON or search "Grok Imagine Image 2.0" in Template Library

### Workflow overview
This workflow uses two nodes:
* **GrokImageNode**: the core node, configured with the `grok-imagine-image-2.0` model
* **SaveImageAdvanced**: saves the generated image as PNG
### Steps to run
1. **Enter your prompt**: describe the scene, style, and any text you want rendered in the **GrokImageNode**
2. **Choose aspect ratio**: pick from 14 ratios, from `1:1` to `9:20`
3. **Select resolution**: `1K` for faster results or `2K` for more detail
4. **Set quality**: `low` or `medium` to control cost and fidelity
5. **Set seed**: control whether the node re-runs; outputs are not reproducible regardless of seed
6. **Click Queue**: press `Ctrl+Enter` to generate
## Grok Imagine Image 2.0: Image Edit
Edit images with precise, natural-language instructions and up to 3 reference images. Use this workflow to modify specific elements, swap backgrounds, restyle scenes, or keep a character consistent across multiple outputs. The Aurora engine delivers crisp short-text rendering at 1K or 2K resolution across 14 aspect ratios.
 Open in Comfy Cloud
Download JSON or search "Grok Imagine Image 2.0" in Template Library
Open in Comfy Cloud
Download JSON or search "Grok Imagine Image 2.0" in Template Library
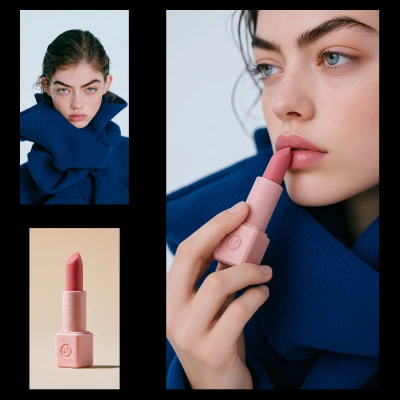
Input materials
Download these sample input images to try the workflow:
A young woman in a cobalt blue textured outfit, used as the character reference
A square pink matte lipstick, used as the product reference
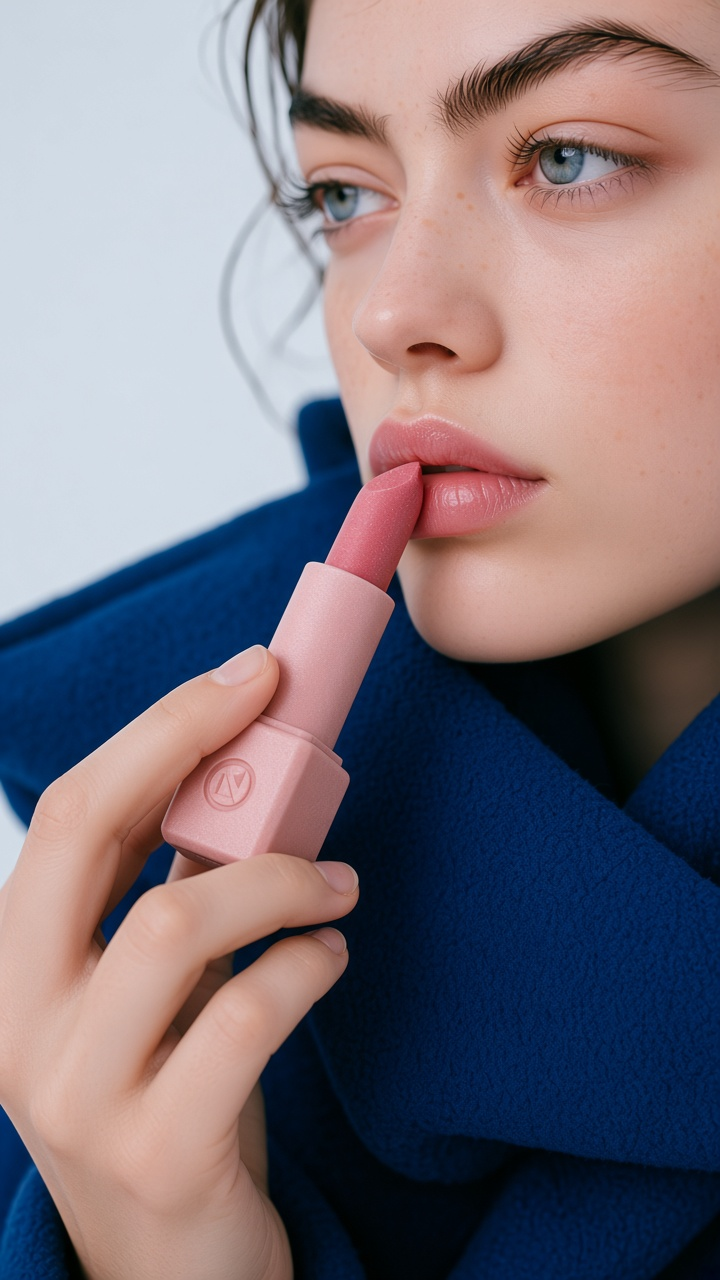
### Workflow overview
This workflow uses four nodes:
* **LoadImage** x2: provide the character and product reference images (the node accepts up to 3)
* **GrokImageEditNodeV2**: the core node, configured with the `grok-imagine-image-2.0` model
* **SaveImage**: saves the edited image
### Steps to run
1. **Load your references**: connect up to 3 reference images to the **LoadImage** nodes
2. **Describe the edit**: tell the model what to keep, change, or restyle in the **GrokImageEditNodeV2** prompt
3. **Set resolution**: `1K` or `2K`
4. **Click Queue**: press `Ctrl+Enter` to generate