> ## Documentation Index
> Fetch the complete documentation index at: https://docs.comfy.org/llms.txt
> Use this file to discover all available pages before exploring further.

# Qwen-Image-Edit ComfyUI 原生工作流示例

> Qwen-Image-Edit 是 Qwen-Image 的图像编辑版本，基于20B模型进一步训练，支持精准文字编辑和语义/外观双重编辑能力。

**Qwen-Image-Edit** 是 Qwen-Image 的图像编辑版本。它基于20B的Qwen-Image模型进一步训练，成功将Qwen-Image的文本渲染特色能力拓展到编辑任务上，以支持精准的文字编辑。此外，Qwen-Image-Edit将输入图像同时输入到Qwen2.5-VL（获取视觉语义控制）和VAE Encoder（获得视觉外观控制），以同时获得语义/外观双重编辑能力。

**模型特性**

特性包括：

* 精准文字编辑: Qwen-Image-Edit支持中英双语文字编辑，可以在保留文字大小/字体/风格的前提下，直接编辑图片中文字，进行增删改。
* 语义/外观 双重编辑: Qwen-Image-Edit不仅支持low-level的视觉外观编辑（例如风格迁移，增删改等），也支持high-level的视觉语义编辑（例如IP制作，物体旋转等）
* 强大的跨基准性能表现: 在多个公开基准测试中的评估表明，Qwen-Image-Edit 在编辑任务中均获得SOTA，是一个强大的图像生成基础模型。

**官方链接**:

* [GitHub 仓库](https://github.com/QwenLM/Qwen-Image)
* [Hugging Face](https://huggingface.co/Qwen/Qwen-Image-Edit)
* [ModelScope](https://modelscope.cn/models/qwen/Qwen-Image-Edit)

## ComfyOrg Qwen-Image-Edit 直播回放

<iframe className="w-full aspect-video rounded-xl" src="https://www.youtube.com/embed/TZIijn-tvoc?si=Vb-ZNwTvJC67_UEE" title="Qwen-Image Edit in ComfyUI - Image Editing Model / August 19th, 2025" frameborder="0" allow="accelerometer; clipboard-write; encrypted-media; gyroscope; picture-in-picture; web-share" referrerpolicy="strict-origin-when-cross-origin" allowfullscreen />

## Qwen-Image-Edit ComfyUI 原生工作流示例

<Tip>
  <Tabs>
    <Tab title="便携版或手动安装用户">
      请确保你的 ComfyUI 已经更新。

      * [ComfyUI 下载](https://www.comfy.org/download)
      * [ComfyUI 更新教程](/zh/installation/update_comfyui)

      本指南里的工作流可以在 ComfyUI 的[工作流模板](/zh/interface/features/template)中找到。如果找不到，可能是 ComfyUI 没有更新。

      如果加载工作流时有节点缺失，可能原因有：

      1. 你用的不是最新开发版（nightly）。
      2. 你用的是稳定版或桌面版（没有包含最新的更新）。
      3. 启动时有些节点导入失败。
    </Tab>

    <Tab title="桌面版或云端用户">
      * 桌面版是基于 ComfyUI 稳定版本构建的，它会在有新的桌面稳定版本发布时自动更新。
      * [Cloud](https://cloud.comfy.org) 会在 ComfyUI 稳定版本发布后更新，我们会同步更新 Cloud。

      所以，如果你发现本教程中有任何核心节点缺失，那是因为对应的节点支持还在开发中没有发布正式的稳定版，请等待下一个稳定版本发布。
    </Tab>
  </Tabs>
</Tip>

### 1. 工作流文件

更新 ComfyUI 后你可以从模板中找到工作流文件，或者将下面的工作流拖入 ComfyUI 中加载
![Qwen-image 文生图工作流](https://raw.githubusercontent.com/Comfy-Org/example_workflows/refs/heads/main/image/qwen/qwen-image-edit/qwen_image_edit.png)

<a className="prose" target="_blank" href="https://raw.githubusercontent.com/Comfy-Org/workflow_templates/refs/heads/main/templates/image_qwen_image_edit.json" style={{ display: 'inline-block', backgroundColor: '#0078D6', color: '#ffffff', padding: '10px 20px', borderRadius: '8px', borderColor: "transparent", textDecoration: 'none', fontWeight: 'bold', marginRight: '10px'}}>
  <p className="prose" style={{ margin: 0, fontSize: "0.8rem" }}>下载 JSON 格式工作流</p>
</a>

<a className="prose" target="_blank" href="https://cloud.comfy.org/?template=image_qwen_image_edit&utm_source=docs" style={{ display: 'inline-block', backgroundColor: '#28a745', color: '#ffffff', padding: '10px 20px', borderRadius: '8px', borderColor: "transparent", textDecoration: 'none', fontWeight: 'bold'}}>
  <p className="prose" style={{ margin: 0, fontSize: "0.8rem" }}>在 ComfyUI Cloud 上运行</p>
</a>

下载下面的图片作为输入
![Qwen-image 文生图工作流](https://raw.githubusercontent.com/Comfy-Org/example_workflows/refs/heads/main/image/qwen/qwen-image-edit/input.png)

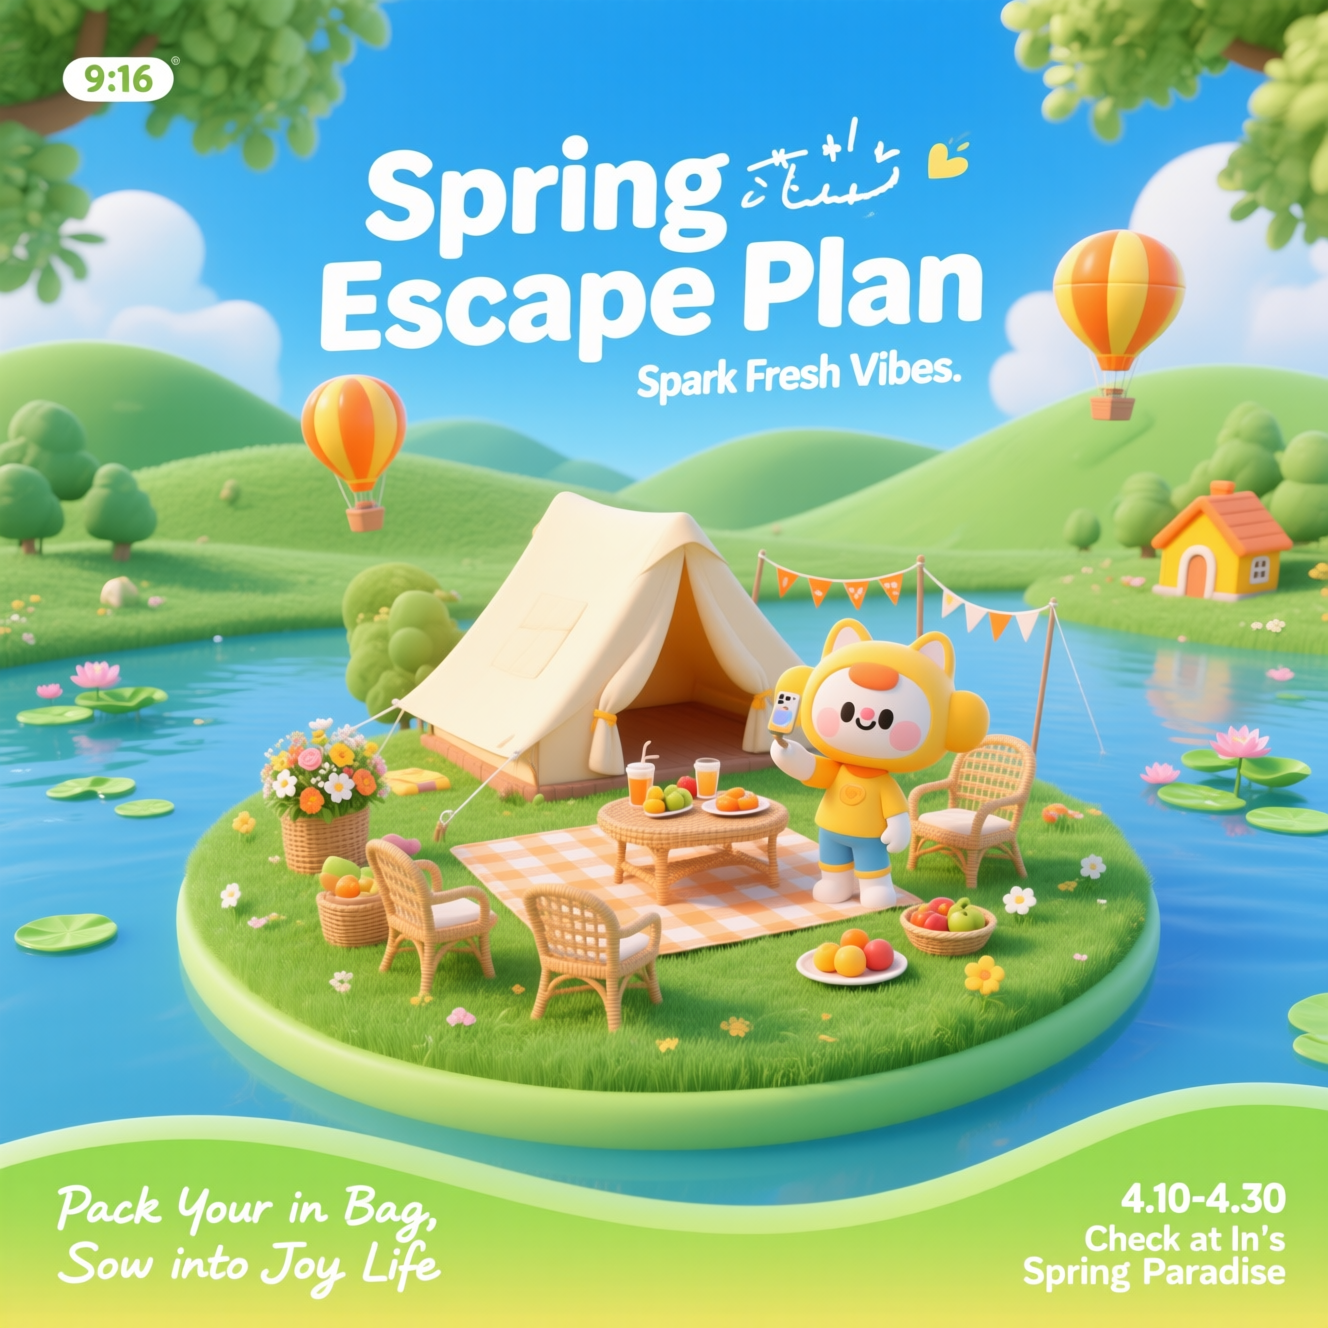
### 2. 模型下载

所有模型都可在 [Comfy-Org/Qwen-Image\_ComfyUI](https://huggingface.co/Comfy-Org/Qwen-Image_ComfyUI/tree/main) 或  [Comfy-Org/Qwen-Image-Edit\_ComfyUI](https://huggingface.co/Comfy-Org/Qwen-Image-Edit_ComfyUI) 找到

**Diffusion model**

* [qwen\_image\_edit\_fp8\_e4m3fn.safetensors](https://huggingface.co/Comfy-Org/Qwen-Image-Edit_ComfyUI/resolve/main/split_files/diffusion_models/qwen_image_edit_fp8_e4m3fn.safetensors)

**LoRA**

* [Qwen-Image-Lightning-4steps-V1.0.safetensors](https://huggingface.co/lightx2v/Qwen-Image-Lightning/resolve/main/Qwen-Image-Lightning-4steps-V1.0.safetensors)

**Text encoder**

* [qwen\_2.5\_vl\_7b\_fp8\_scaled.safetensors](https://huggingface.co/Comfy-Org/Qwen-Image_ComfyUI/resolve/main/split_files/text_encoders/qwen_2.5_vl_7b_fp8_scaled.safetensors)

**VAE**

* [qwen\_image\_vae.safetensors](https://huggingface.co/Comfy-Org/Qwen-Image_ComfyUI/resolve/main/split_files/vae/qwen_image_vae.safetensors)

Model Storage Location

```
📂 ComfyUI/
├── 📂 models/
│   ├── 📂 diffusion_models/
│   │   └── qwen_image_edit_fp8_e4m3fn.safetensors
│   ├── 📂 loras/
│   │   └── Qwen-Image-Lightning-4steps-V1.0.safetensors
│   ├── 📂 vae/
│   │   └── qwen_image_vae.safetensors
│   └── 📂 text_encoders/
│       └── qwen_2.5_vl_7b_fp8_scaled.safetensors
```

### 3. 按步骤完成工作流
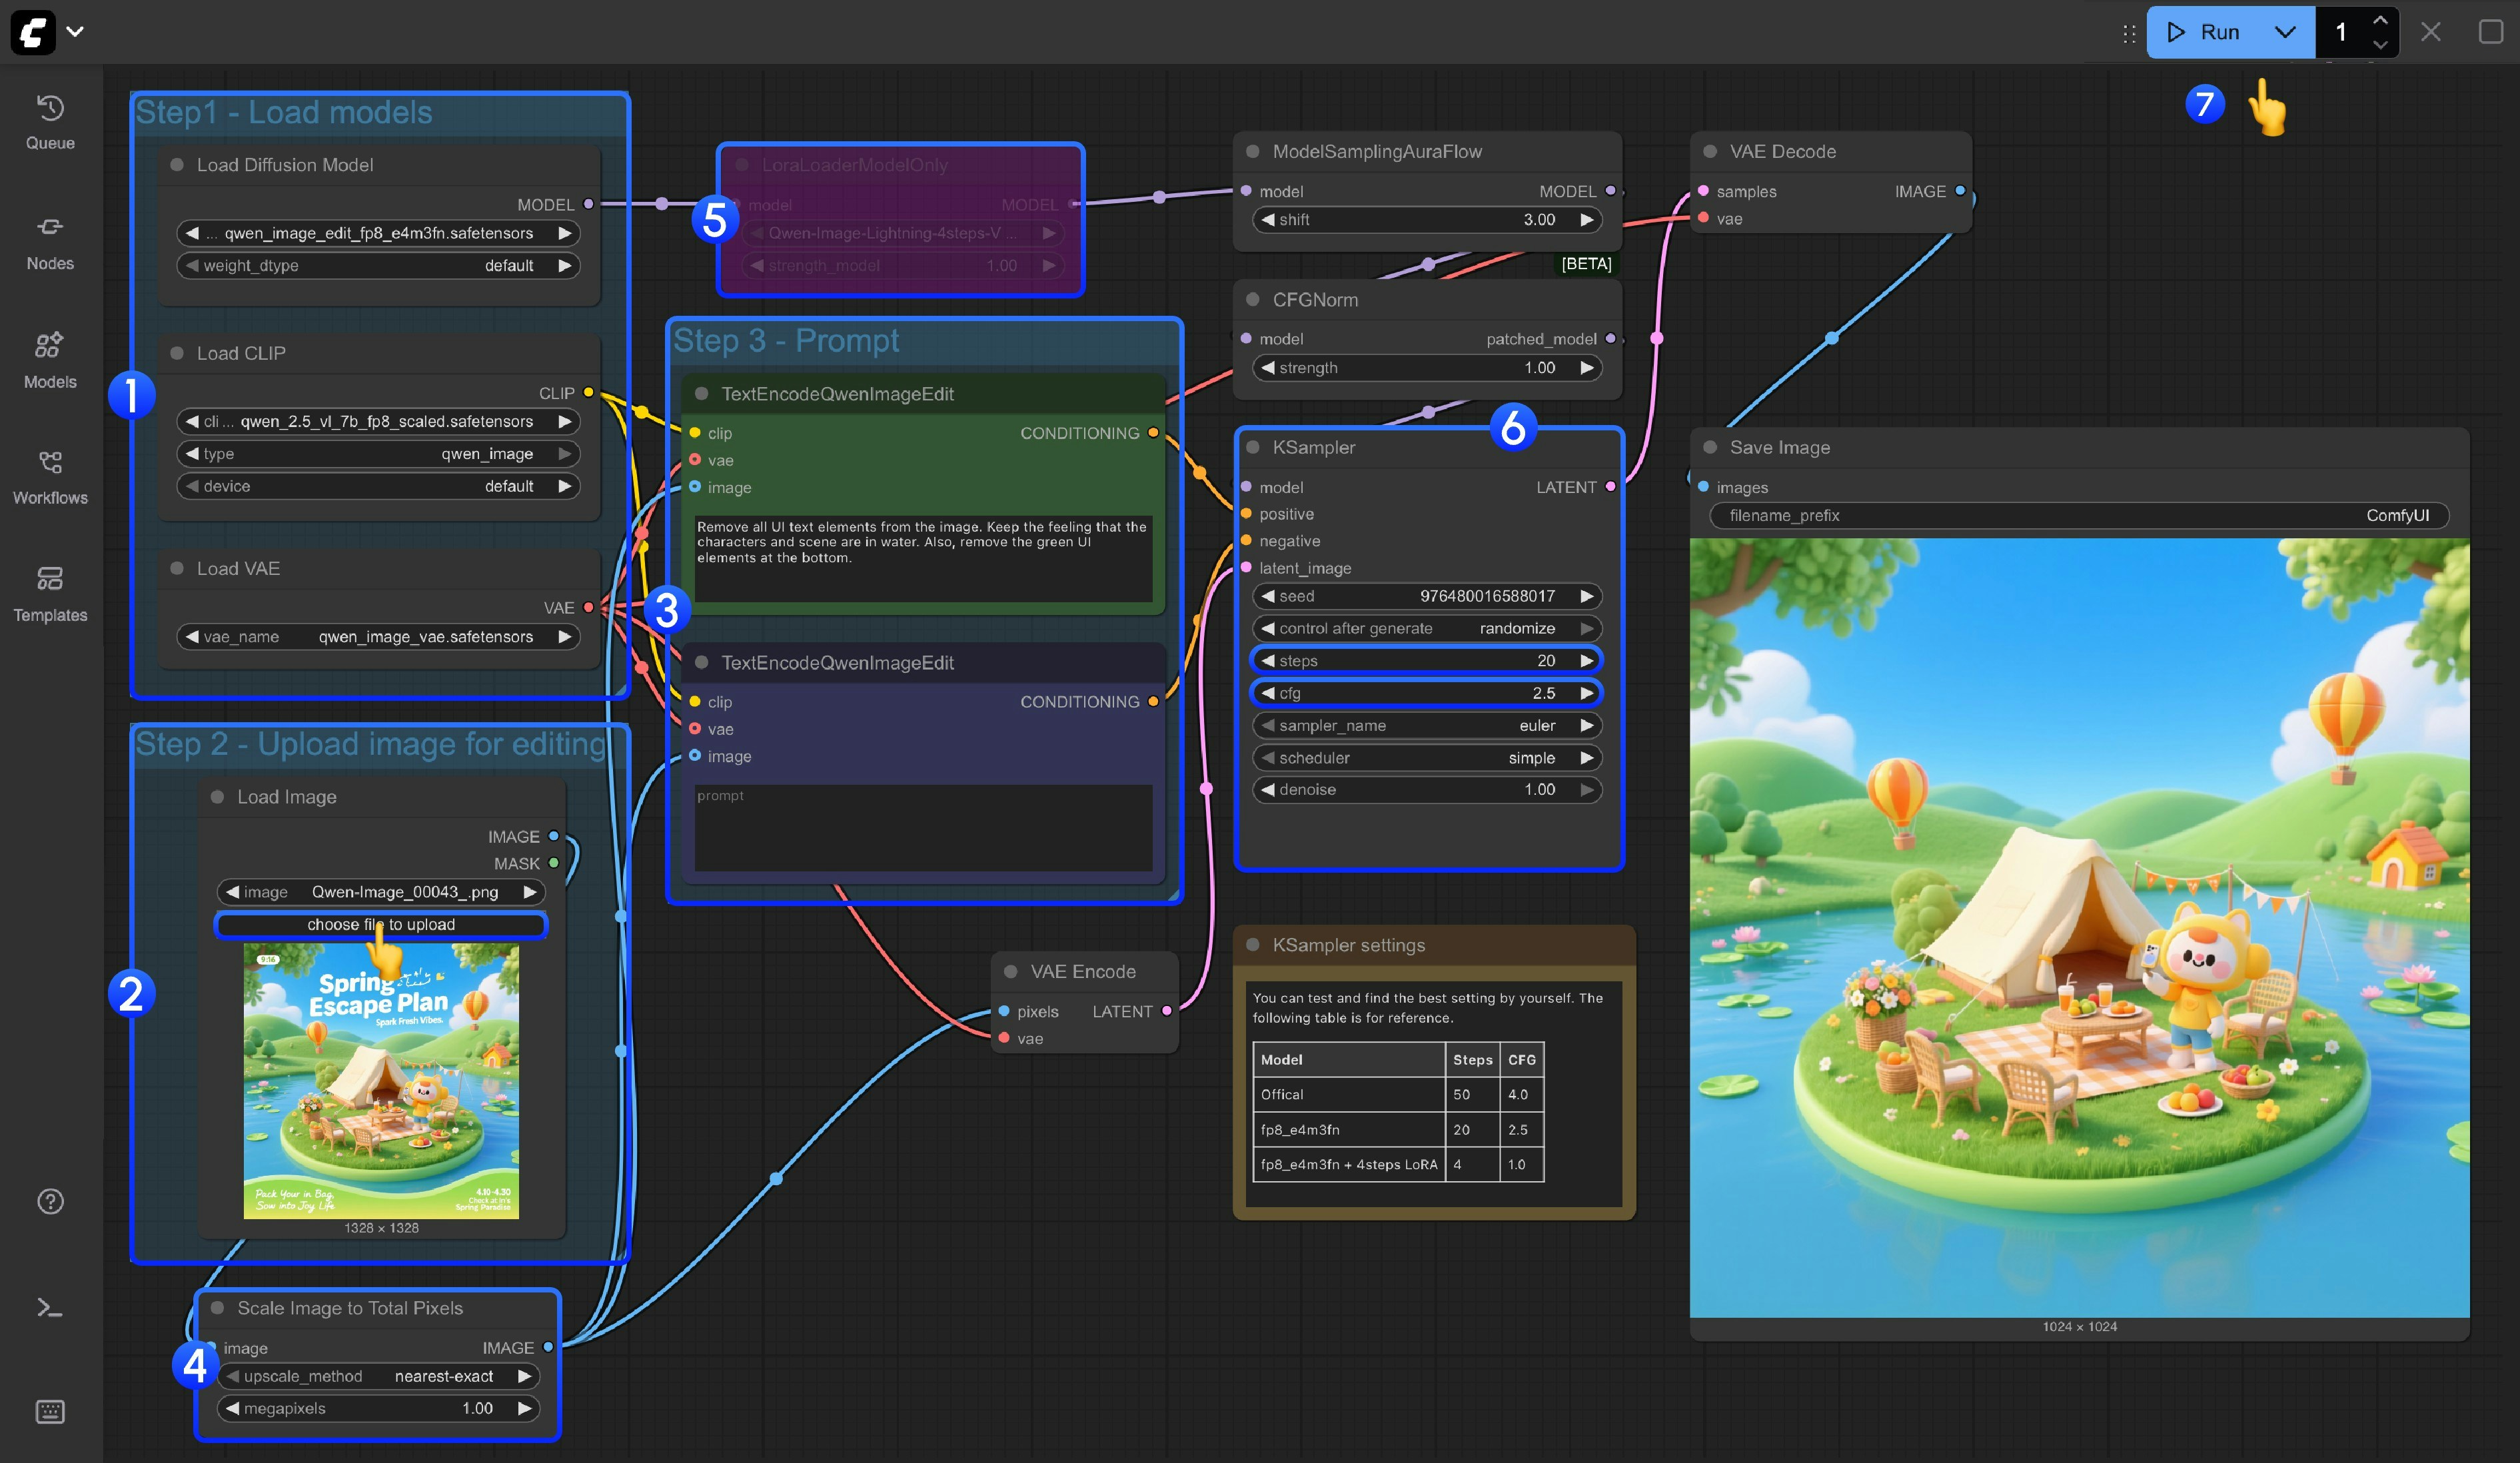
<img src="https://mintcdn.com/dripart/SIDaLac8vBogzwm7/images/tutorial/image/qwen/qwen_image_edit.jpg?fit=max&auto=format&n=SIDaLac8vBogzwm7&q=85&s=98a706bfa8f1578a4dfd7f2a0a415926" alt="步骤图" width="3782" height="2196" data-path="images/tutorial/image/qwen/qwen_image_edit.jpg" />

1. 模型加载
   * 确保 `Load Diffusion Model`节点加载了`qwen_image_edit_fp8_e4m3fn.safetensors`
   * 确保 `Load CLIP`节点中加载了`qwen_2.5_vl_7b_fp8_scaled.safetensors`
   * 确保 `Load VAE`节点中加载了`qwen_image_vae.safetensors`
2. 图片加载
   * 确保 `Load Image`节点中上传了用于编辑的图片
3. 提示词设置
   * 在`CLIP Text Encoder`节点中设置好提示词
4. Scale Image to Total Pixels 节点会将你输入图片缩放到总像素为 一百万像素,
   * 主要是避免输入图片尺寸过大如 2048x2048 导致的输出图像质量损失问题
   * 如果你很了解你输入的图片尺寸，你可以使用 `Ctrl+B` 绕过这个节点
5. 如果你要使用 4 步 Lighting LoRA 来实现图片生成的提速，你可以选中 `LoraLoaderModelOnly` 节点，然后按 `Ctrl+B` 启用该节点
6. 对于 Ksampler 节点的 `steps` 和 `cfg` 设置,我们在节点下方增加了一个笔记，你可以测试一下最佳的参数设置
7. 点击 `Queue` 按钮，或者使用快捷键 `Ctrl(cmd) + Enter(回车)` 来运行工作流
