

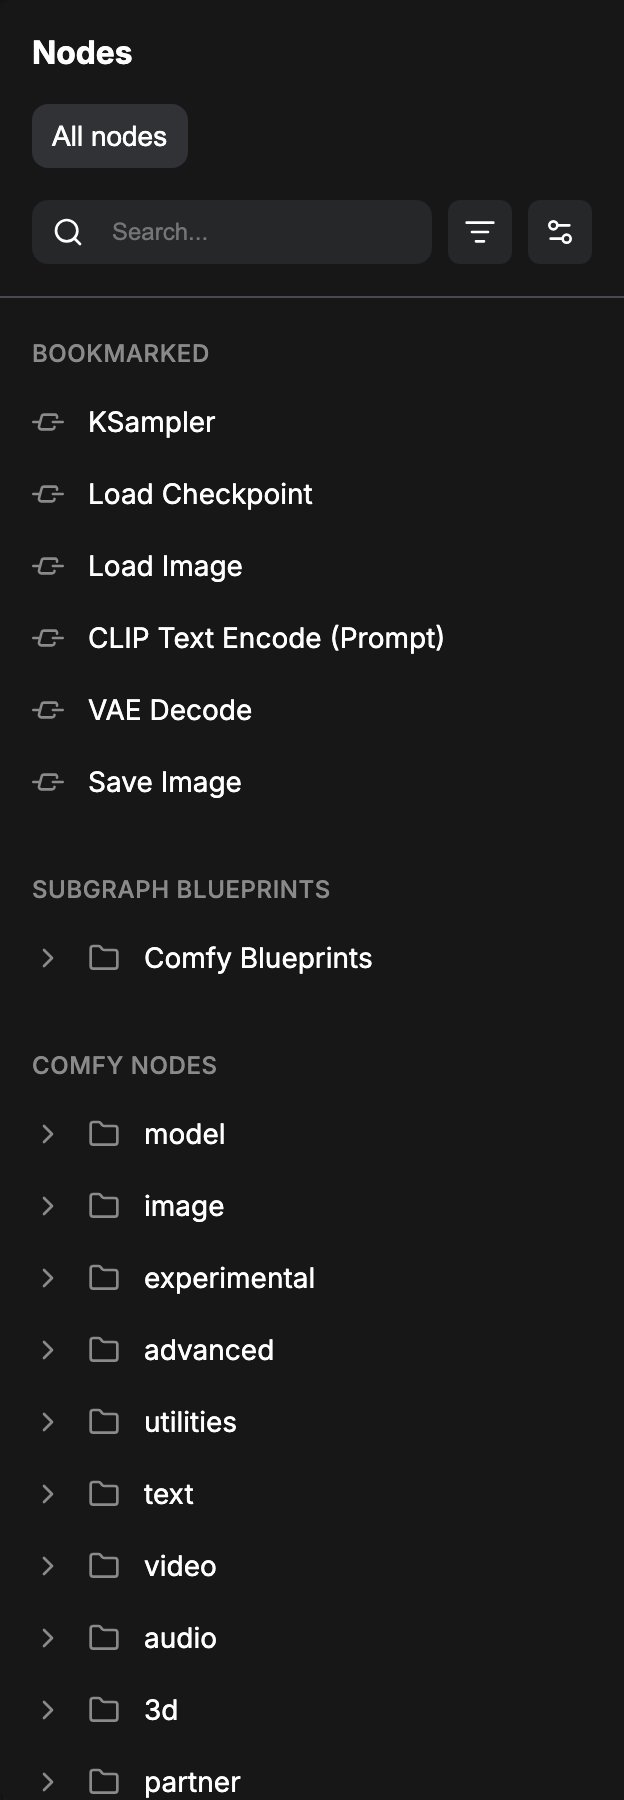
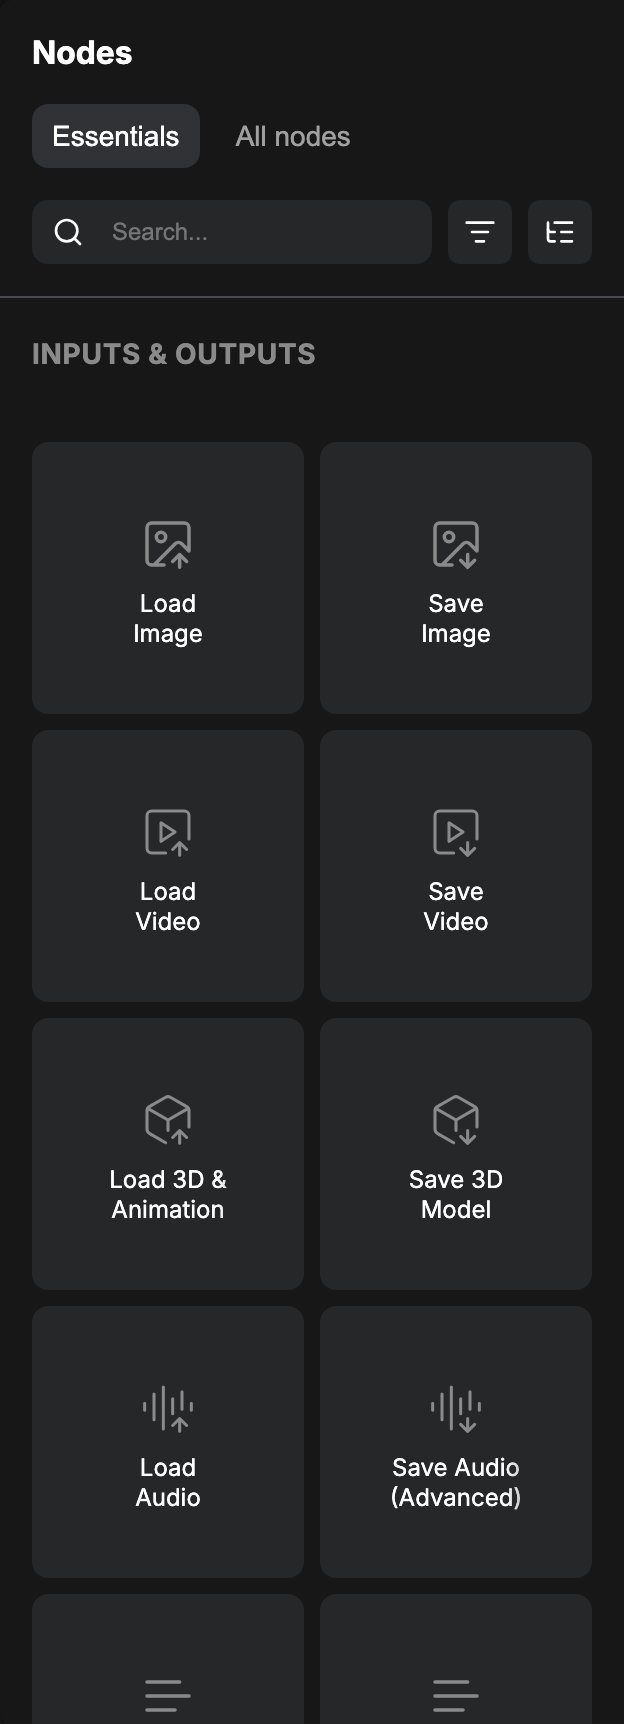
- Essentials: a curated grid of the nodes most workflows need, grouped by task. The sections are Inputs & Outputs, Generate (Image, Video, Text, Audio, 3D), Control & Guidance (Image), and Editing & Utilities (Image Transform, Image Utilities, Image Filters & Effects, Image Color, Image Selection & Masking, Video Transform, Video Compose, Video Selection & Masking, 3D Transform). Hover a tile to preview the node before you use it. Drag a tile onto the canvas to add the node to your workflow. Use the filter button to show only the media types you work with, and the list button to jump straight to a section.
- All nodes: the full node list. Filter it by Comfy Nodes, Partner Nodes, Extensions, or Blueprints, and switch the sort between the default categorized order and A-Z.
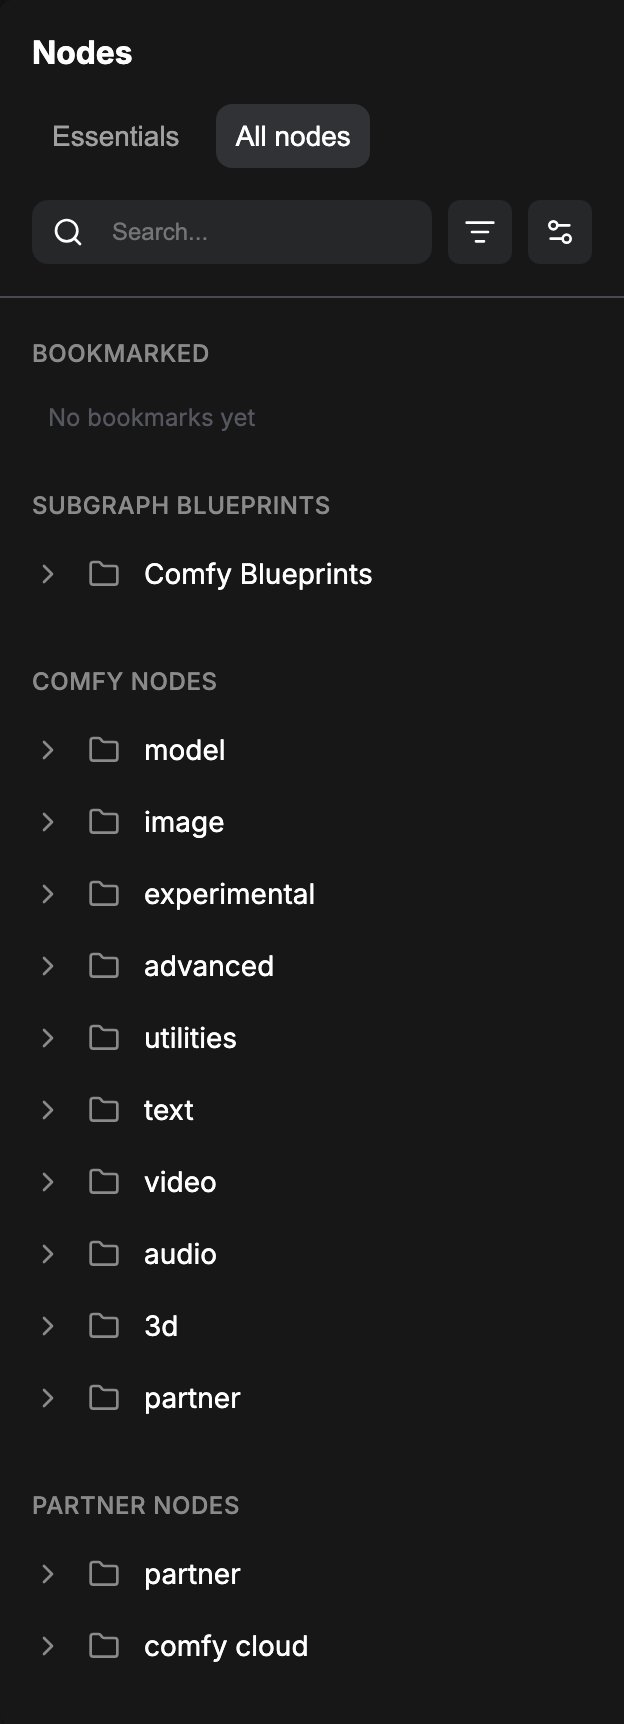
Settings —> Comfy —> Node Library by disabling New Node Library Design.
Related
- Interface Overview
- Node Docs
- Right Side Panel (Info tab shows the same help for a selected node)