

- 8 steps, no CFG: One distilled sampling schedule and a single positive conditioning, with no negative prompt
- 8 megapixels: Square, 4:3, 3:2, 16:9 and their portrait versions, up to 3872 x 2176
- Prompt upsampler built in: Your one-line request is expanded into a full prompt, and the expanded prompt is shown in the workflow
- Editing with references: The first image is the one being edited, and further images become
<Picture 2>,<Picture 3>and so on in the prompt - Image only: P-H3-Image does not generate video or audio
Requirements
- ComfyUI 0.44.0 or later. Both templates use the PH3ImageConditioning node added in 0.44.0
- About 35 GB of model files. The diffusion model is the same one the MiniMax H3 workflows use, so you may already have it
- A GPU with about 21 GB of VRAM for the int8 files
Model downloads
Diffusion Model (INT8)
minimax_h3_fl2va_pruned_int8_convrot.safetensors → ComfyUI/models/diffusion_models/
Text Encoder (INT8)
p-h3-image_text_encoder_int8_convrot.safetensors → ComfyUI/models/text_encoders/
Prompt Upsampler (W4A8)
p-h3-image_prompt_upsampler_w4a8.safetensors → ComfyUI/models/text_encoders/
VAE (INT8)
p-h3-image_vae_int8_convrot.safetensors → ComfyUI/models/vae/
LoRA (BF16)
p-h3-image_lora_bf16.safetensors → ComfyUI/models/loras/
P-H3-Image text-to-image workflow
Generate an 8 megapixel image from a one-line request. The template runs the prompt upsampler first, then the 8-step schedule.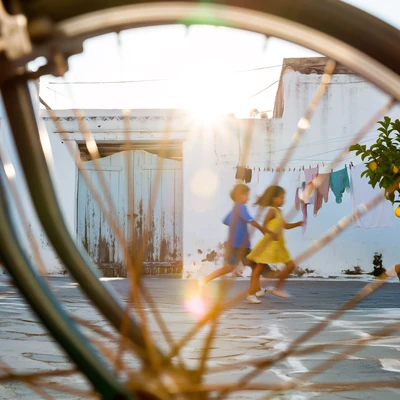
Download Workflow
Download JSON or search “P-H3-Image: Text to Image” in Template Library
Request: in the prompt box, and keep the Aspect ratio: line in sync with the Resolution Selector. The selector is set to 8 megapixels with a multiple of 32, which gives these canvases:
- Sampling: 8 steps are the model’s own schedule. More steps do not add detail, and there is no CFG or negative prompt to tune
- Seed: set to
randomizefor new images and back tofixedto reproduce the shipped example - Upsampled prompt: the Preview Any node shows the rewritten prompt. It is worth reading before you change the request
P-H3-Image image edit workflow
Edit a photo with a short instruction, using up to nine images in total.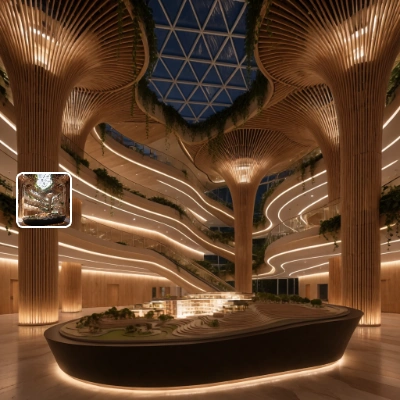
Download Workflow
Download JSON or search “P-H3-Image: Image Edit” in Template Library
Input Image: image_p_h3_image_edit_atrium_day.png
Source image for the workflow, or use your own photo.
Load Image node and describe the result after Request:. The output follows the shape of that image, so the width and height inputs on the conditioning node stay at 0.
- Source size: the edit is rendered at the size of the first image, scaled up to at least 4 megapixels
- More references: connect additional images to add
<Picture 2>,<Picture 3>and further references to the prompt - What to keep: name what must not change. Without that, the model tends to redraw the whole scene
Prompting tips
- Say what the image is: Open with one sentence that names the real object, for example “a photograph by an experienced street photographer” or “a two-color risograph print”. This sets the look more reliably than style words
- Describe one scene: Give a viewpoint, one main subject caught in a moment, a few supporting elements, and light with a source and a direction
- Quote every string of text: Text without its exact words turns into pseudo-text. Put each string in quotes, keep it short, say where it sits, and end with “no other text”
- Leave out hype words: Words like stunning, epic, cinematic or 8k push the model toward a glossy, oversaturated look
Limitations
- Lower resolutions show more artifacts: Faces, hands and small details break more often at 2 and 4 megapixels than at 8
- Hands and background people can break: Small people in the background can come out distorted. Rendering at 8 megapixels helps
- Text is not fully reliable: Short quoted strings render well, but dense text such as body copy or long code turns into pseudo-text
- Prompt sensitive: Very long prompts make images worse, and very short prompts give weak results without the upsampler