

What Grok Imagine Image is good at
- Text-to-image generation: creates single images from a text prompt describing the scene and style
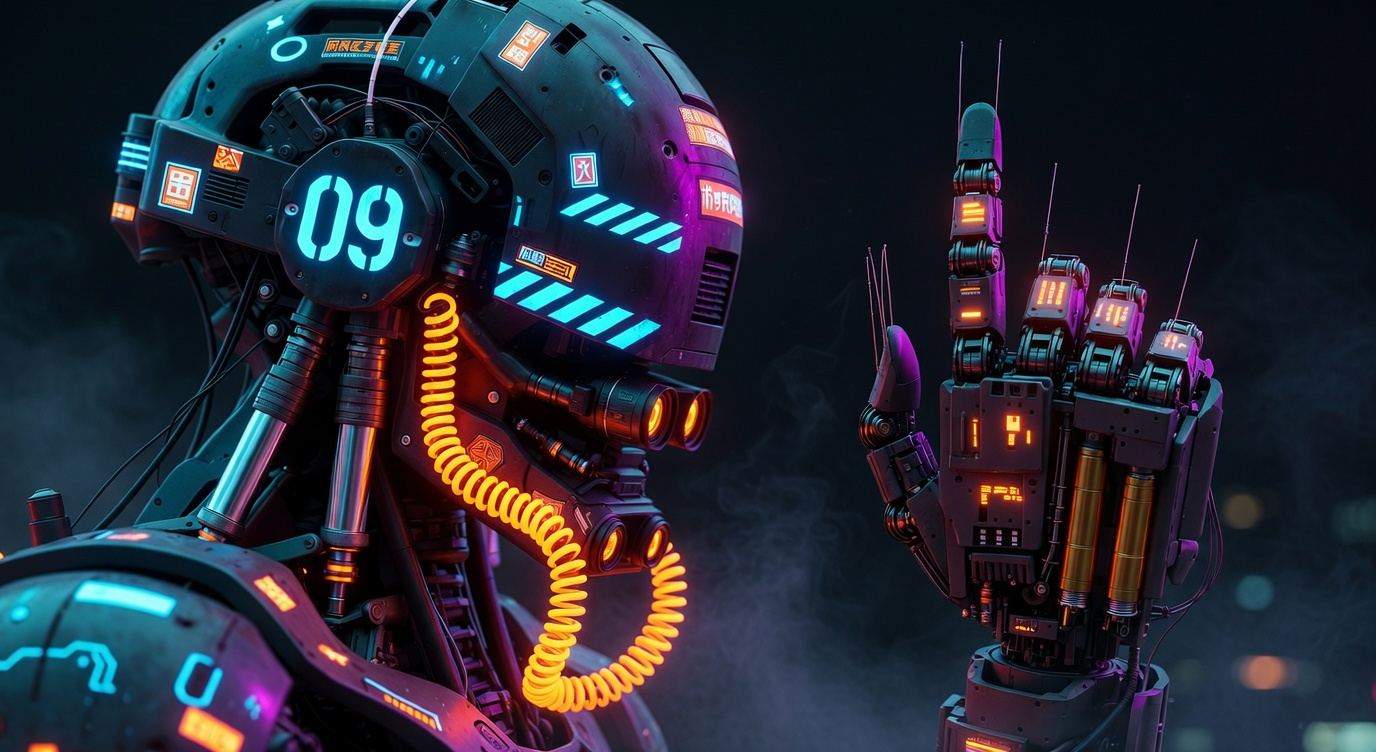
- Natural-language image editing: edits an uploaded image based on your prompt while keeping the original composition, changing the scene, lighting, or style
- Flexible aspect ratios: supports 13 aspect ratios, including
1:1,16:9, and9:16 - Resolution options: outputs at 1K or 2K
Example outputs
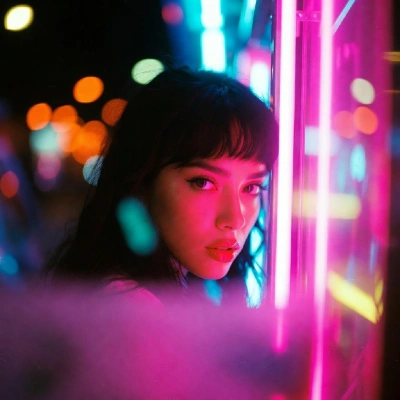
Text-to-image generation from a single prompt: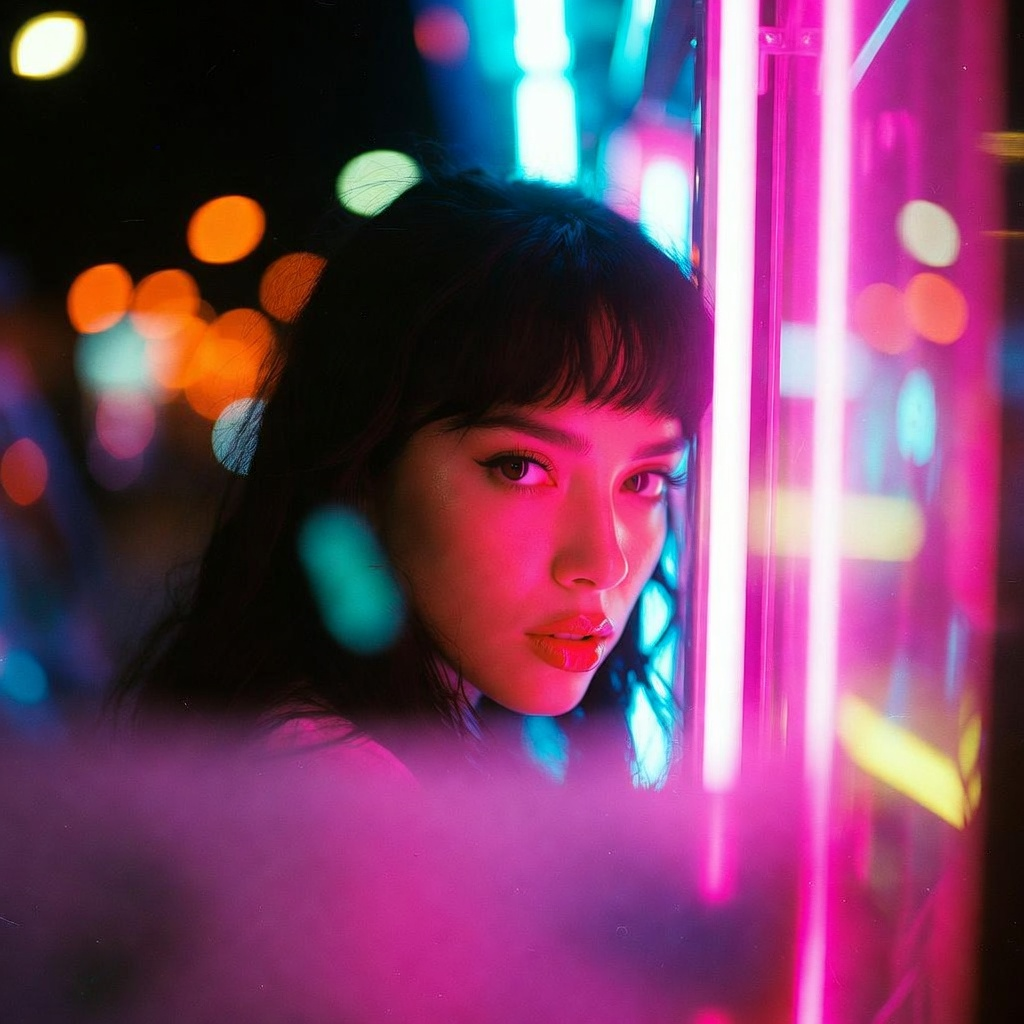 Image editing with natural-language instructions, keeping the original composition:
Grok: Text to Image
Generate images from a text prompt with the standardgrok-imagine-image model. This workflow is the fastest way to create single images in ComfyUI with Grok, supporting 13 aspect ratios and 1K or 2K output.
Run on Comfy Cloud
Open in Comfy Cloud
Download Workflow
Download JSON or search “Grok Imagine” in Template Library
Workflow overview
This workflow uses two nodes:- GrokImageNode: the core node, configured with the
grok-imagine-imagemodel - SaveImage: saves the generated image
Steps to run
- Enter your prompt: describe the scene and style in the GrokImageNode
- Choose aspect ratio: pick from ratios such as
1:1,16:9,9:16, and more - Set resolution:
1Kor2K - Click Queue: press
Ctrl+Enterto generate
Grok: Image Edit
Edit an uploaded image with natural-language instructions. This workflow keeps the original composition and changes the scene, lighting, or style based on your prompt.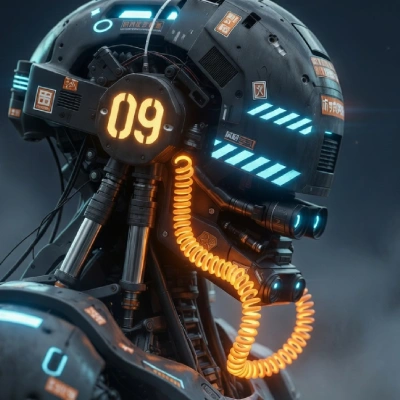
Run on Comfy Cloud
Open in Comfy Cloud
Download Workflow
Download JSON or search “Grok Imagine” in Template Library
Workflow overview
This workflow uses three nodes:- LoadImage: provides the source image to edit
- GrokImageEditNode: the core node, configured with the
grok-imagine-imagemodel - SaveImage: saves the edited image
Steps to run
- Load an image: connect your image to the LoadImage node
- Describe the edit: tell the model what to change in the GrokImageEditNode prompt
- Click Queue: press
Ctrl+Enterto generate