이 튜토리얼에서는 ComfyUI 포터블을 다운로드하고 사용하는 방법 및 해당 프로그램을 실행하는 방법을 안내합니다.
ComfyUI 포터블은 독립적인 Python (python_embeded) 환경을 통합한, ComfyUI를 실행하는 데 필요한 완전한 ComfyUI Windows 버전의 독립형 패키지입니다. 압축을 풀기만 하면 바로 사용할 수 있습니다.이 가이드 섹션에서는 ComfyUI 포터블 설치 과정을 안내합니다.
ComfyUI_windows_portable├── 📂ComfyUI // ComfyUI 메인 프로그램├── 📂python_embeded // 독립적인 Python 환경├── 📂update // 포터블 버전 업그레이드용 배치 스크립트├── README_VERY_IMPORTANT.txt // ComfyUI 포터블 사용 설명서 (영어)├── run_cpu.bat // 더블클릭하여 ComfyUI 시작 (CPU 전용)└── run_nvidia_gpu.bat // 더블클릭하여 ComfyUI 시작 (Nvidia GPU)
ComfyUI_windows_portable_amd├── 📂ComfyUI // ComfyUI 메인 프로그램├── 📂python_embeded // 독립적인 Python 환경├── 📂update // 포터블 버전 업그레이드용 배치 스크립트├── README_VERY_IMPORTANT.txt // ComfyUI 포터블 사용 설명서 (영어)├── run_cpu.bat // 더블클릭하여 ComfyUI 시작 (CPU 전용)└── run_amd_gpu.bat // 더블클릭하여 ComfyUI 시작 (AMD GPU)
ComfyUI_windows_portable_intel├── 📂ComfyUI // ComfyUI 메인 프로그램├── 📂python_embeded // 독립적인 Python 환경├── 📂update // 포터블 버전 업그레이드용 배치 스크립트├── README_VERY_IMPORTANT.txt // ComfyUI 포터블 사용 설명서 (영어)├── run_cpu.bat // 더블클릭하여 ComfyUI 시작 (CPU 전용)└── run_intel_gpu.bat // 더블클릭하여 ComfyUI 시작 (Intel GPU)
run_intel_gpu.bat를 더블클릭해 ComfyUI를 실행하세요.
다운로드하고 압축을 푼 후, 아래 이미지와 같이 명령어가 실행되는 것을 확인할 수 있습니다.이미지와 비슷한 내용이 보이면:
GUI 보기: http://127.0.0.1:8188
이때 ComfyUI 서비스가 시작된 것입니다. 일반적으로 ComfyUI는 기본 브라우저를 자동으로 열어 
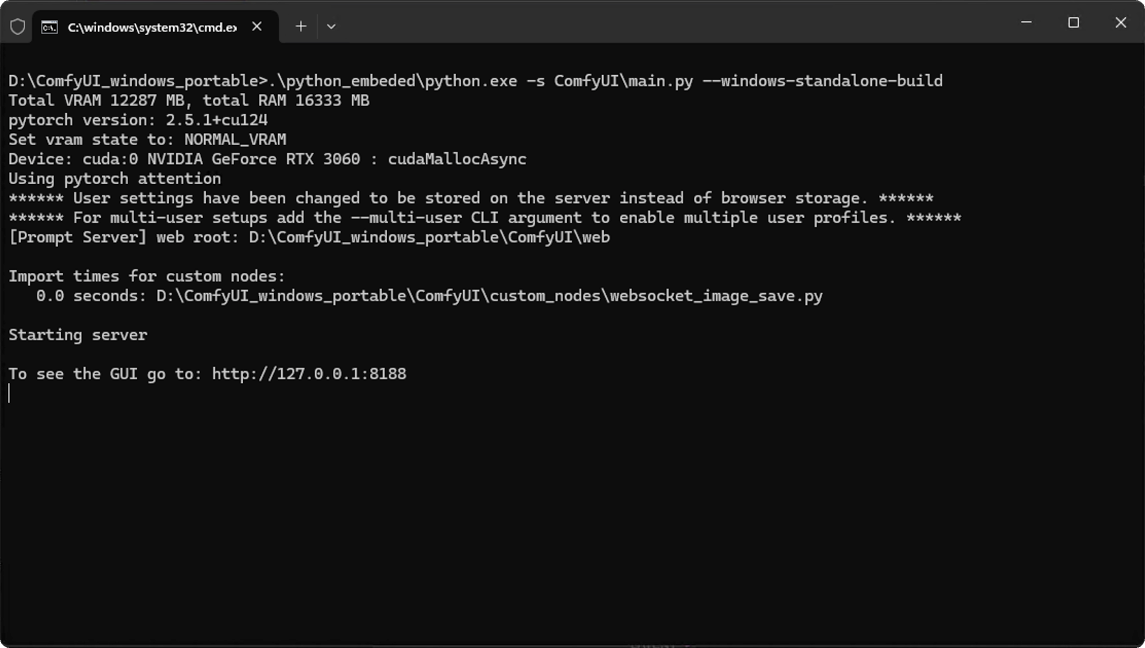
http://127.0.0.1:8188로 이동합니다. 자동으로 열리지 않는 경우, 수동으로 브라우저를 열어 이 주소를 방문해주세요.
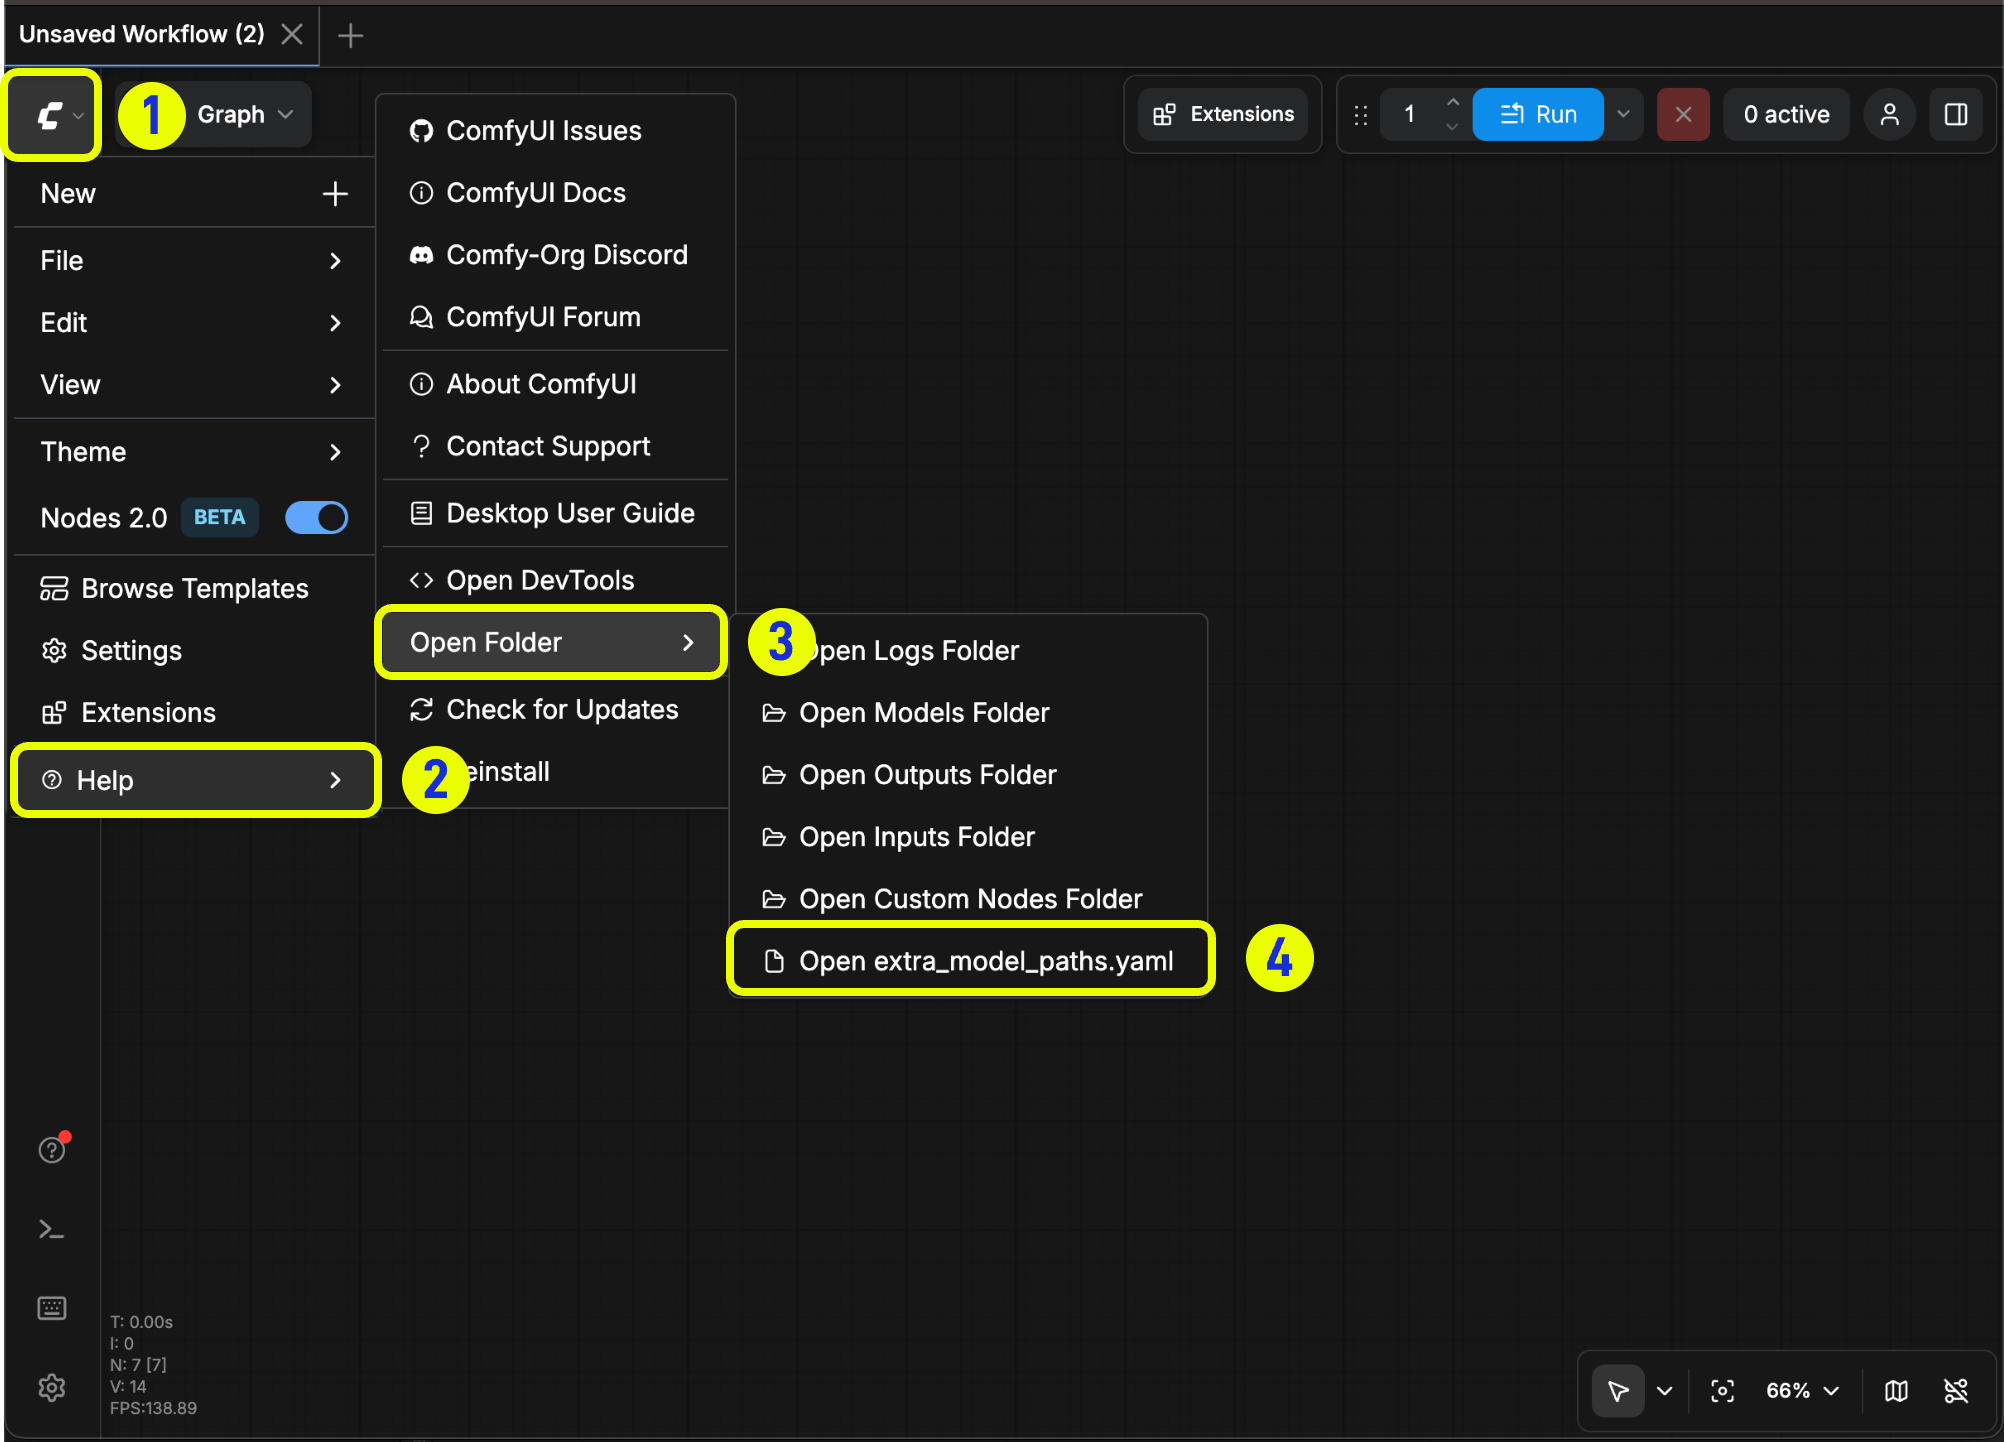
사용 중에는 해당 명령줄 창을 닫지 마세요. 그렇지 않으면 ComfyUI가 정상적으로 작동하지 않을 수 있습니다.
For the ComfyUI version such as portable and manual, you can find an example file named extra_model_paths.yaml.example in the root directory of ComfyUI:
ComfyUI/extra_model_paths.yaml.example
Copy and rename it to extra_model_paths.yaml for use. Keep it in ComfyUI’s root directory at ComfyUI/extra_model_paths.yaml.
You can also find the config example file here
If you are using the ComfyUI Desktop application, you can follow the image below to open the extra model config file:Or open it directly at:
For the desktop version, please add the configuration to the existing configuration path without overwriting the path configuration generated during installation. Please back up the corresponding file before modification, so that you can restore it when you make a mistake.
Or you can refer to the default extra_model_paths.yaml.example for more configuration options. After saving, you need to restart ComfyUI for the changes to take effect.Below is the original config example:
#Rename this to extra_model_paths.yaml and ComfyUI will load it#config for a1111 ui#all you have to do is change the base_path to where yours is installeda111: base_path: path/to/stable-diffusion-webui/ checkpoints: models/Stable-diffusion configs: models/Stable-diffusion vae: models/VAE loras: | models/Lora models/LyCORIS upscale_models: | models/ESRGAN models/RealESRGAN models/SwinIR embeddings: embeddings hypernetworks: models/hypernetworks controlnet: models/ControlNet#config for comfyui#your base path should be either an existing comfy install or a central folder where you store all of your models, loras, etc.#comfyui:# base_path: path/to/comfyui/# # You can use is_default to mark that these folders should be listed first, and used as the default dirs for eg downloads# #is_default: true# checkpoints: models/checkpoints/# clip: models/clip/# clip_vision: models/clip_vision/# configs: models/configs/# controlnet: models/controlnet/# diffusion_models: |# models/diffusion_models# models/unet# embeddings: models/embeddings/# loras: models/loras/# upscale_models: models/upscale_models/# vae: models/vae/#other_ui:# base_path: path/to/ui# checkpoints: models/checkpoints# gligen: models/gligen# custom_nodes: path/custom_nodes
For example, if your WebUI is located at D:\stable-diffusion-webui\, you can modify the corresponding configuration to
Besides adding external models, you can also add custom nodes paths that are not in the default path of ComfyUI
Please note that this will not change the default installation path of custom nodes, but will add an extra path search when starting ComfyUI. You still need to complete the installation of custom node dependencies in the corresponding environment to ensure the integrity of the running environment.
Below is a simple configuration example (MacOS), please modify it according to your actual situation and add it to the corresponding configuration file, save it and restart ComfyUI for the changes to take effect:
update 폴더의 배치 명령어를 사용해 ComfyUI 포터블 버전을 업그레이드할 수 있습니다.
ComfyUI_windows_portable└─ 📂update ├── update.py ├── update_comfyui.bat // ComfyUI 최신 커밋 버전으로 업데이트 ├── update_comfyui_and_python_dependencies.bat // 런타임 환경에 문제가 있을 때만 사용 └── update_comfyui_stable.bat // ComfyUI 최신 안정 버전으로 업데이트
ComfyUI가 로컬 네트워크에서 실행되고 다른 기기에서도 접근하고자 한다면, 해당 .bat 파일(예: run_nvidia_gpu.bat, run_amd_gpu.bat, 또는 run_cpu.bat)을 메모장으로 수정해 설정을 완료할 수 있습니다. 주로 --listen 옵션을 추가해 리스닝 주소를 지정합니다.
아래는 run_nvidia_gpu.bat 파일에 --listen 파라미터를 추가한 예시입니다.