

The settings described on this page are located in the ComfyUI in-app settings menu. You can open it by navigating to Settings (gear icon) or using the
Ctrl + , keyboard shortcut, then select the corresponding category to view and configure these options.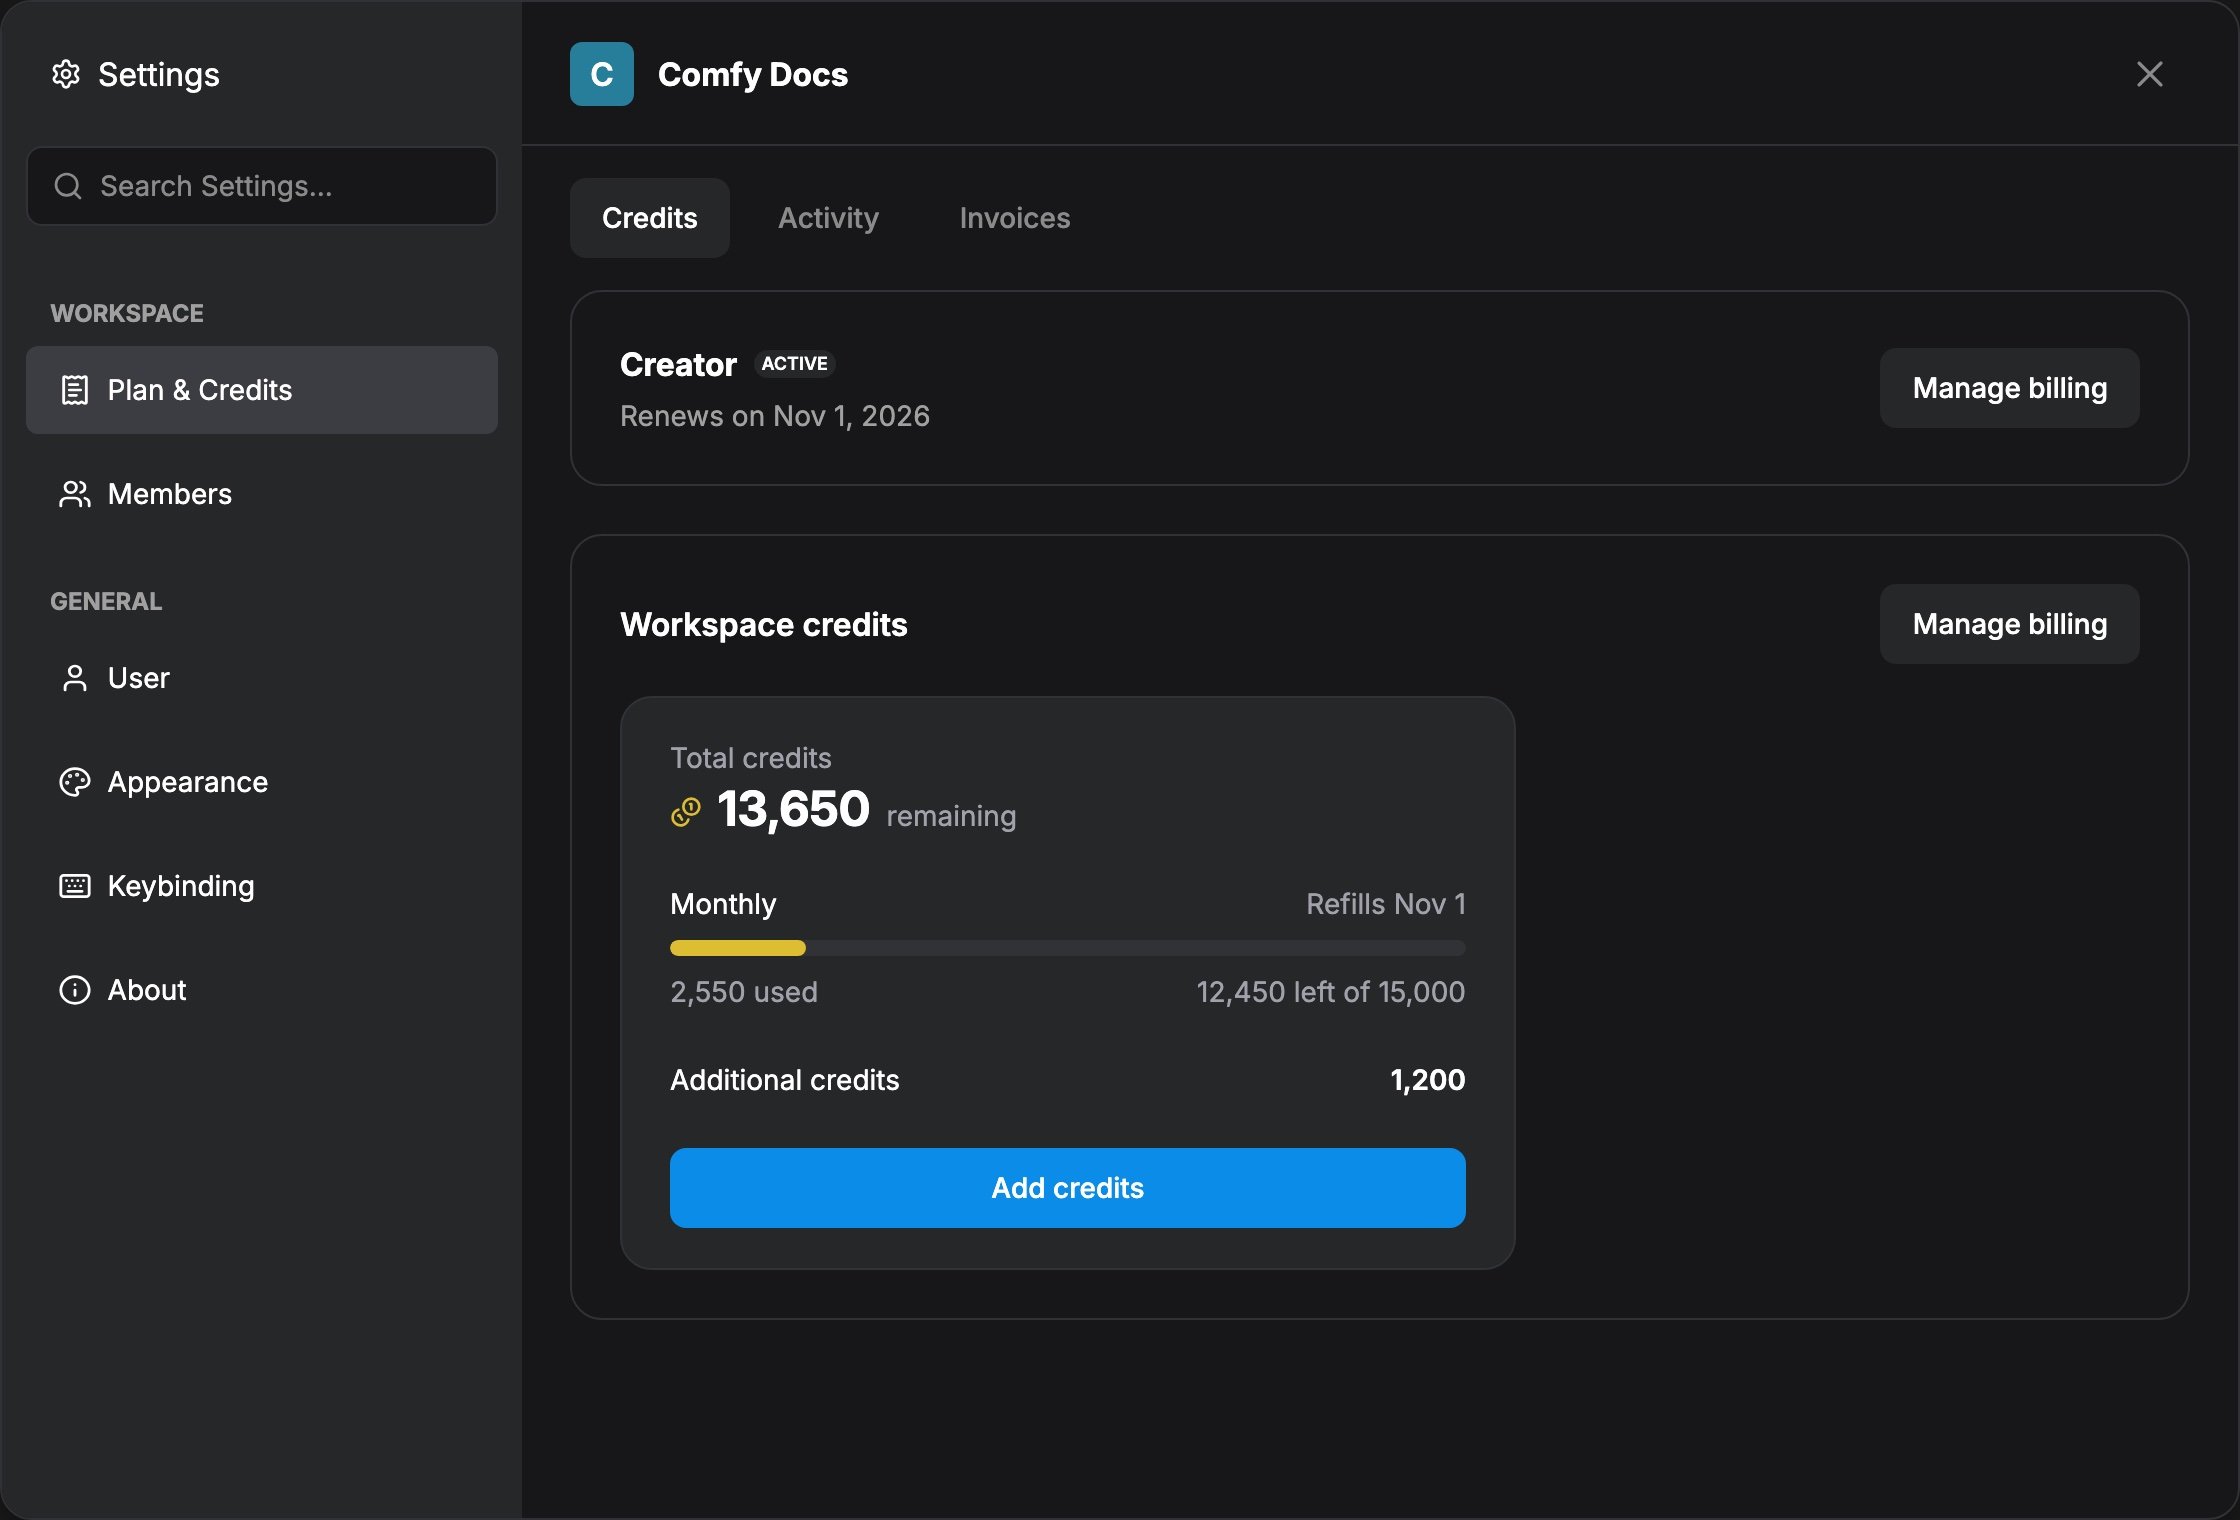
ComfyUI will always remain fully open-source and free for local users. Credit balances in screenshots are example data for illustration.
What’s in Plan & Credits
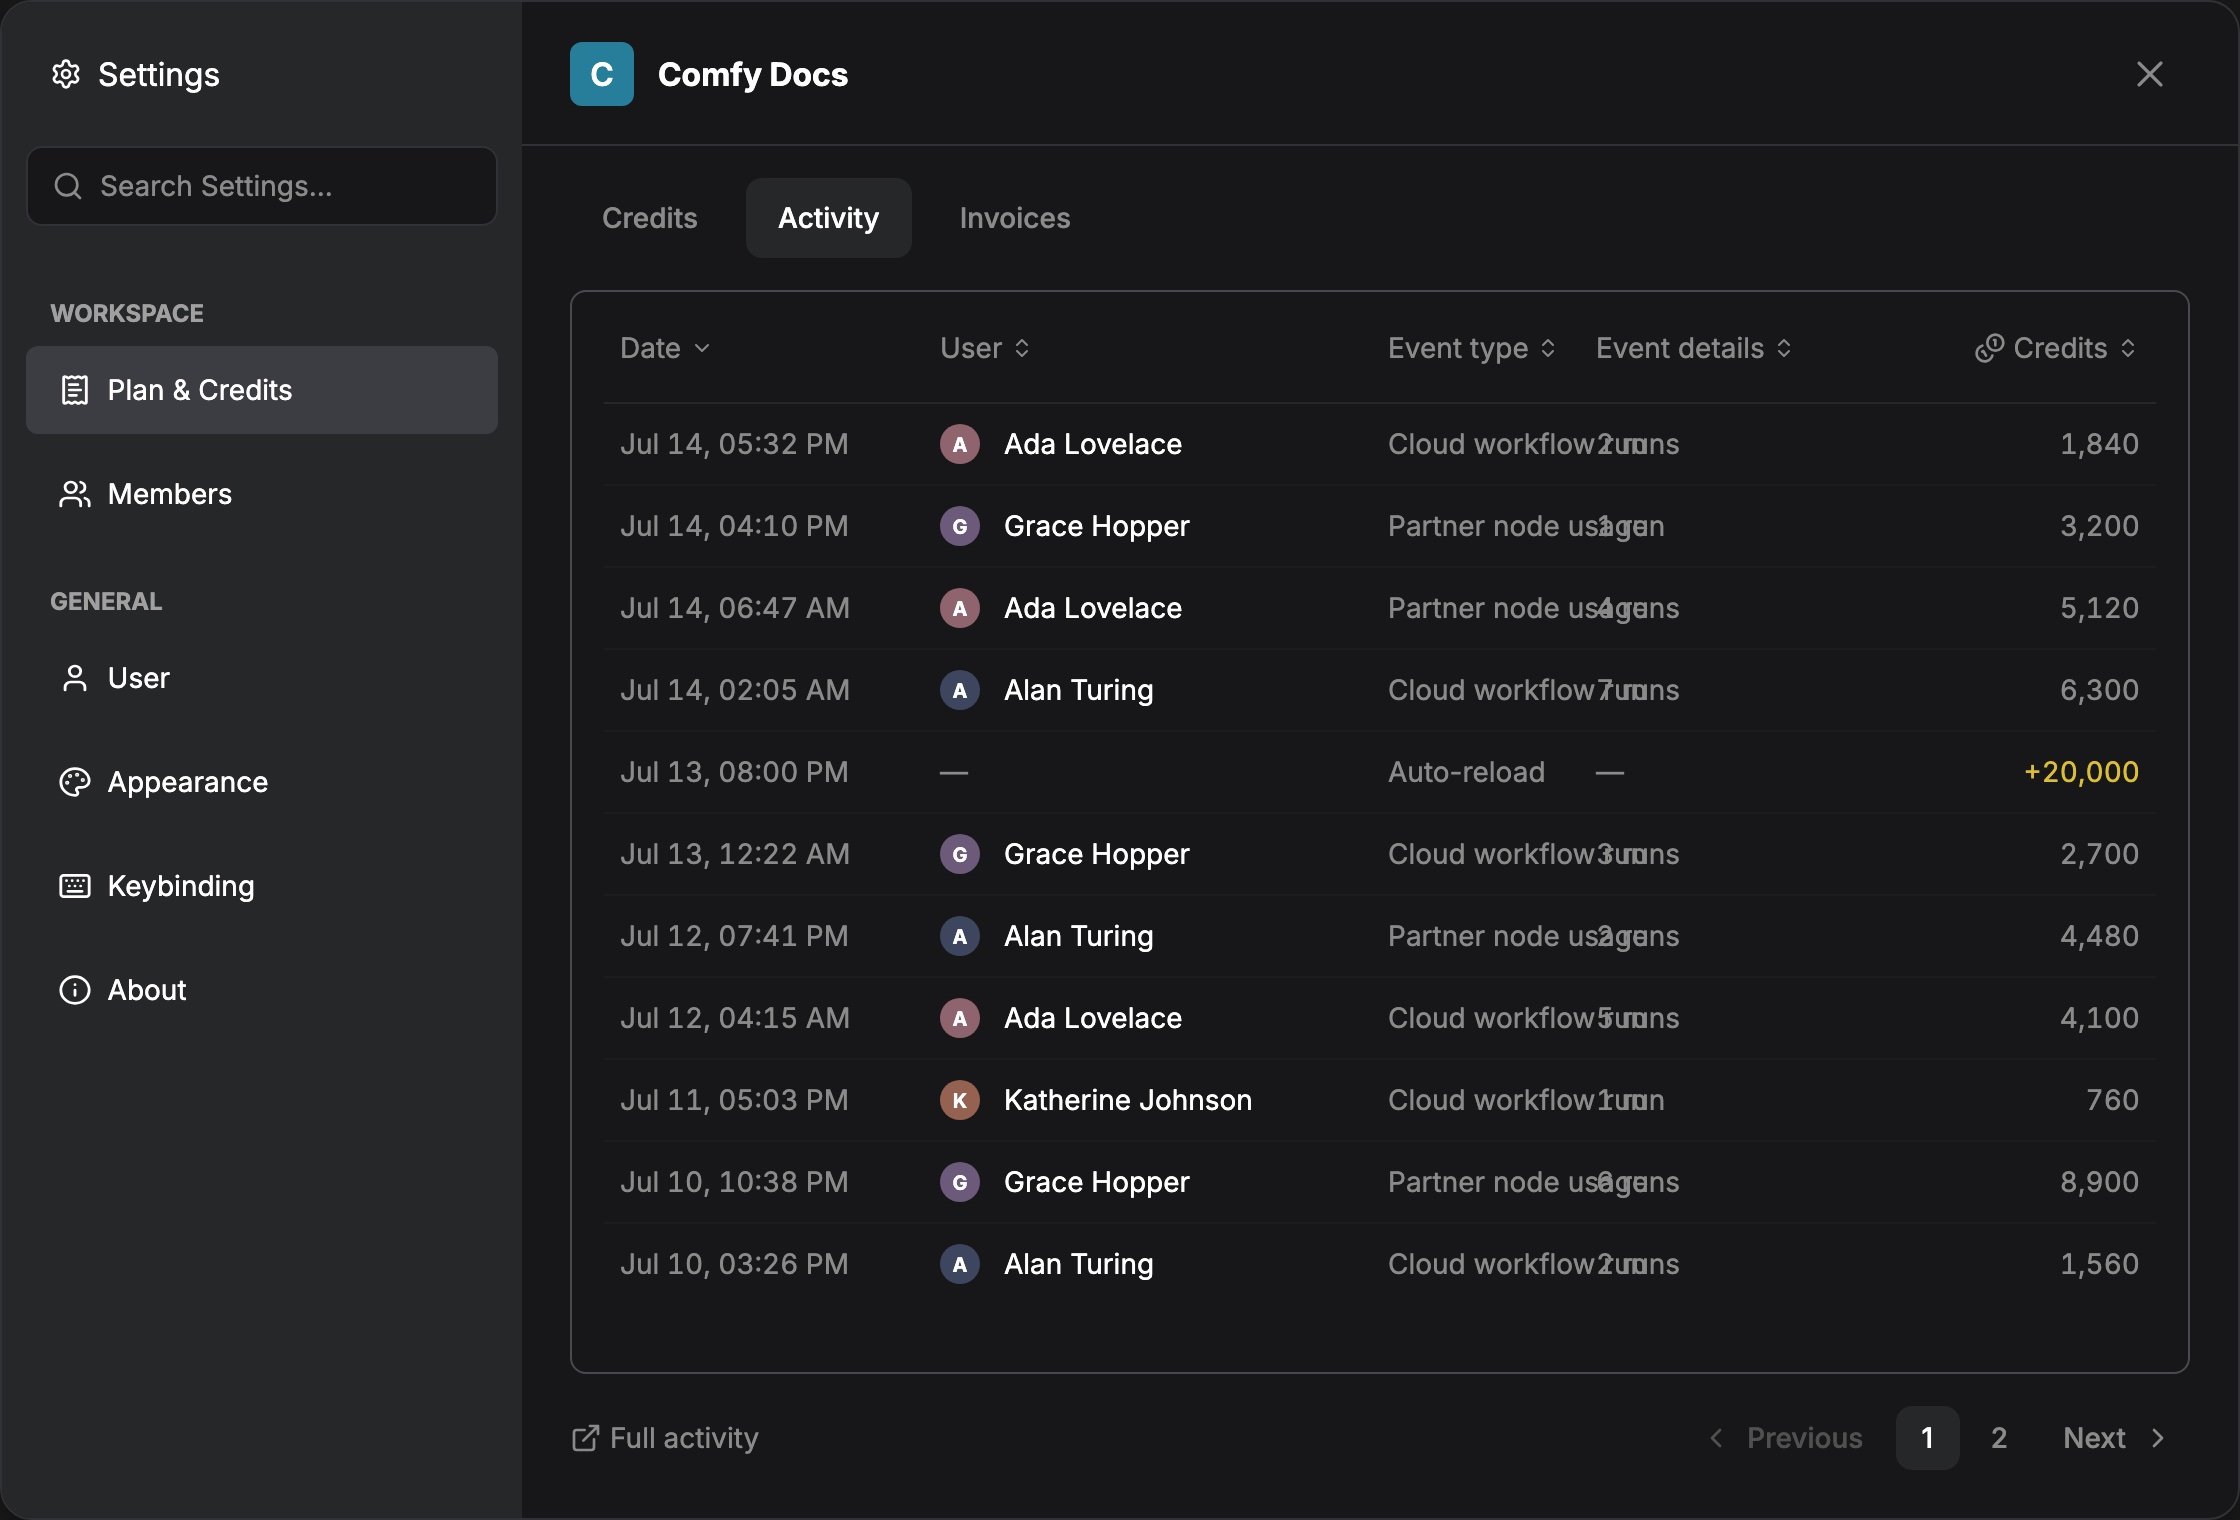
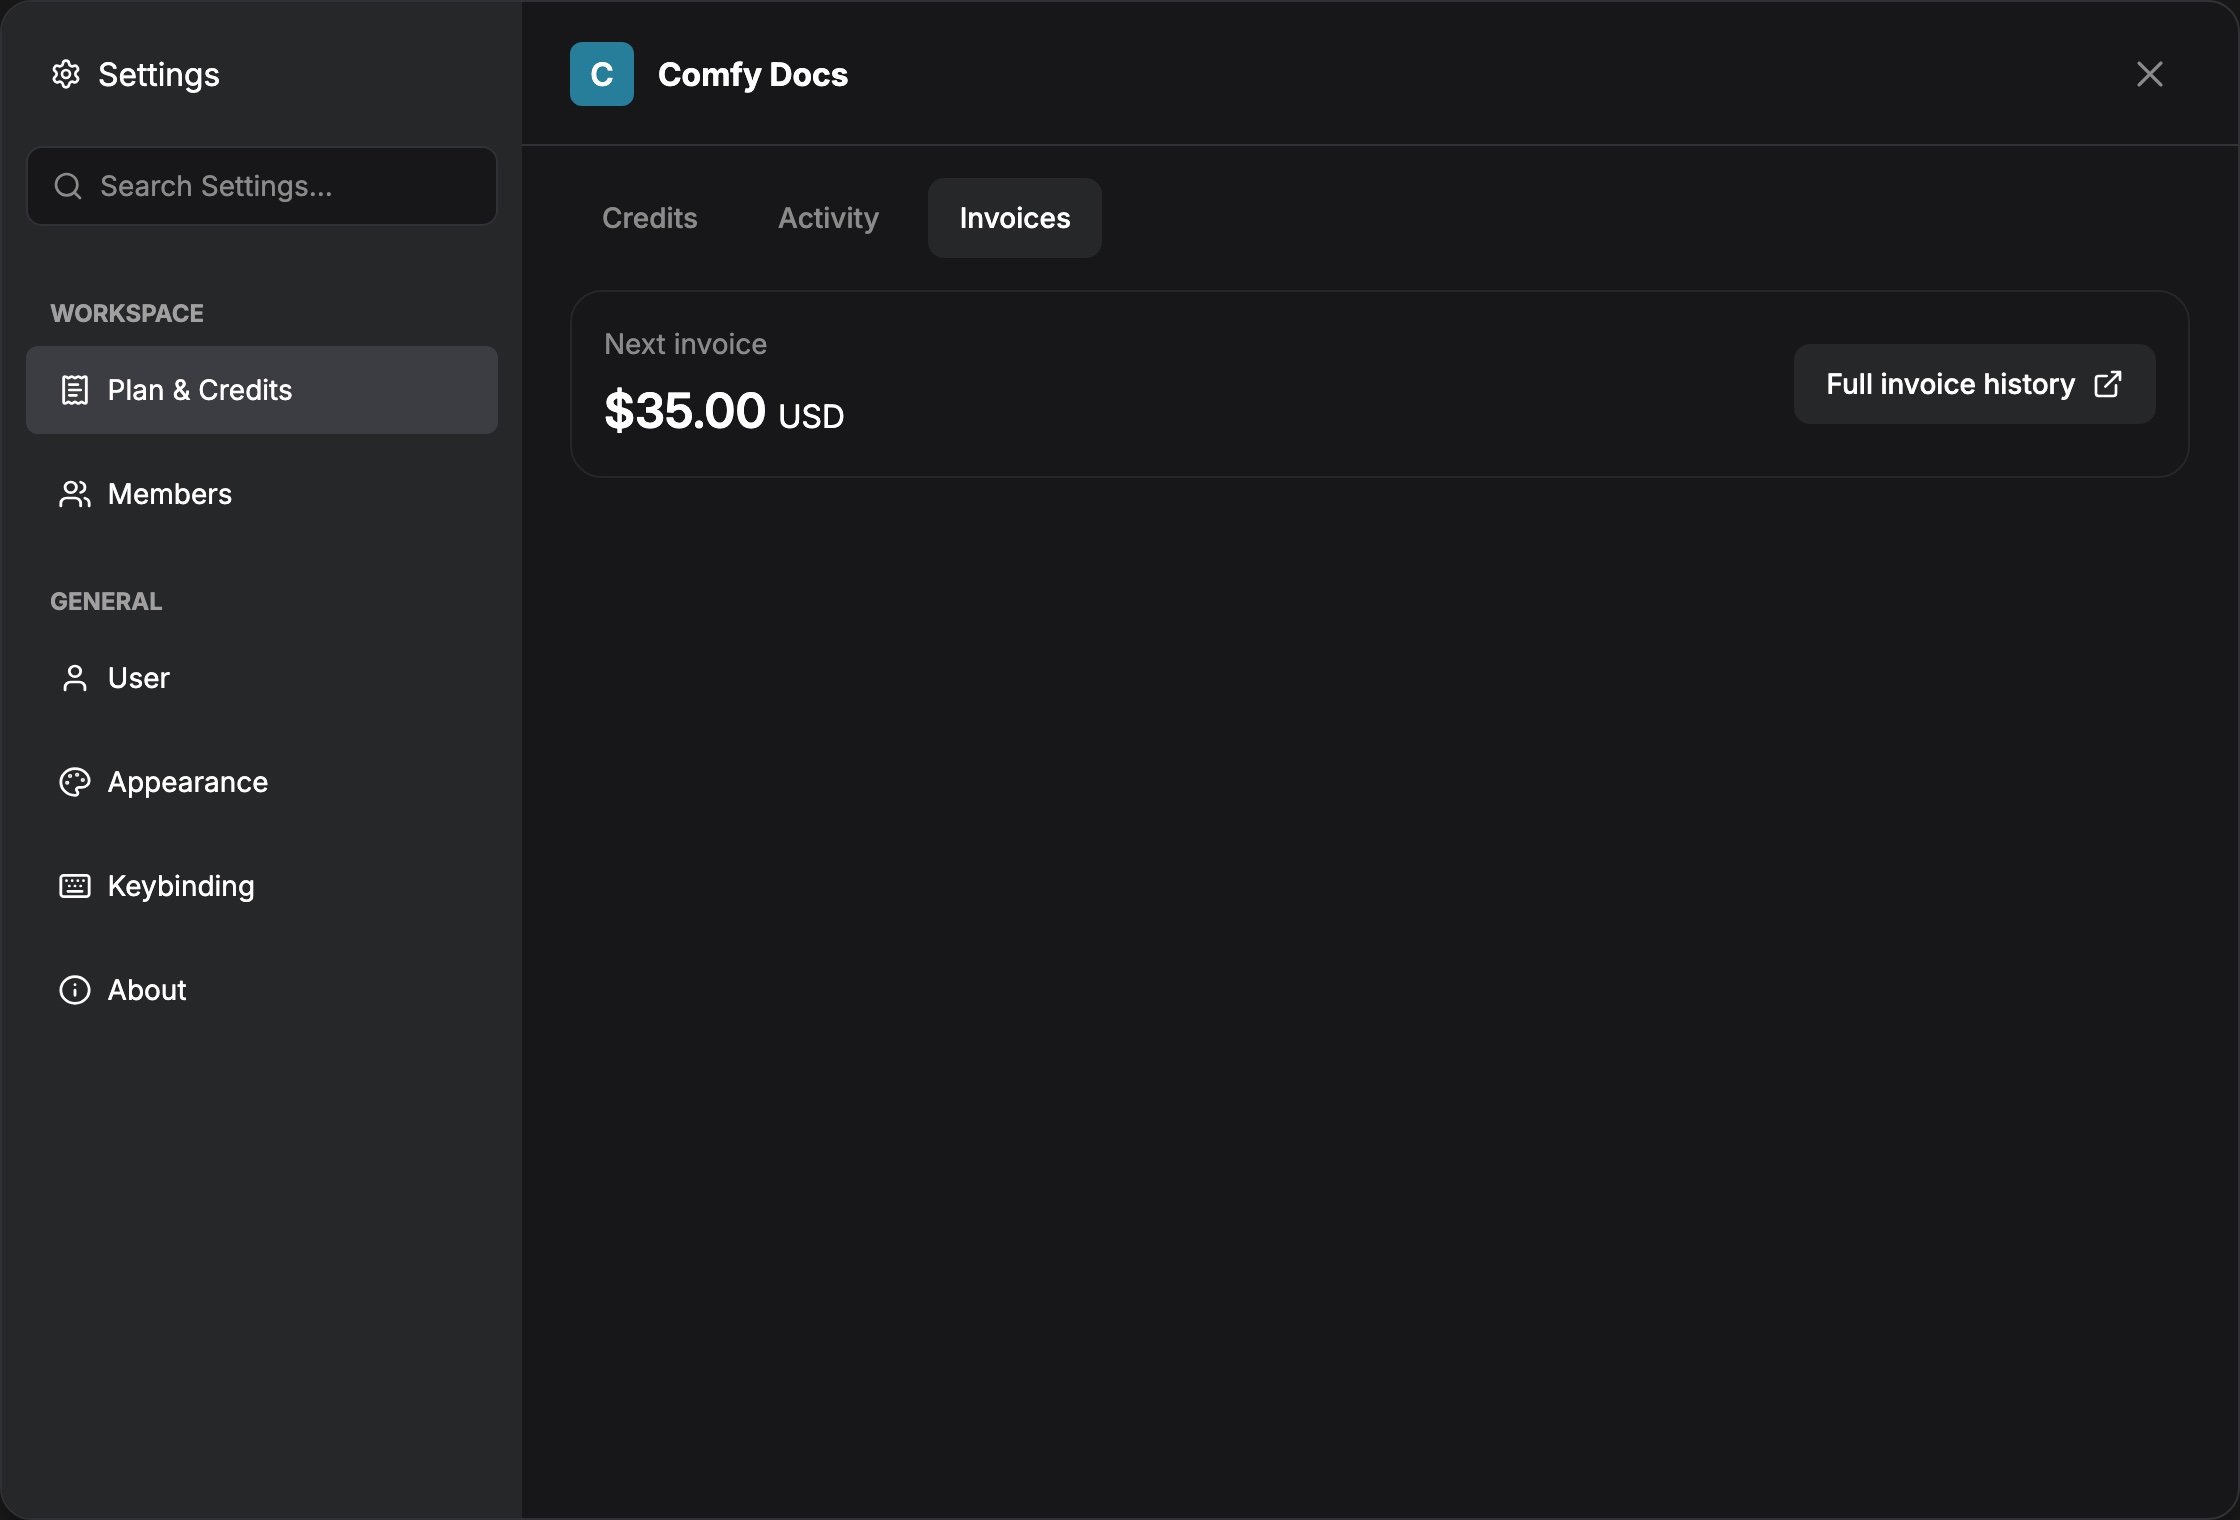
Open Settings → Workspace → Plan & Credits. On local installs the sidebar shows Plan & Credits under Workspace after you sign in (no Members / Invoices). The panel has these tabs: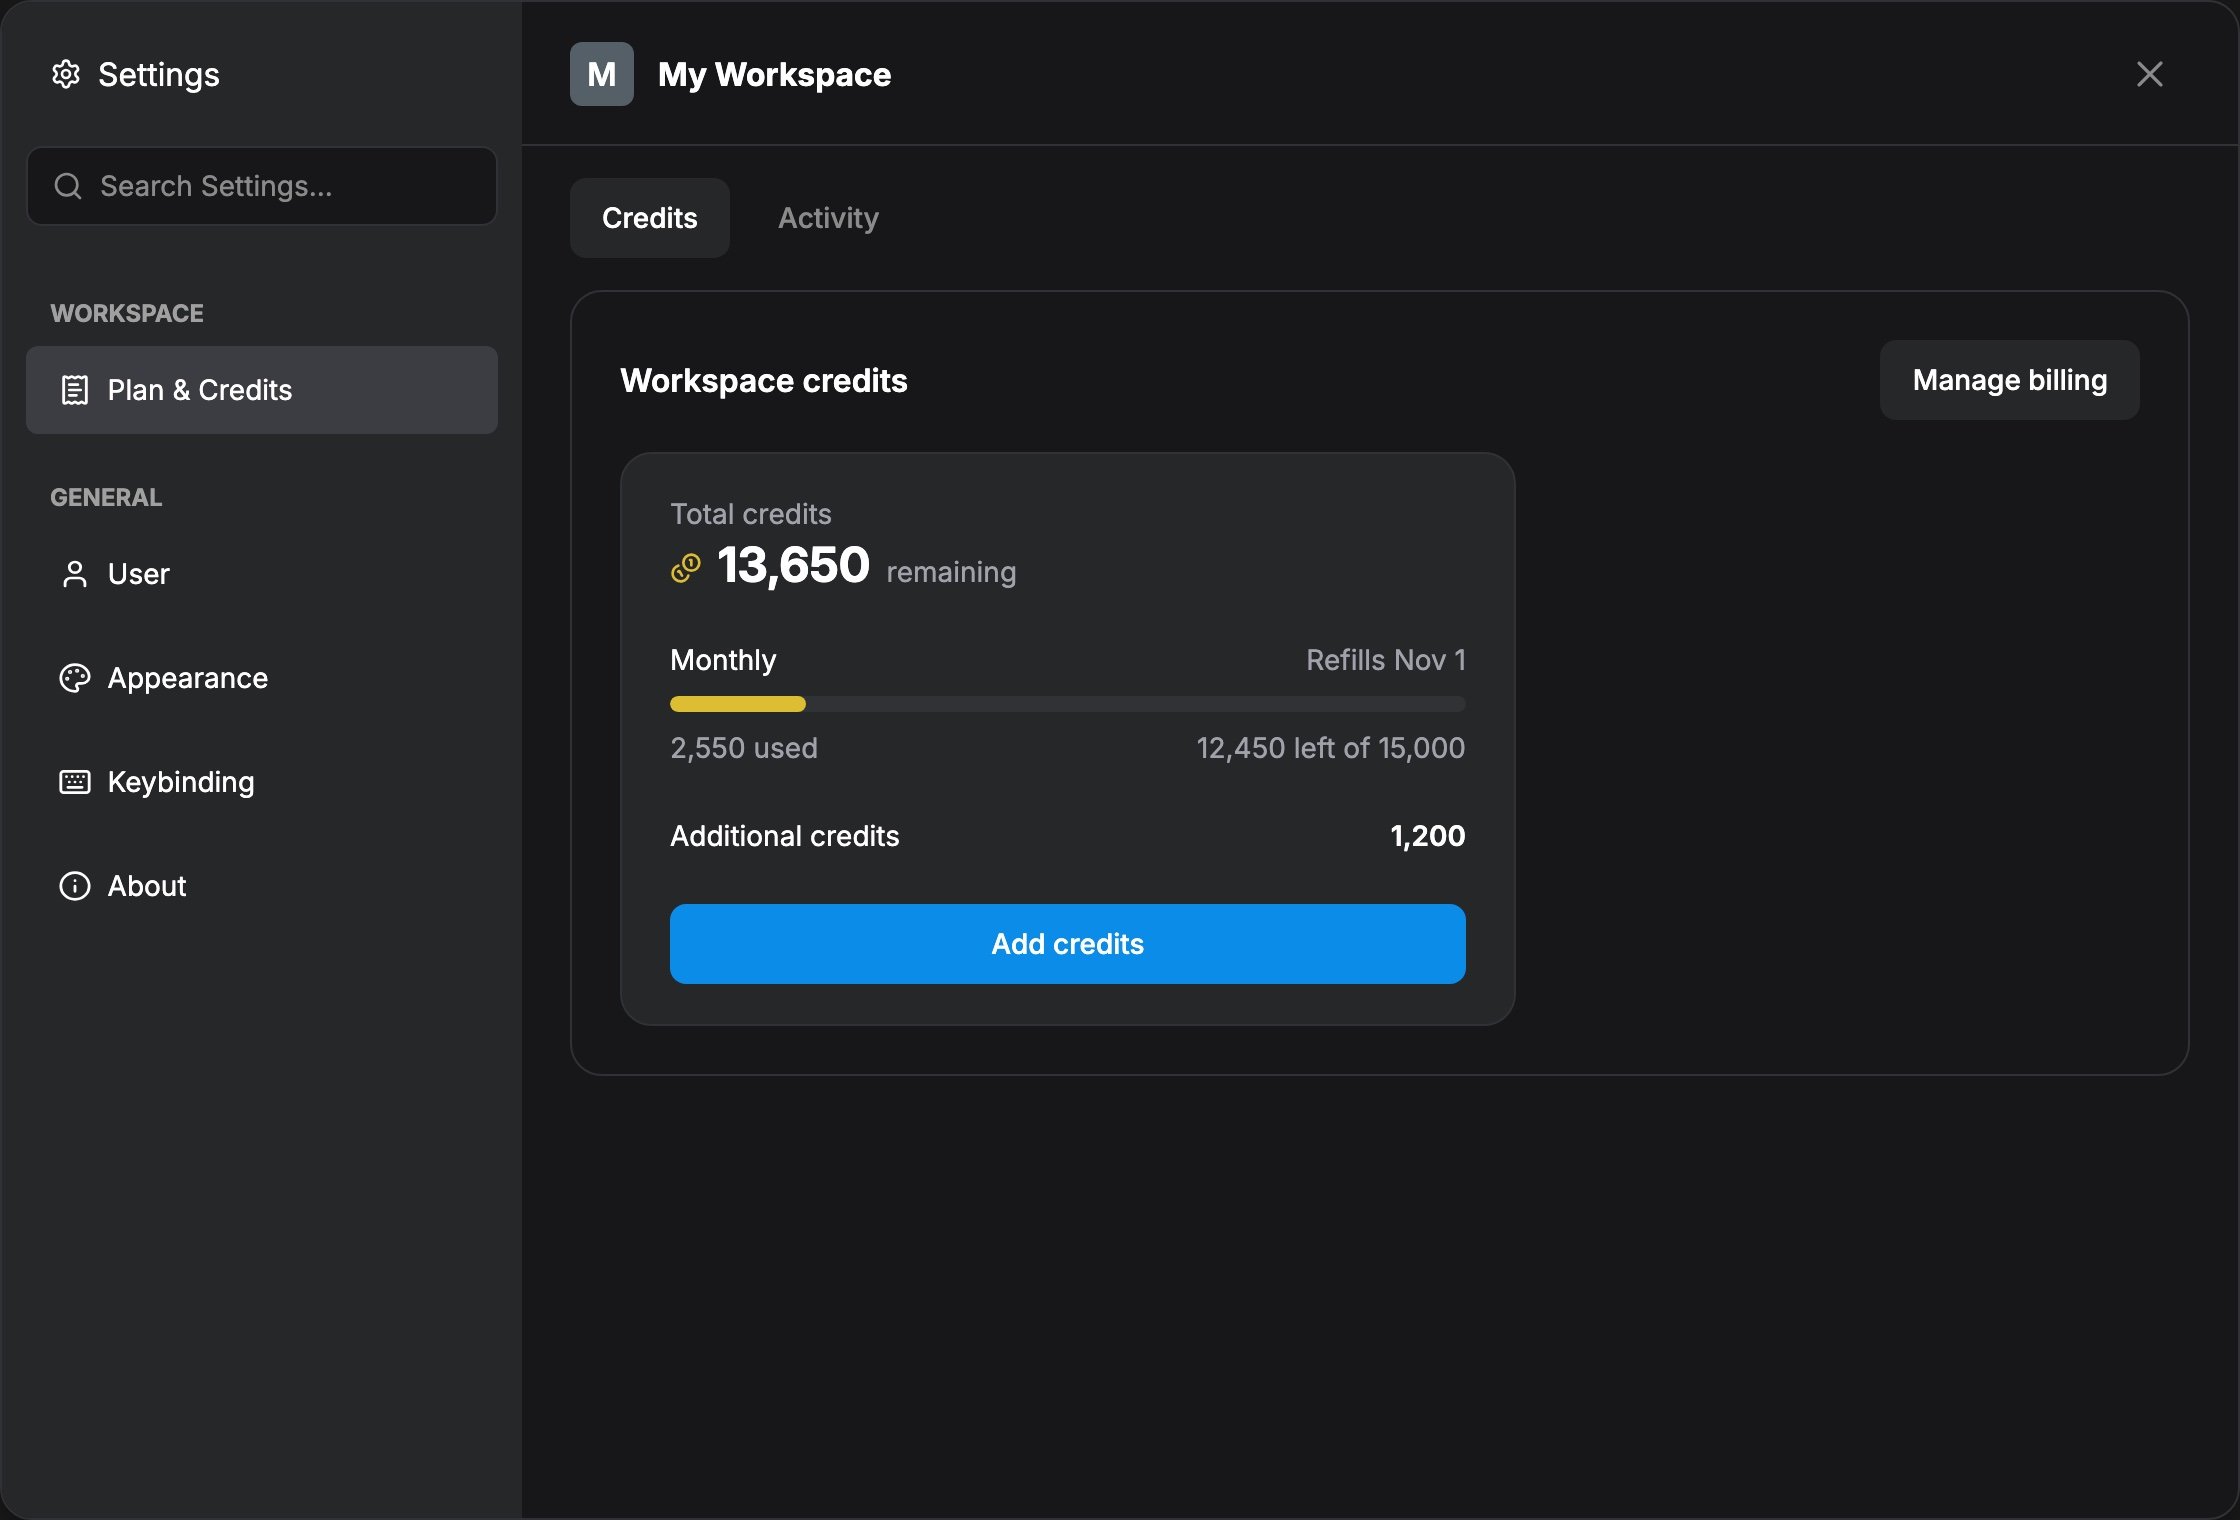
In a team workspace, the Activity table adds a Member column so you can see which member ran each row. Rows attributed to someone who has left the workspace show
(former member) after the name, and rows without attribution show -.
Manage Cloud subscription
Change plan, open Billing & invoices, Team vs Personal
Payment history
Invoices and PDFs in the Stripe billing portal
How to purchase credits
1
Log in to your ComfyUI account
Open Settings → User and sign in.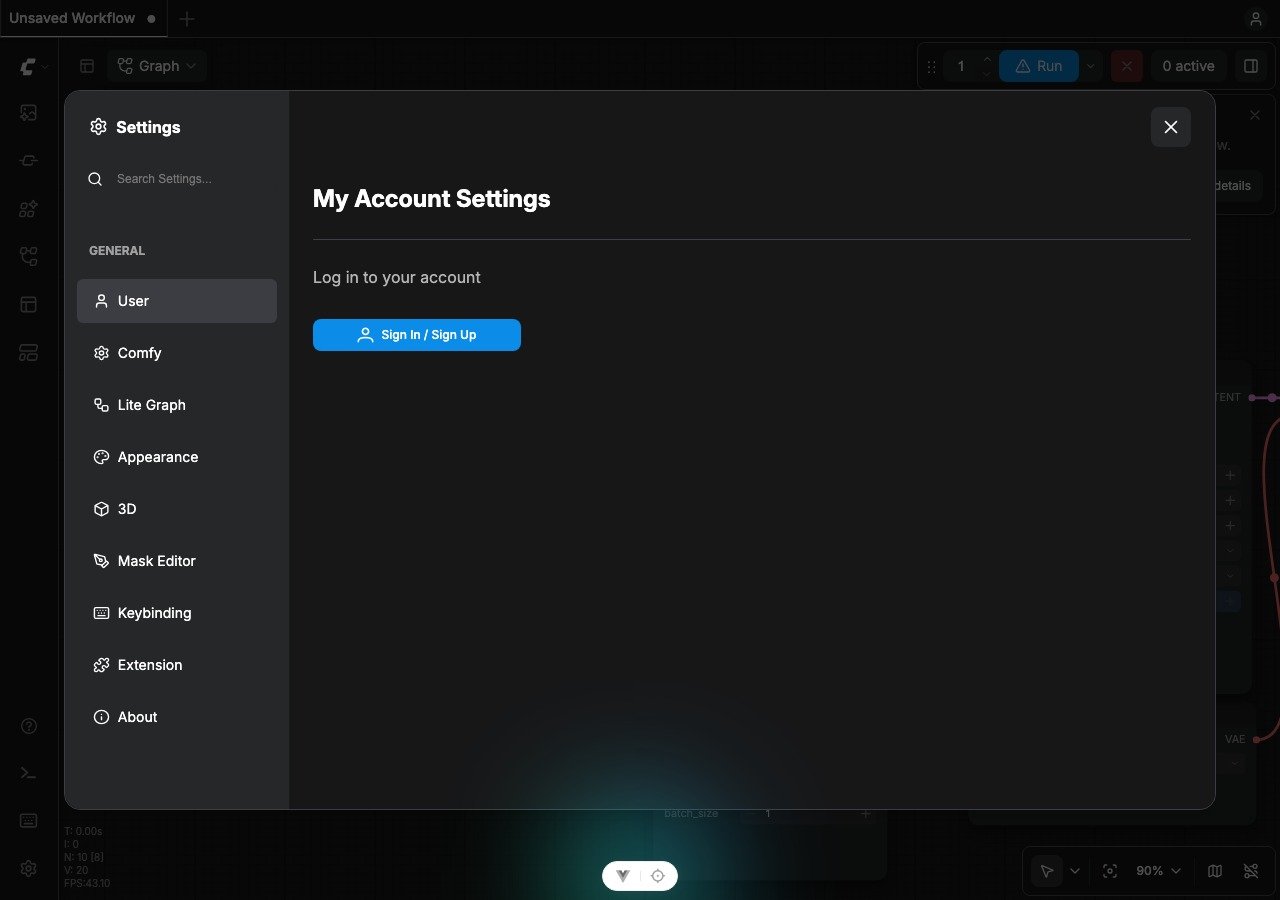
2
Open Plan & Credits
After login, open Settings → Workspace → Plan & Credits (or Cloud profile → Manage plan).
3
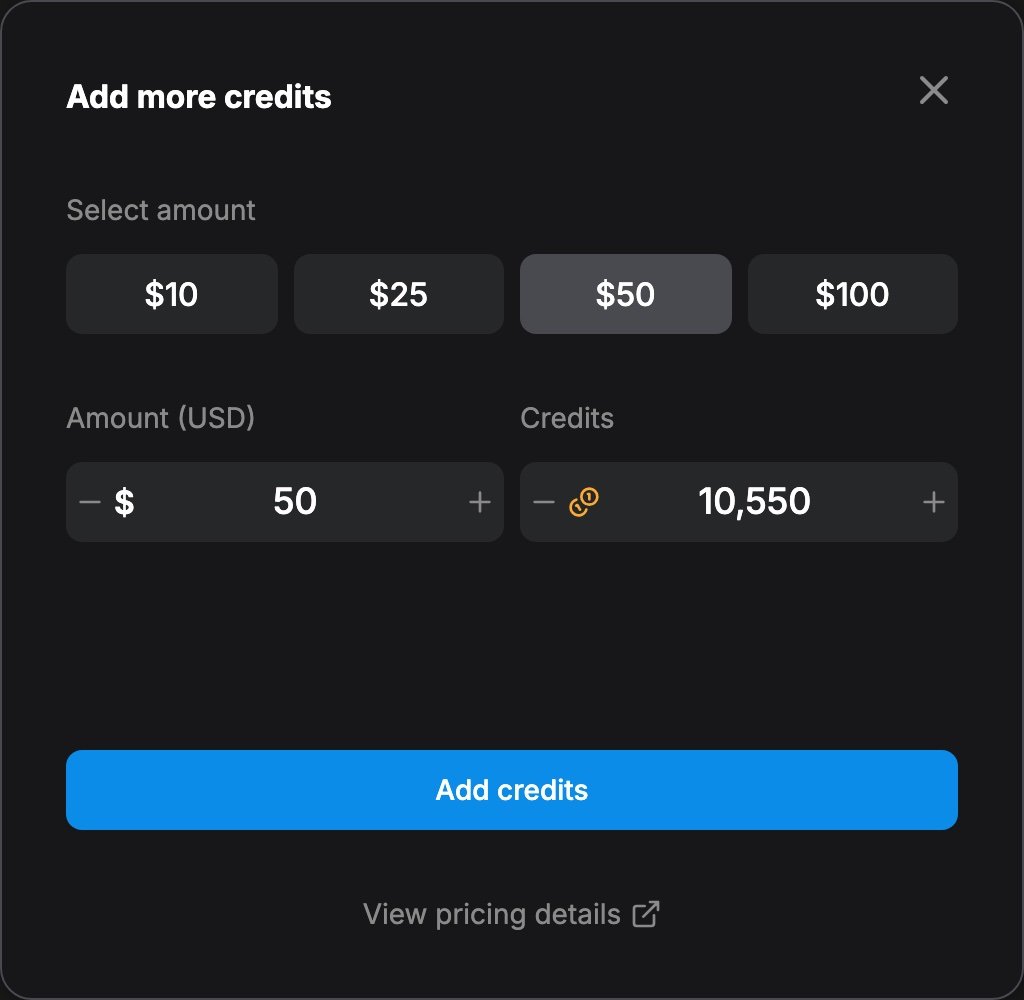
Set the amount of credits to purchase
4
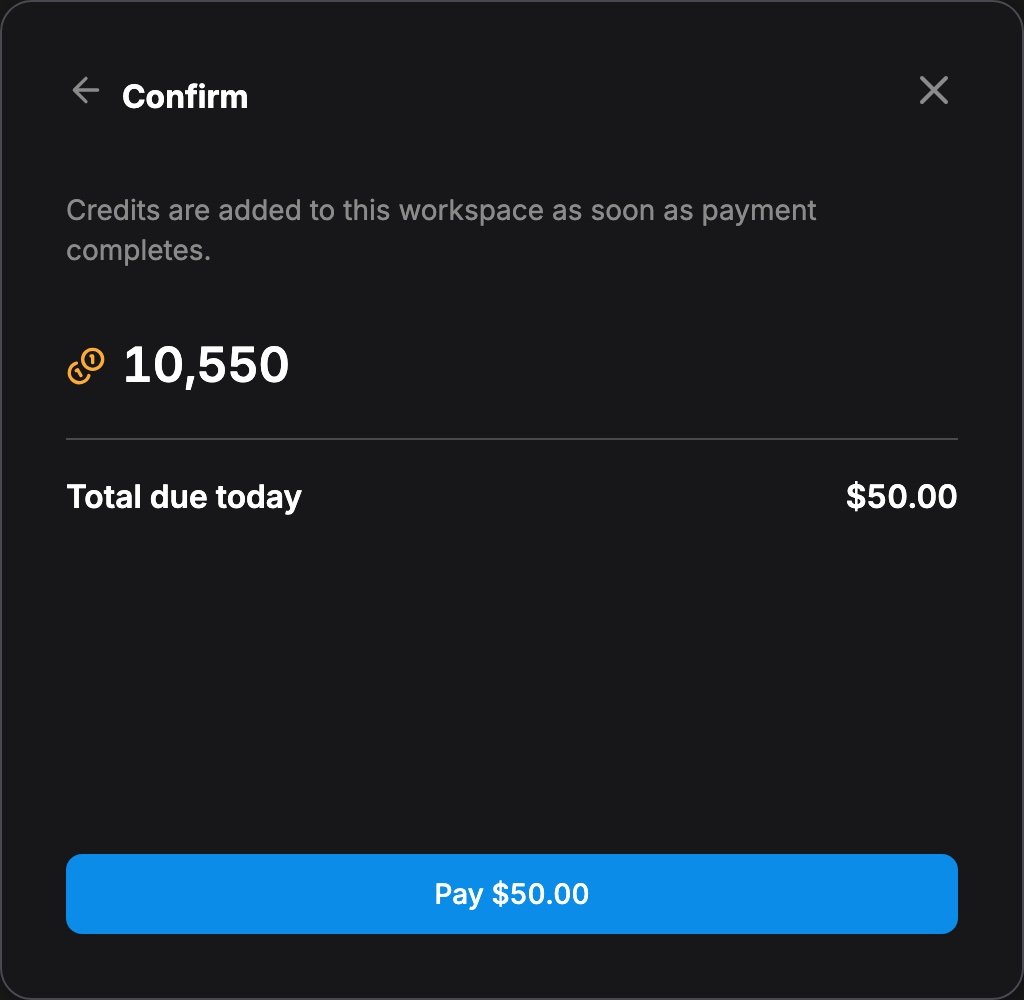
Confirm and complete payment
5
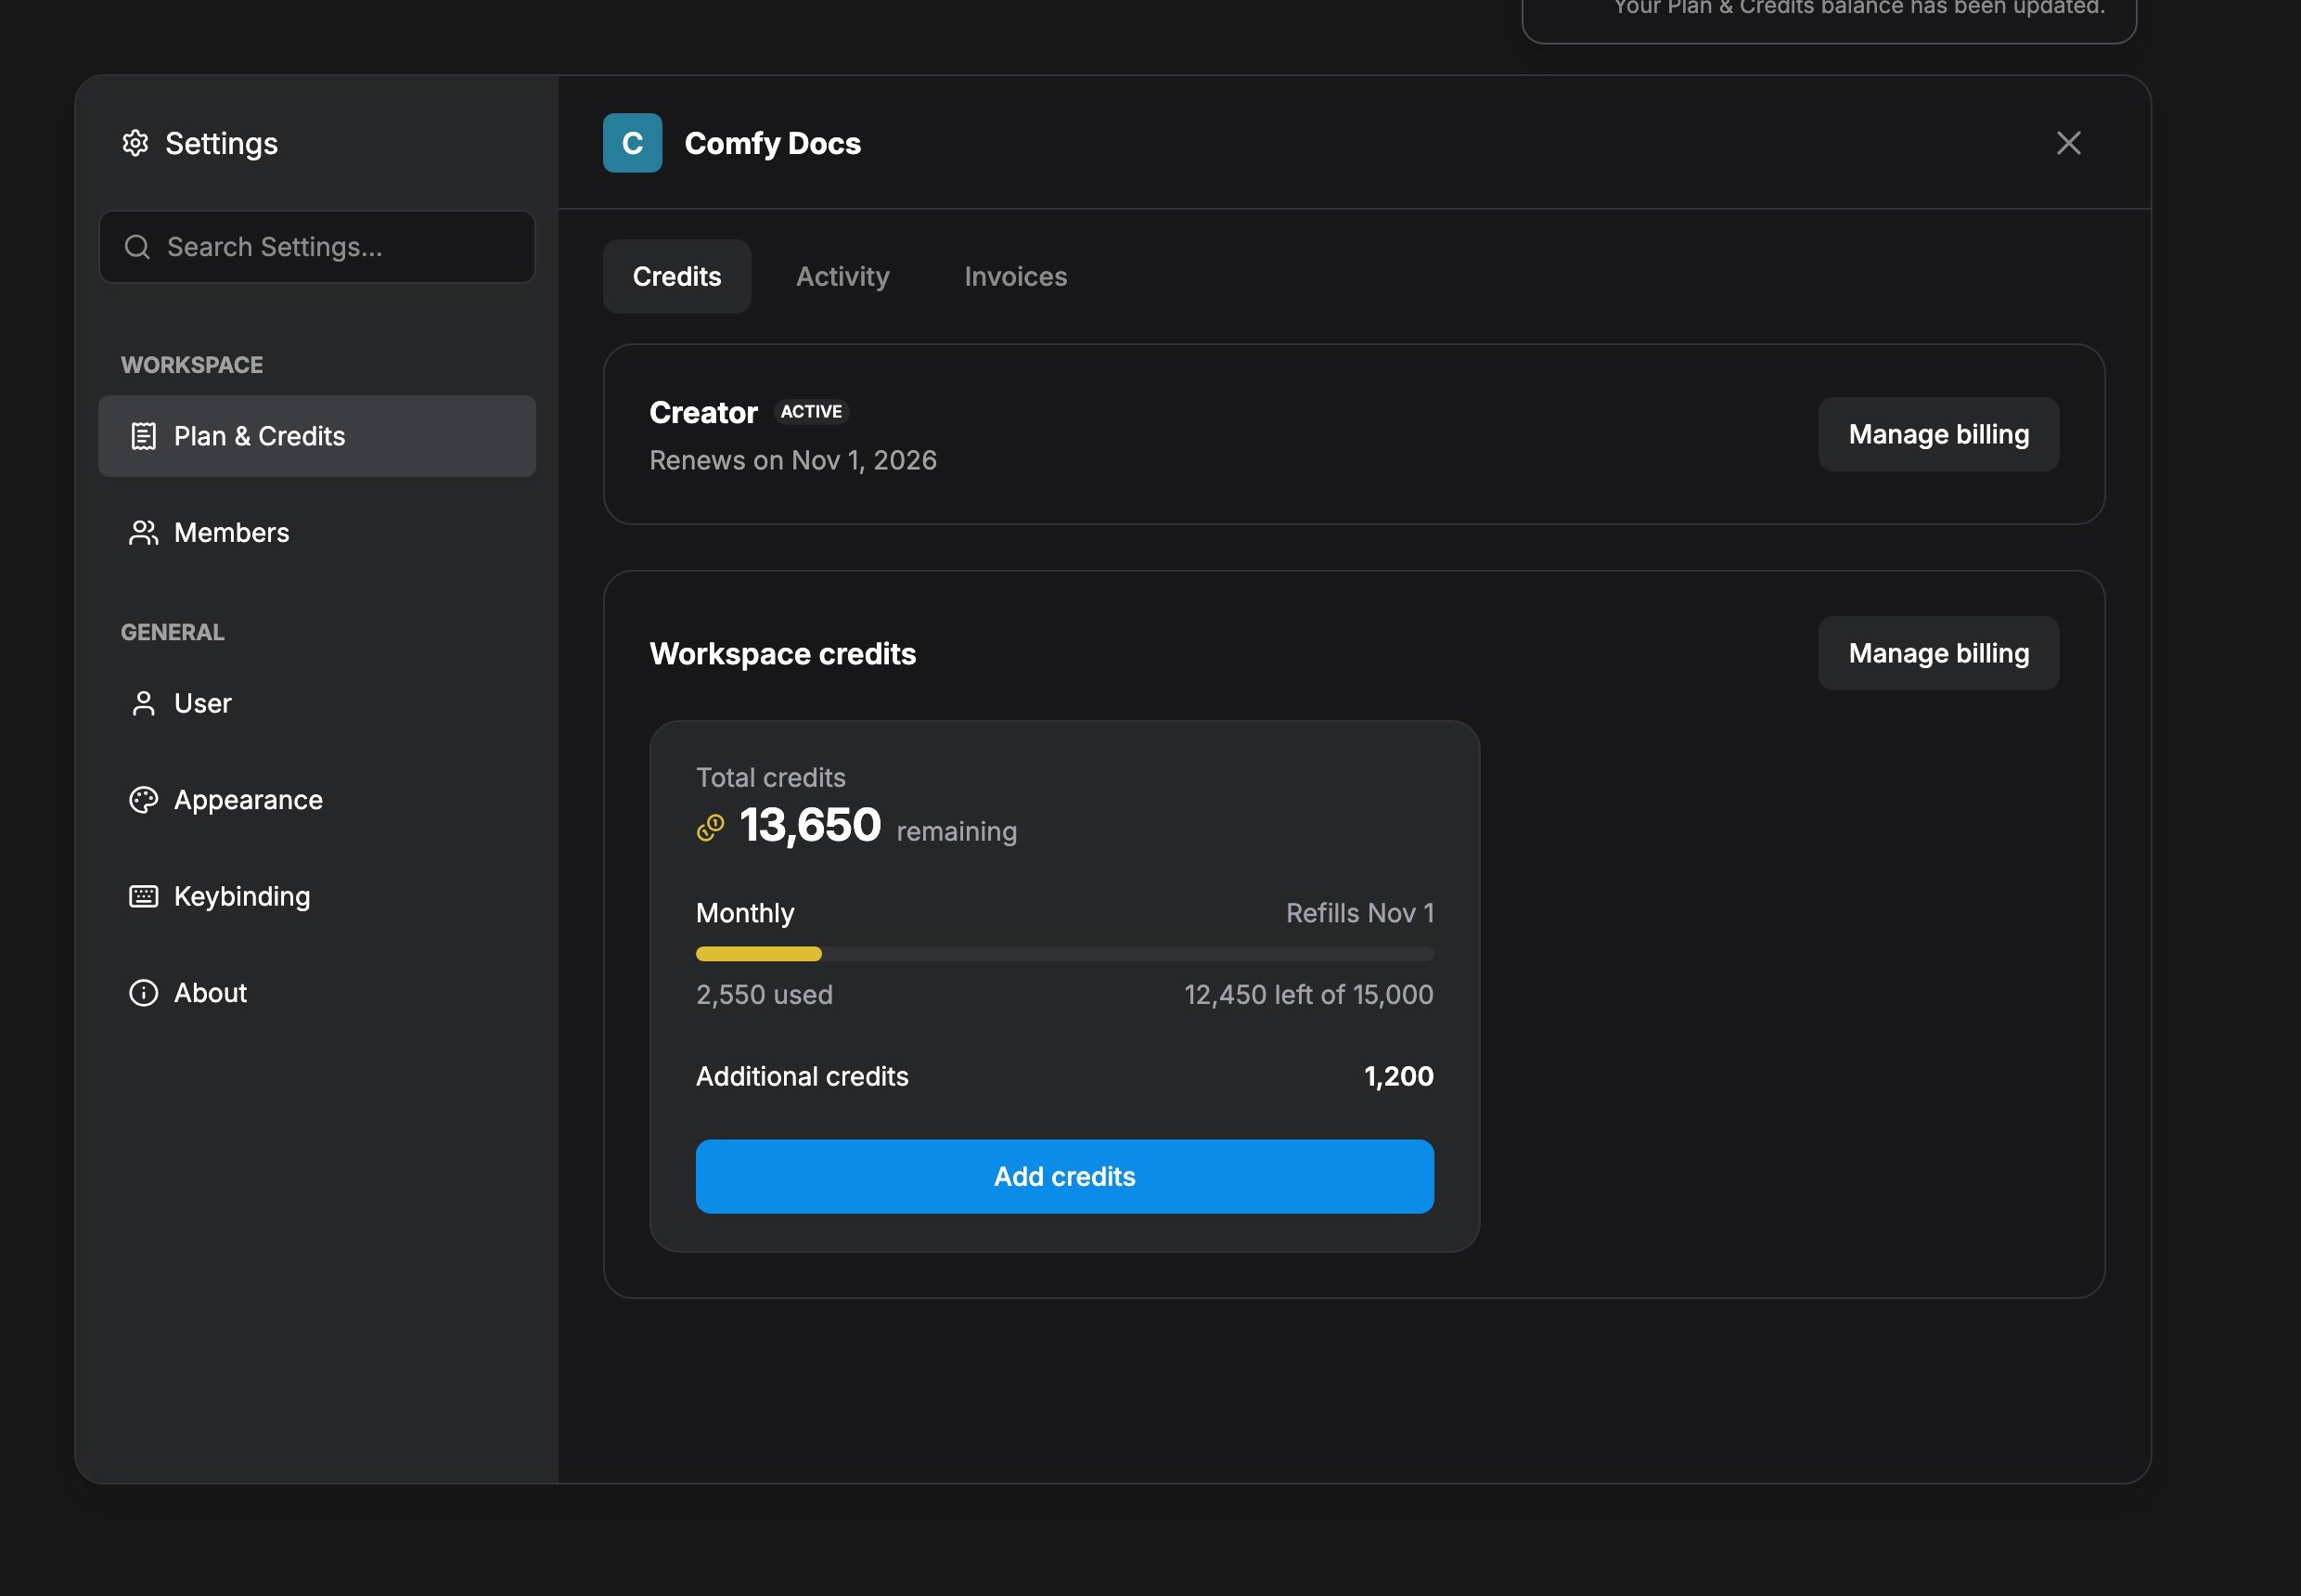
Confirm your balance
Billing panel and auto top-up
In workspaces that use the Billing panel, Settings → Workspace → Billing collects the workspace plan, the credit balance, and automatic top-up in one panel. Owners can change the plan and add credits there. Members see the same balance and a link to their usage.Plan and credits
The plan row shows the current plan, its billing interval, and the next invoice date. A scheduled plan change shows the date it takes effect, with a Stay on button to cancel that change. A canceled subscription shows its end date, with Resume plan to renew. The Available figure at the top of the credits card is what the workspace can spend right now. When runs overspent the balance, the card notes how many credits it went over. When the workspace has an active plan, the card splits the balance two ways:- Plan: the part of the plan allowance the workspace has left this billing period
- Top-up: credits you added, which are spent after the plan allowance runs out. It shows In use now when runs are already spending top-up credits.
Auto top-up
Auto top-up refills the balance automatically when it drops below a threshold, so long jobs can keep running without a manual top-up. It charges the workspace’s default payment method, so a payment method has to be on file first. A failed charge or a reached monthly limit pauses the refill until you fix it. While auto top-up is on, the card shows the rule, for example the amount and credits added and the balance that triggers it. It also shows how much of the monthly limit automatic charges have used. Only automatic charges count toward that limit, and the counter resets each billing cycle. Every button on the card opens the billing page in a new tab, where you change the setting. Owners get the action buttons. Members see the same card without them, plus a note to contact a workspace owner.Frequently Asked Questions
Can credits go negative?
Can credits go negative?
Credits are not intended as a credit line. Partner Nodes sometimes report cost after execution, so one run can leave a temporary negative balance. While the balance is negative, Partner Nodes stay blocked until you top up.
Can I get a refund for unused credits?
Can I get a refund for unused credits?
Currently we do not support refunds for unused credits.
How do I check my current balance and usage?
How do I check my current balance and usage?
Open Settings → Workspace → Plan & Credits. Use the Credits tab for balance and the Activity tab for usage history. In workspaces that show the Billing panel instead, the balance is on the credits card and View usage opens the usage history.
How can I know how much the node will cost?
How can I know how much the node will cost?
Check the price badge on the API / Partner Node before running. Actual cost can vary with image size, generation count, and other parameters.
Why don't I see WeChat or Alipay payment options?
Why don't I see WeChat or Alipay payment options?
Choose payment in Comfy Credits. WeChat and Alipay are only available for that currency path.
Do credits come with a Cloud plan?
Do credits come with a Cloud plan?
No. Buying credits does not start a subscription and does not unlock Cloud workflows: running workflows on Cloud needs a plan. Partner Nodes in local ComfyUI and Desktop can use credits without a plan.
Do credits expire?
Do credits expire?
Yes, expiration depends on the type:
- Monthly credits: Expire at the end of your billing period
- Top-up credits: Expire 1 year from the purchase date