

Pixal3D: Image to 3D Model
Upload a single image. Generate a high-fidelity 3D model with full PBR textures, aligned to your input view. This workflow also includes the TRELLIS.2 pipeline. TheBoolean (Switch to Trellis2) node defaults to false, which runs the Pixal3D pipeline and loads the Pixal3D model automatically.
Run on Comfy Cloud
Run this workflow instantly on Comfy Cloud
Download Workflow
Download JSON or search “Pixal3D & TRELLIS.2: Image to Model” in Template Library
LoadImage node:

viking_wolf_rune_axe.png
LoadImage node 122 · viking_wolf_rune_axe.png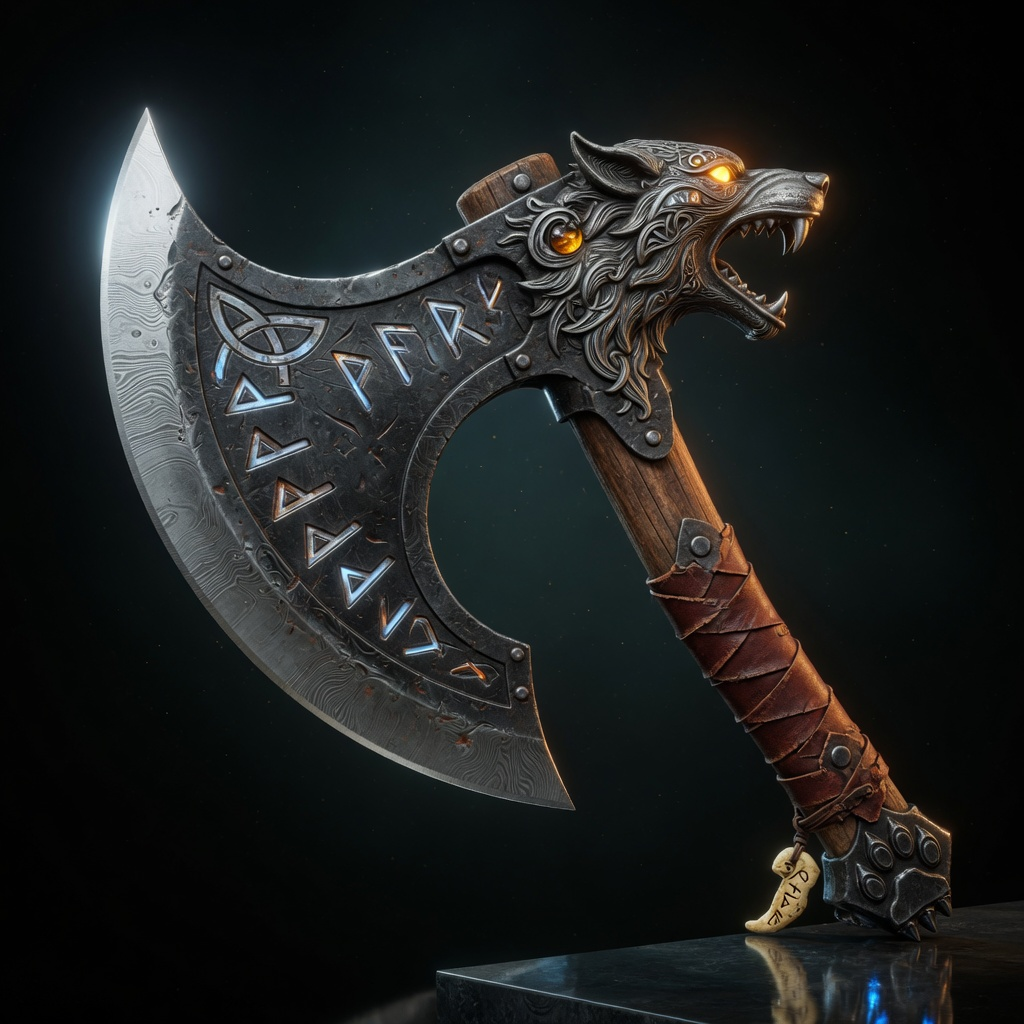
Pixal3D: Multi Views to 3D

Generate a 3D model from a character turnaround sheet (front, side, and back views on one image). The multiview model uses the extra viewpoints to reconstruct geometry the single-image pipeline cannot see, which gives more accurate side and back profiles. Use theCharacter Turnaround Sheet Generator template in the template library to produce the turnaround sheet with Nano Banana 2, or prepare your own multi-view image with the subject separated from the background.
Run on Comfy Cloud
Run this workflow instantly on Comfy Cloud
Download Workflow
Download JSON or search “Pixal3D: Multi Views to 3D” in Template Library
LoadImage node:
character_turnaround_4view_sheet.png
LoadImage node 364 · character_turnaround_4view_sheet.pngmodels/ subdirectories:
Pixal3D Multiview UNet
pixal3d_multiview_int8_convrot.safetensors → ComfyUI/models/diffusion_models/
Shape VAE
trellis_2_shape_vae_bf16.safetensors → ComfyUI/models/vae/
Texture VAE
trellis_2_texture_vae_bf16.safetensors → ComfyUI/models/vae/
DINOv3 CLIP vision
dino_v3_L_naf_fp32.safetensors → ComfyUI/models/clip_vision/
BiRefNet background removal
birefnet.safetensors → ComfyUI/models/background_removal/
How it works
Pixal3D combines camera-aware, pixel-aligned generation with a complete mesh post-processing pipeline:- Background removal: BiRefNet removes the background from the input image, and the workflow crops the subject to a centered canvas. A switch lets you skip background removal
- Camera estimation: MoGe estimates geometry and the camera field of view from the image. The FOV drives the pixel-aligned conditioning
- Structure generation: a sparse structure latent is sampled and decoded into voxels, then converted into a rough mesh
- Shape refinement: the shape stage and the upsampling stage refine the mesh up to the target resolution (1536)
- Texture generation: a texture diffusion stage produces PBR material voxels (base color, metallic, roughness)
- Post-processing: DC remesh, QEM decimation, UV unwrapping, and baking of base color, normal, and ambient occlusion maps into the final textured mesh
Steps to run
- Load an image: use the
LoadImagenode to load a single image of the object - Queue the workflow: press Ctrl (Cmd on macOS) + Enter
- Wait for the pipeline: the structure, shape, and texture stages run in sequence, followed by post-processing
- View the result: inspect the mesh in the
Preview3DAdvancednode. The 3D model is saved toComfyUI/output/3d/ComfyUI/
Model downloads
Download the models used by this workflow. Both diffusion checkpoints are required: the switch selects which one runs. Place them in the correspondingmodels/ subdirectories.
Pixal3D UNet
pixal3d_int8_convrot.safetensors: Pixal3D diffusion model, loaded by default
TRELLIS.2 UNet
trellis_2_int8_convrot.safetensors: TRELLIS.2 diffusion model, loaded when the switch is set to
trueShape VAE
trellis_2_shape_vae_bf16.safetensors: VAE for structure and shape decoding
Texture VAE
trellis_2_texture_vae_bf16.safetensors: VAE for texture decoding
DINOv3 CLIP vision
dino_v3_L_naf_fp32.safetensors: CLIP vision encoder for image conditioning
MoGe geometry
moge_2_vitl_normal_fp16.safetensors: depth and camera estimation for pixel-aligned conditioning
BiRefNet background removal
birefnet.safetensors: background removal model for preprocessing