The subgraph feature requires ComfyUI frontend version 1.24.3 or later. If you don’t see this feature, please refer to: How to Update ComfyUI
- Images in this document are made with nightly version frontend, please refer to the actual interface
- Some features like converting subgraph back to nodes will be supported in the future
A subgraph is a powerful ComfyUI feature that lets you package complex workflows into a single reusable subgraph node, making them easier to manage and share.
- Simplify complex workflows
- Reuse common node combinations
- Build more efficient workflows with modular components
Creating a Subgraph
1
Select nodes
Select the nodes you want to group in ComfyUI
2
Click the subgraph icon
3
Subgraph created
4
Customize your subgraph
Refer to Editing Subgraphs, you can edit and organize the subgraph to create a fully functional node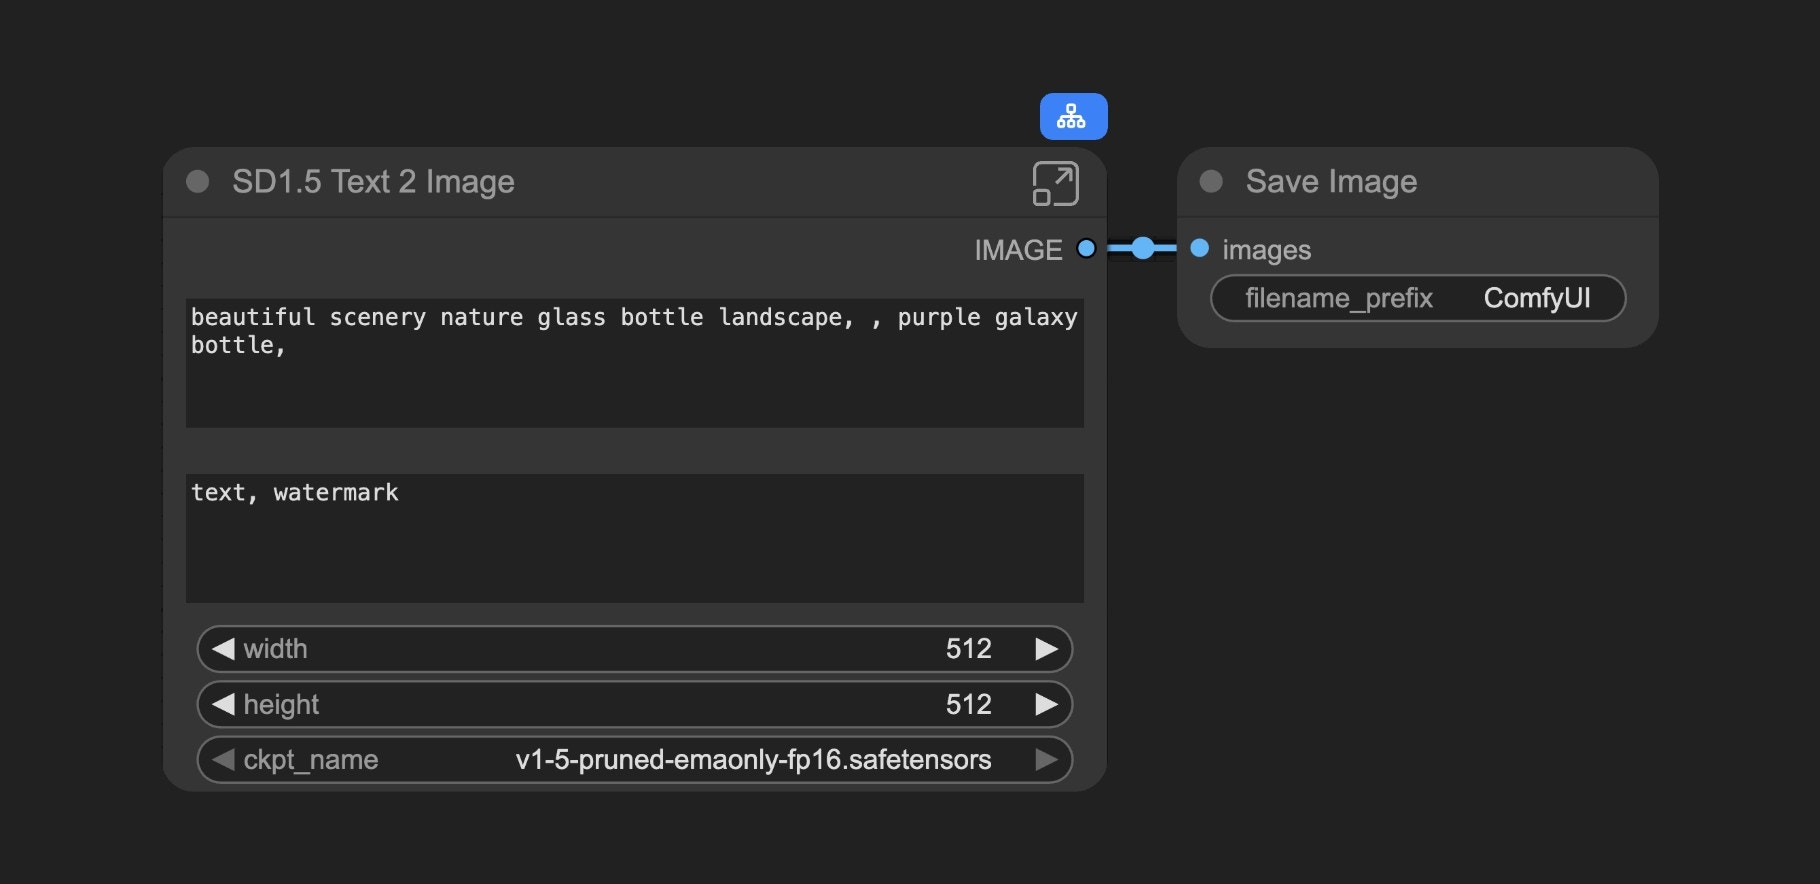
Working with Subgraphs
Basic Operations
Subgraphs work just like regular nodes. You can:- Change colors and names
- Use bypass to disable
- Apply all standard node operations
Editing Subgraphs
To enter edit mode:- Double-click the empty area inside the subgraph (not on widgets), or
- Click the subgraph edit button
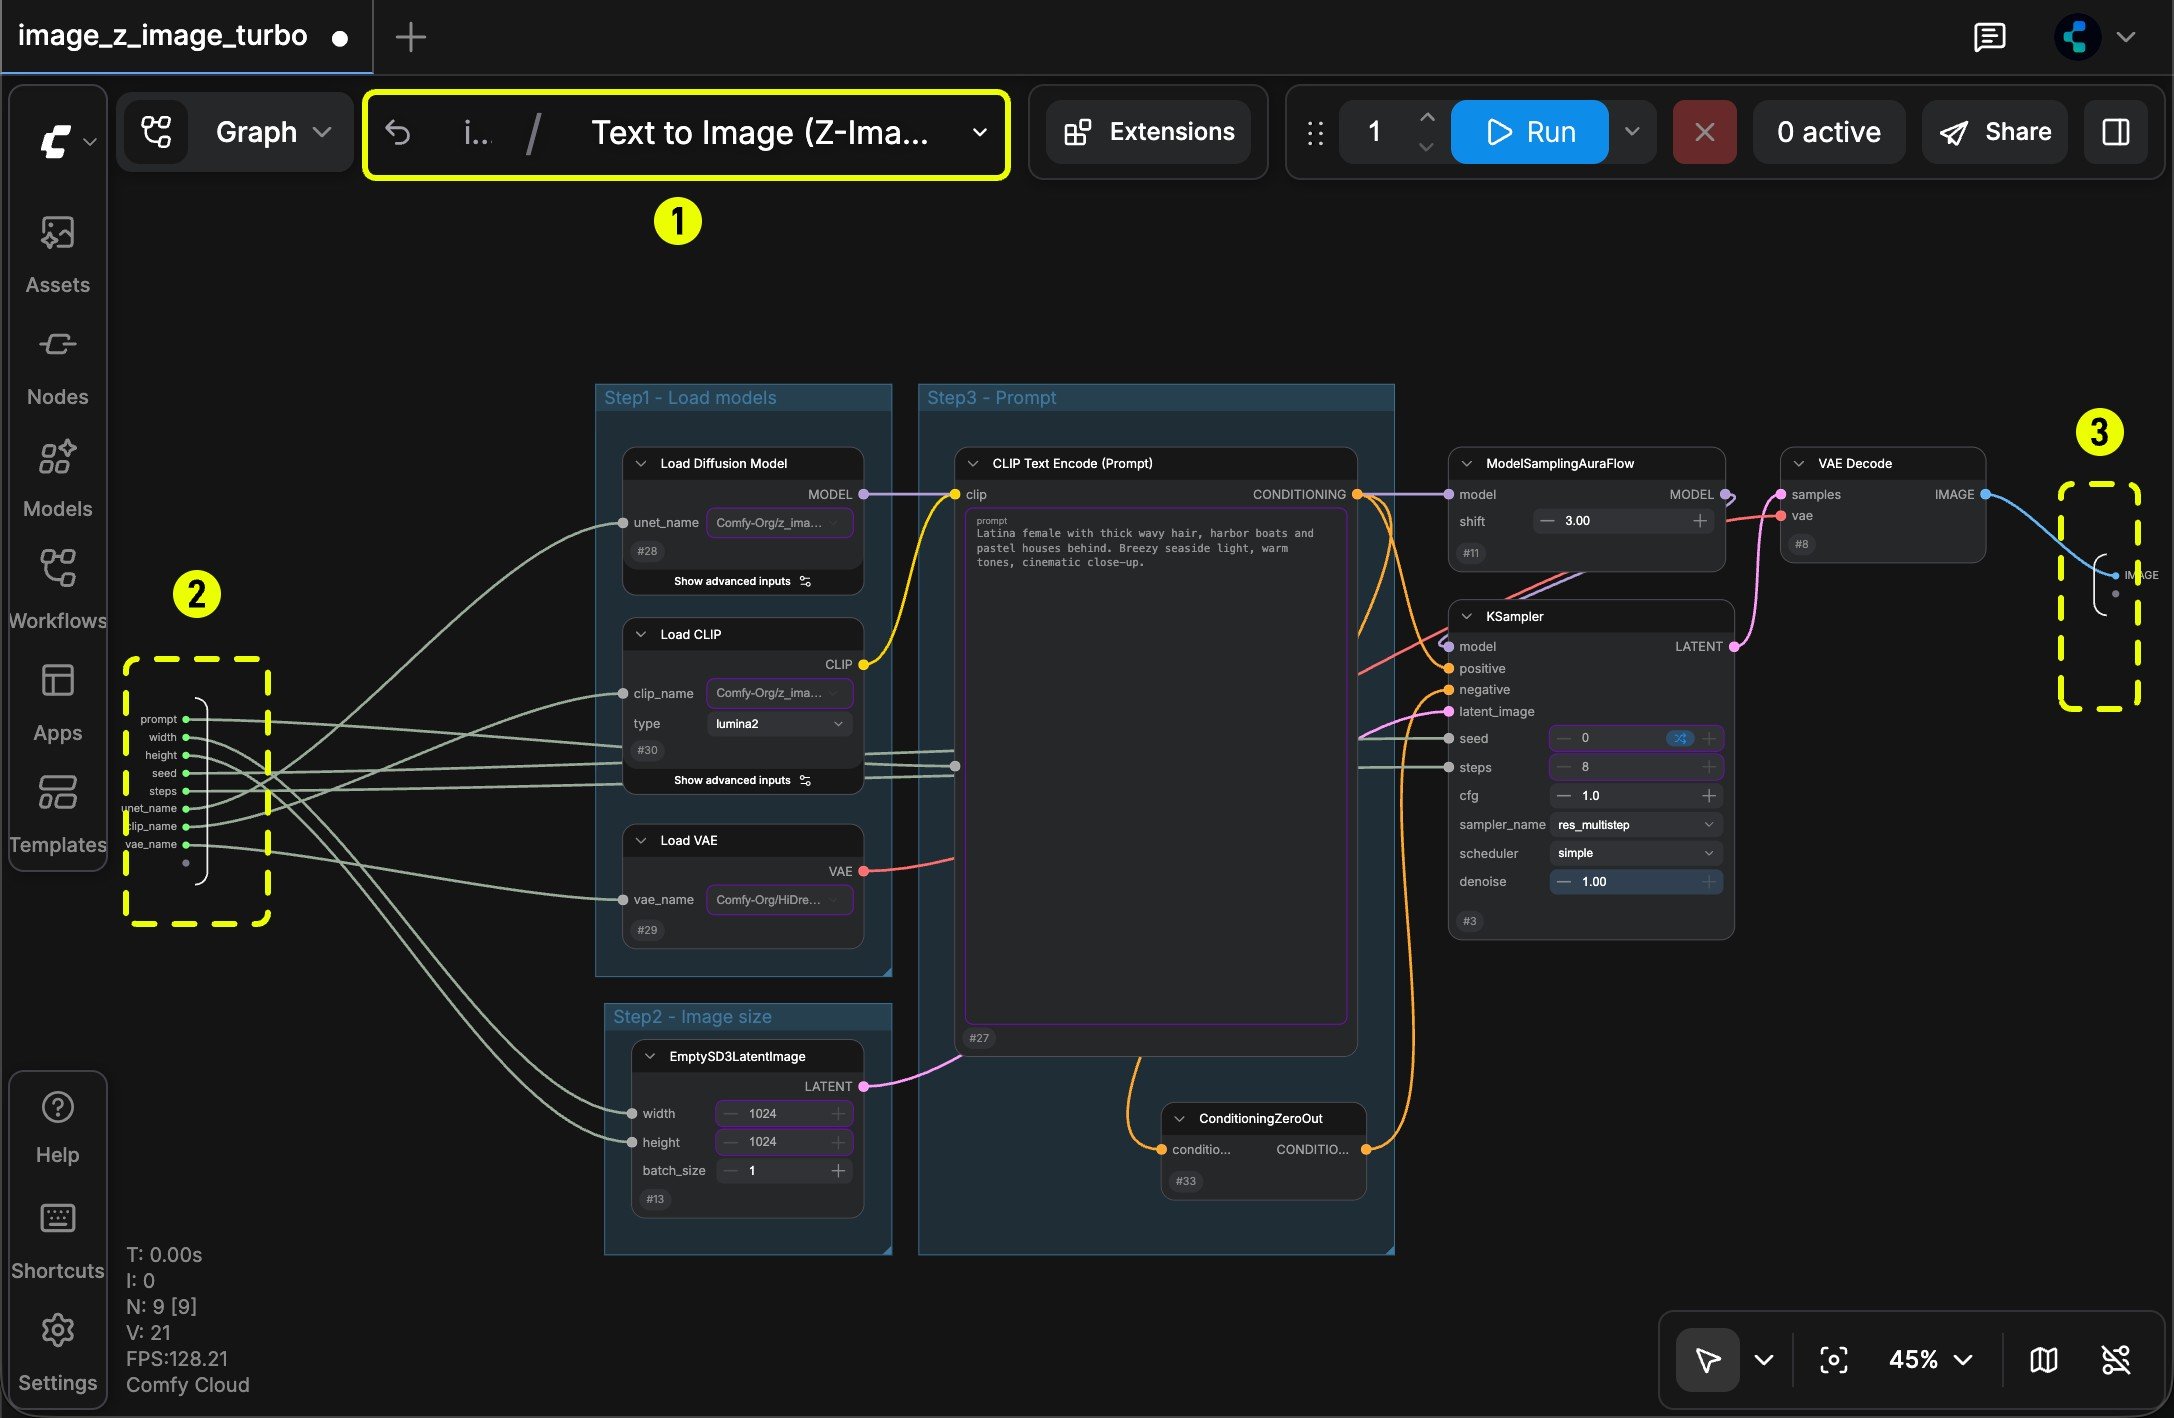
- Navigation bar: Exit the current subgraph and return to the parent level
- Input slots: Internal node inputs exposed to the outside
- Connect outputs to slots like normal nodes
- Right-click connection points to rename/delete exposed slots
- Output slots: Outputs exposed to the outside (same functionality as input slots)
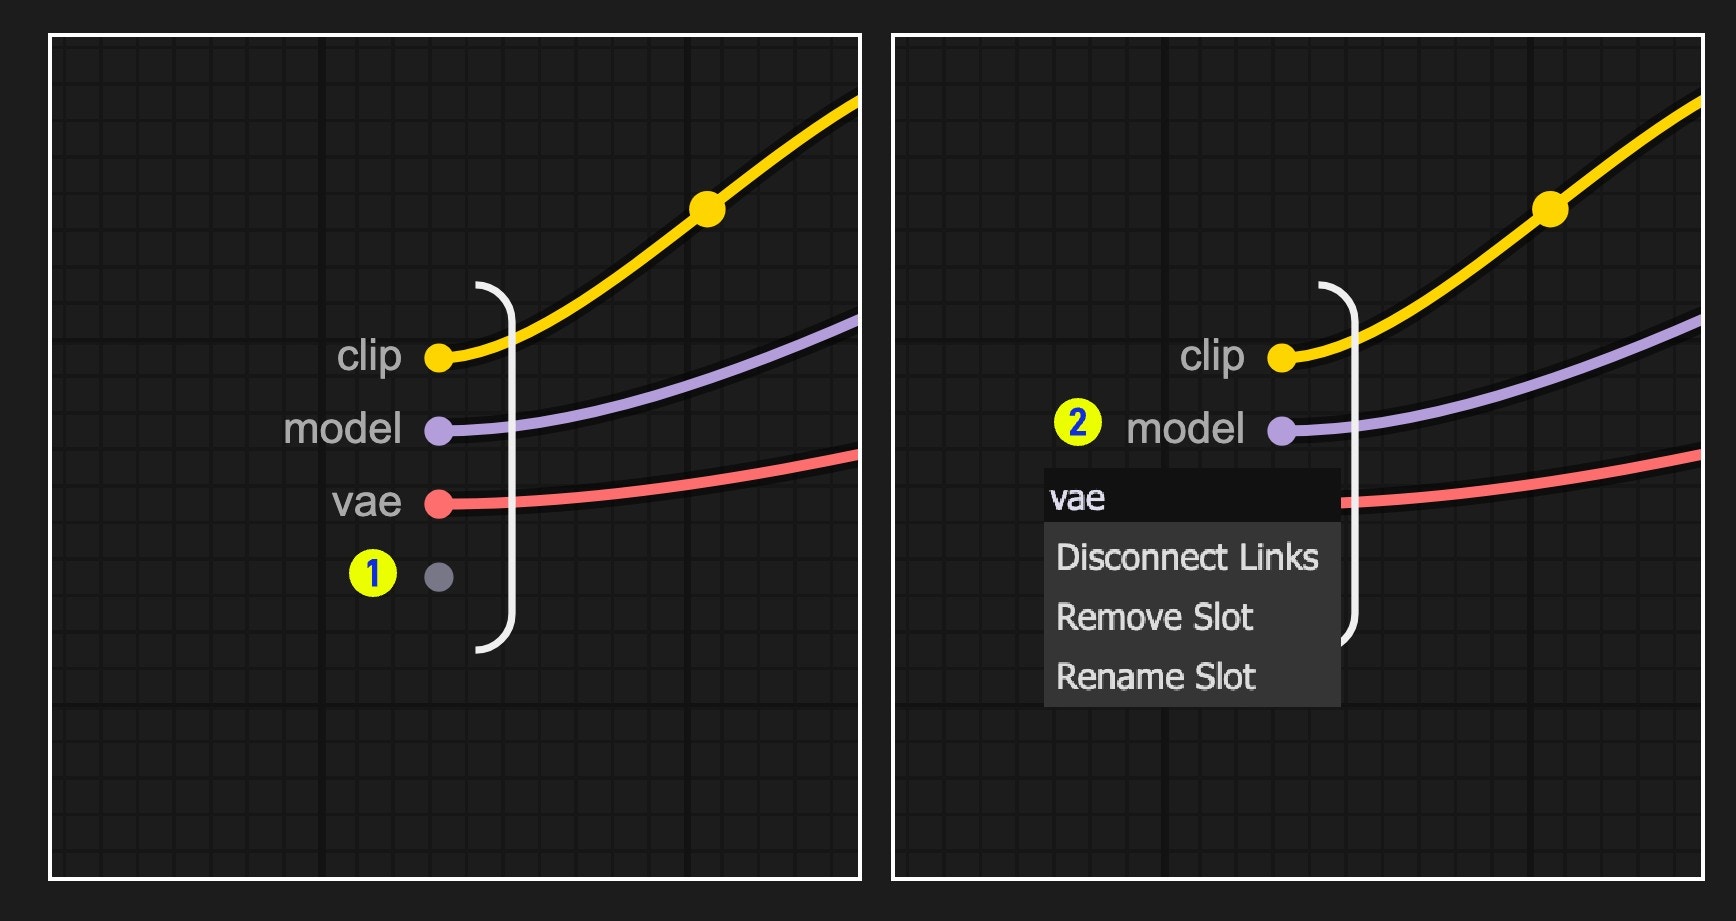
- Default slot (labeled 1): Use this to add new input/output connections
- Right-click existing slots to rename, delete, or disconnect from original nodes
Note: Slot connections follow standard data type validation rules
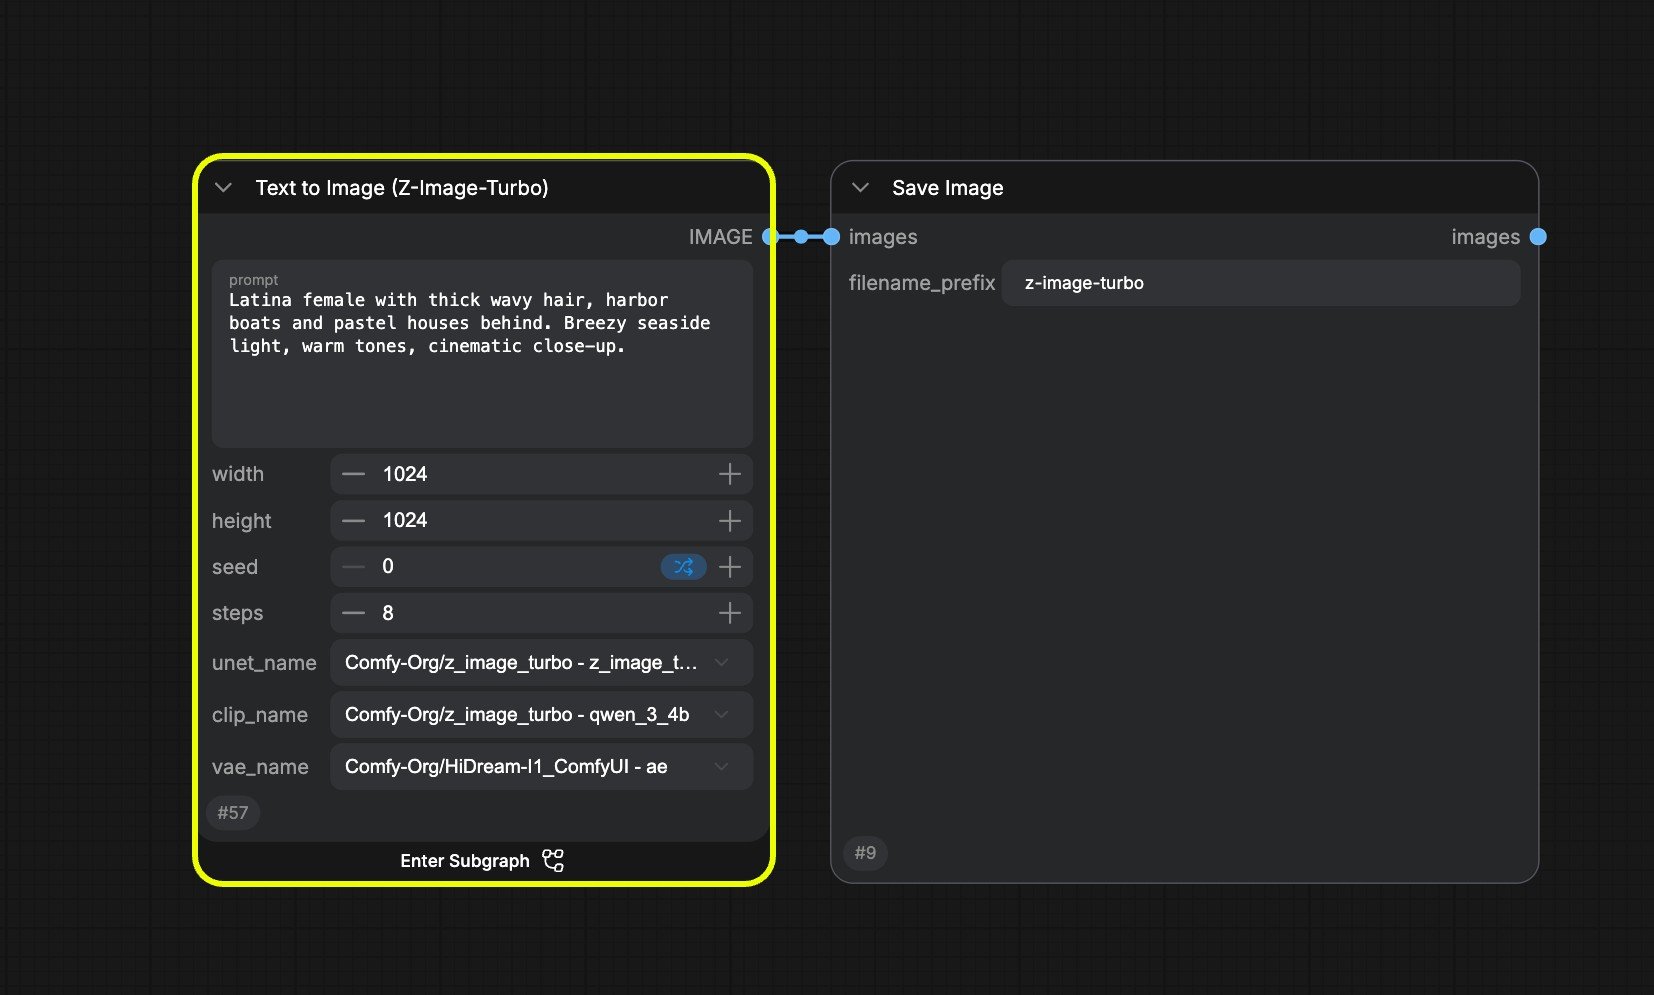
Parameters Panel
With ComfyUI v0.3.66 or later, you can edit the subgraph parameters directly from the parameters panel without entering the subgraph. You can select any subgraph and use the “Edit Subgraph Widgets” button to open the parameters panel.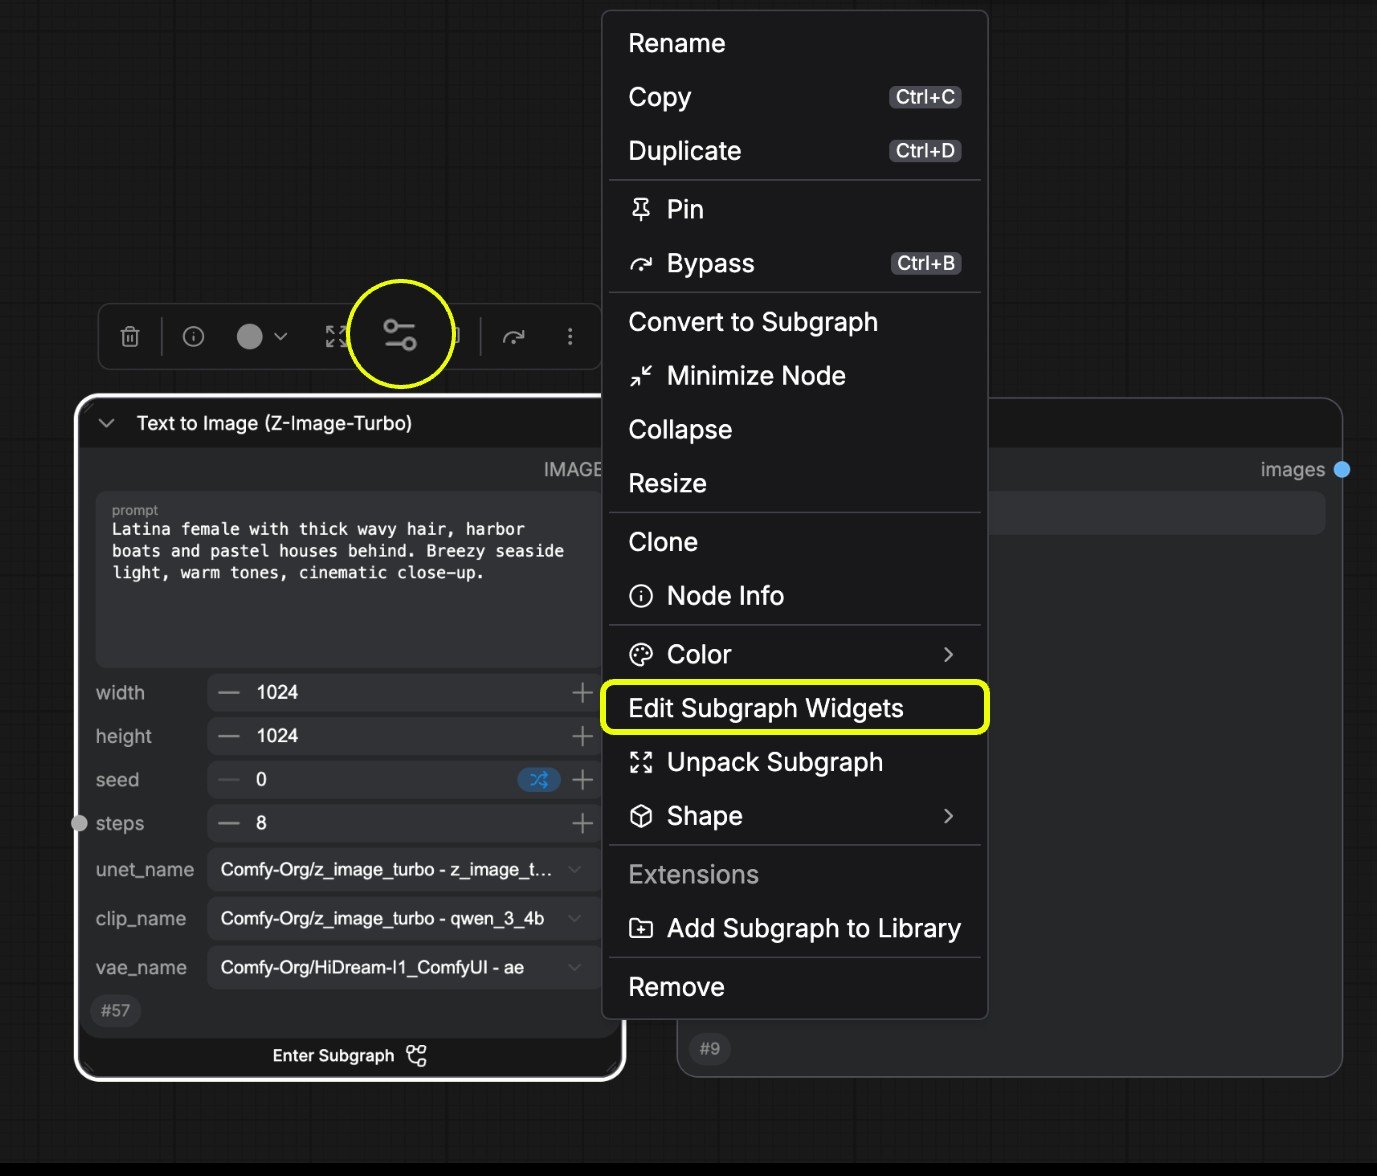
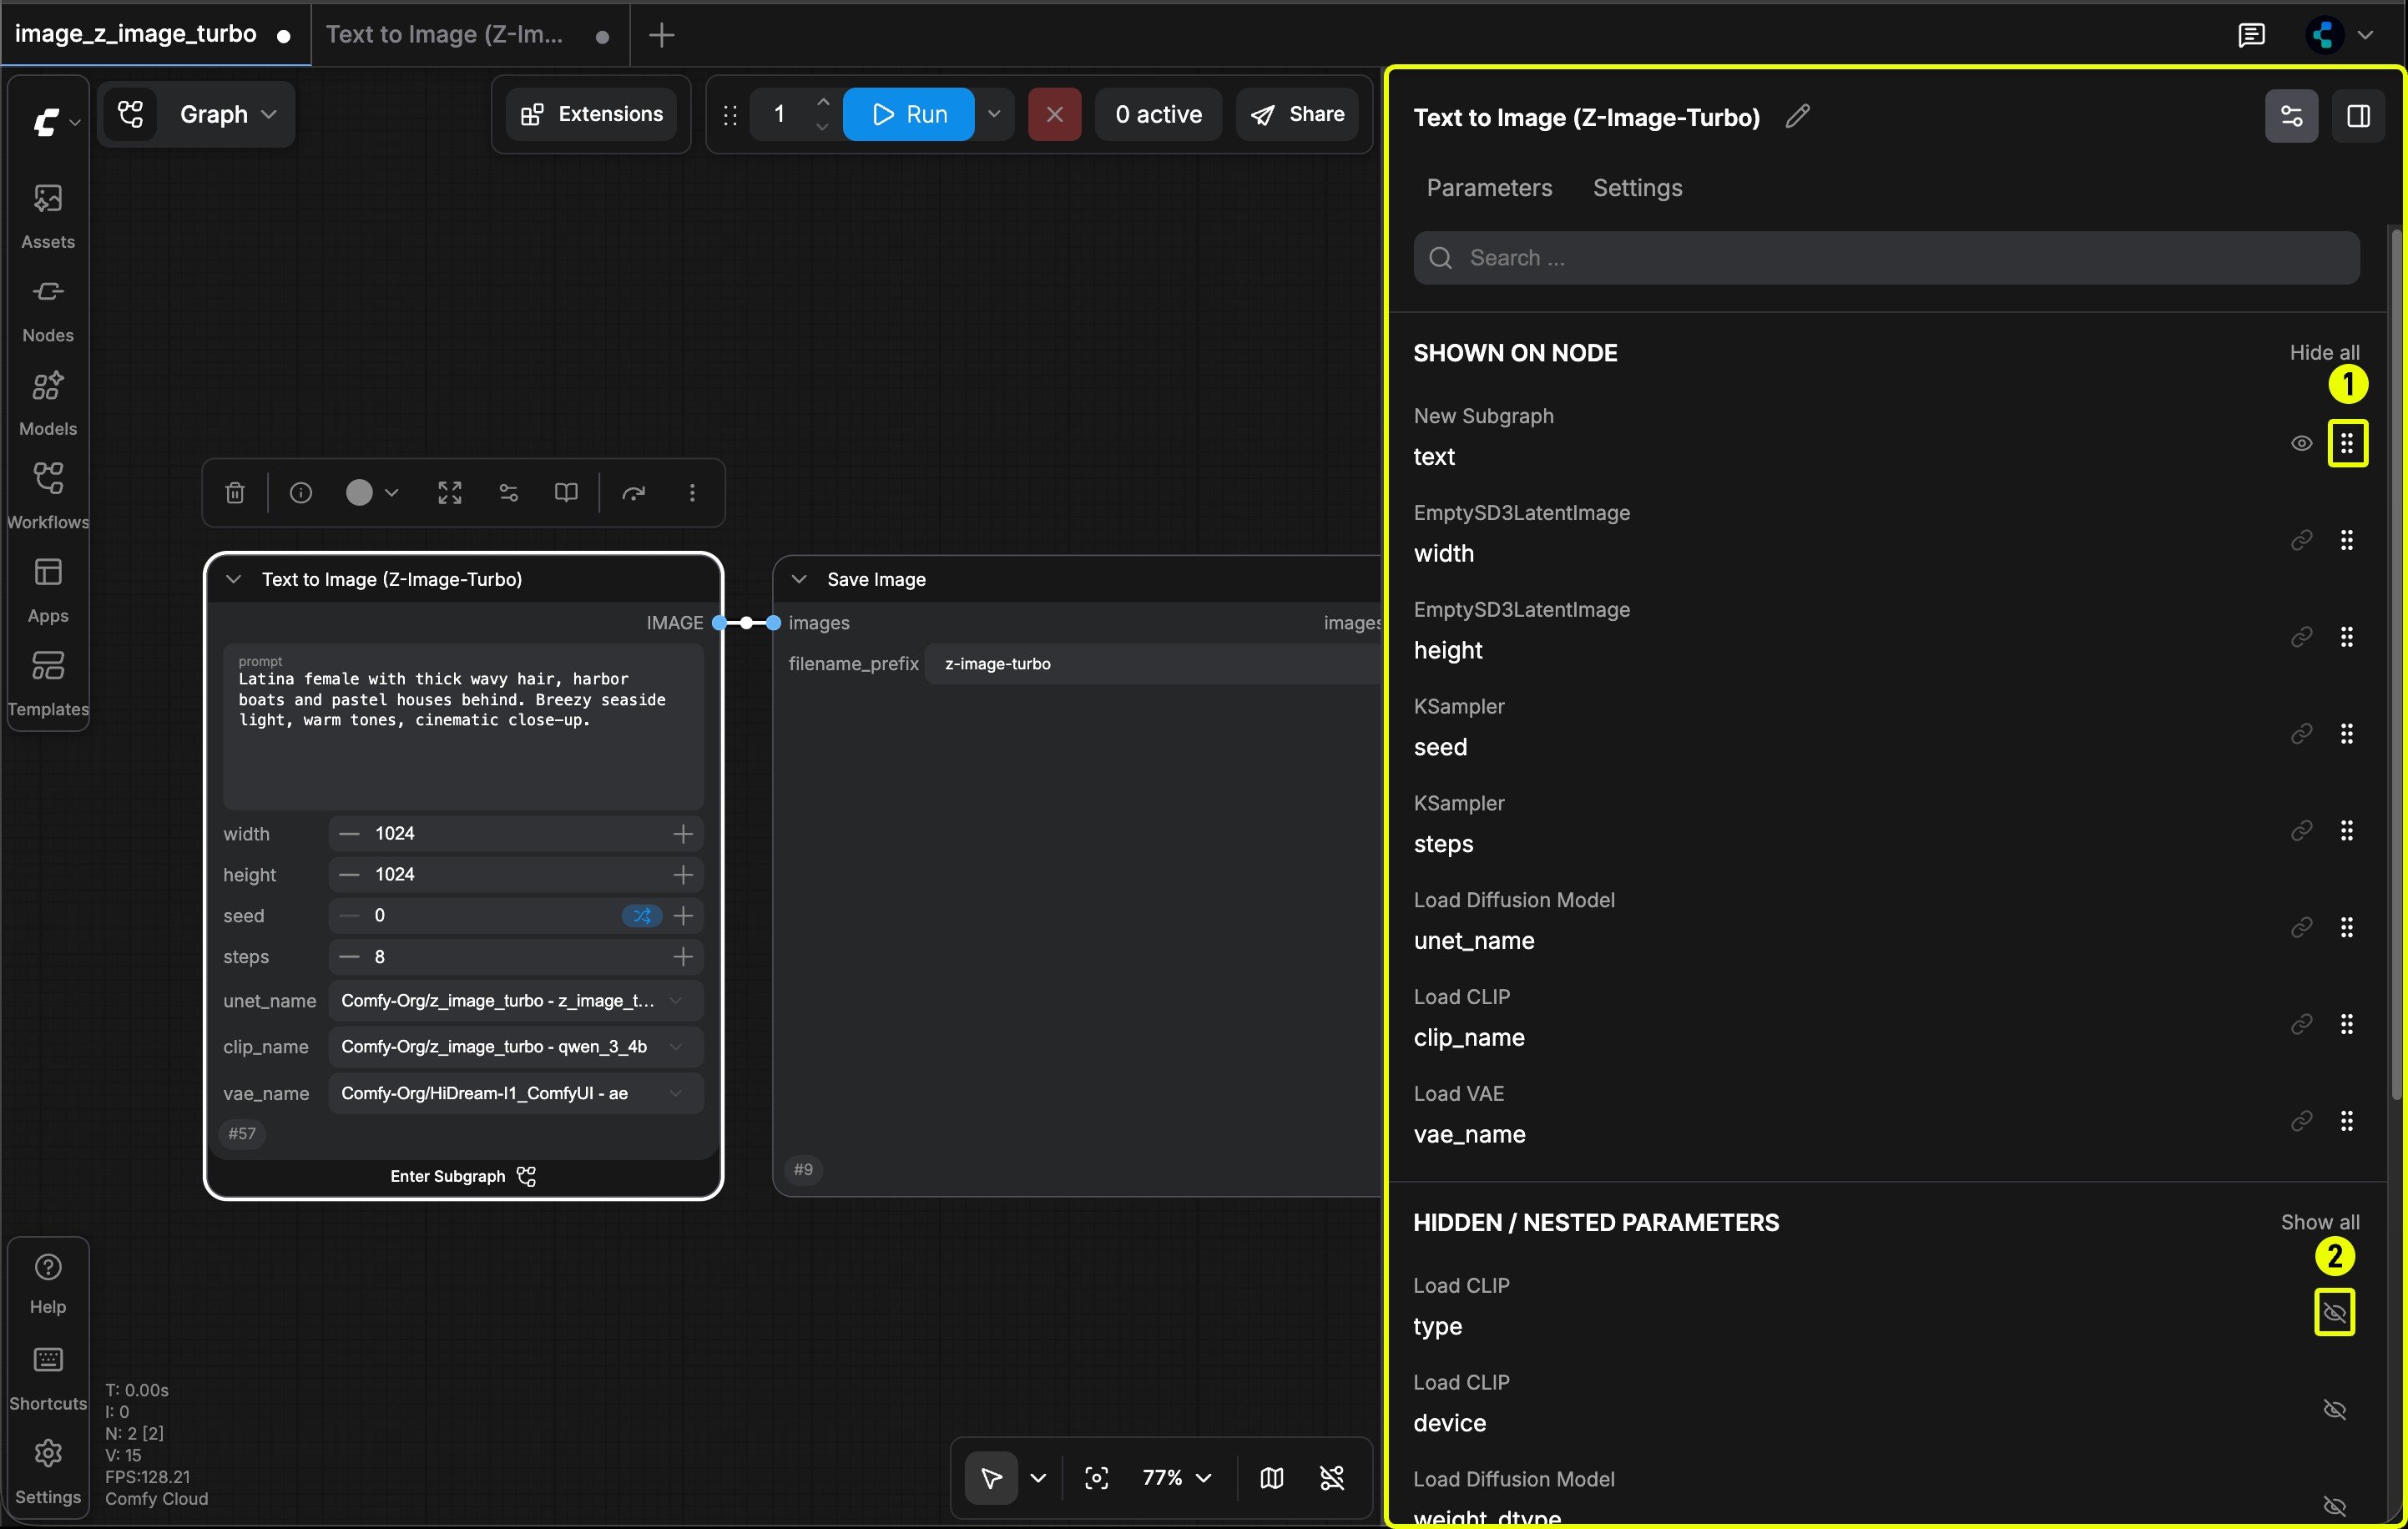
- Reordering: you use right-click and hold the widget to drag it to the desired position
- Visibility: you can check the visibility of the widget by clicking the eye icon
Nested Subgraphs
Create even more complex workflows by nesting subgraphs within subgraphs.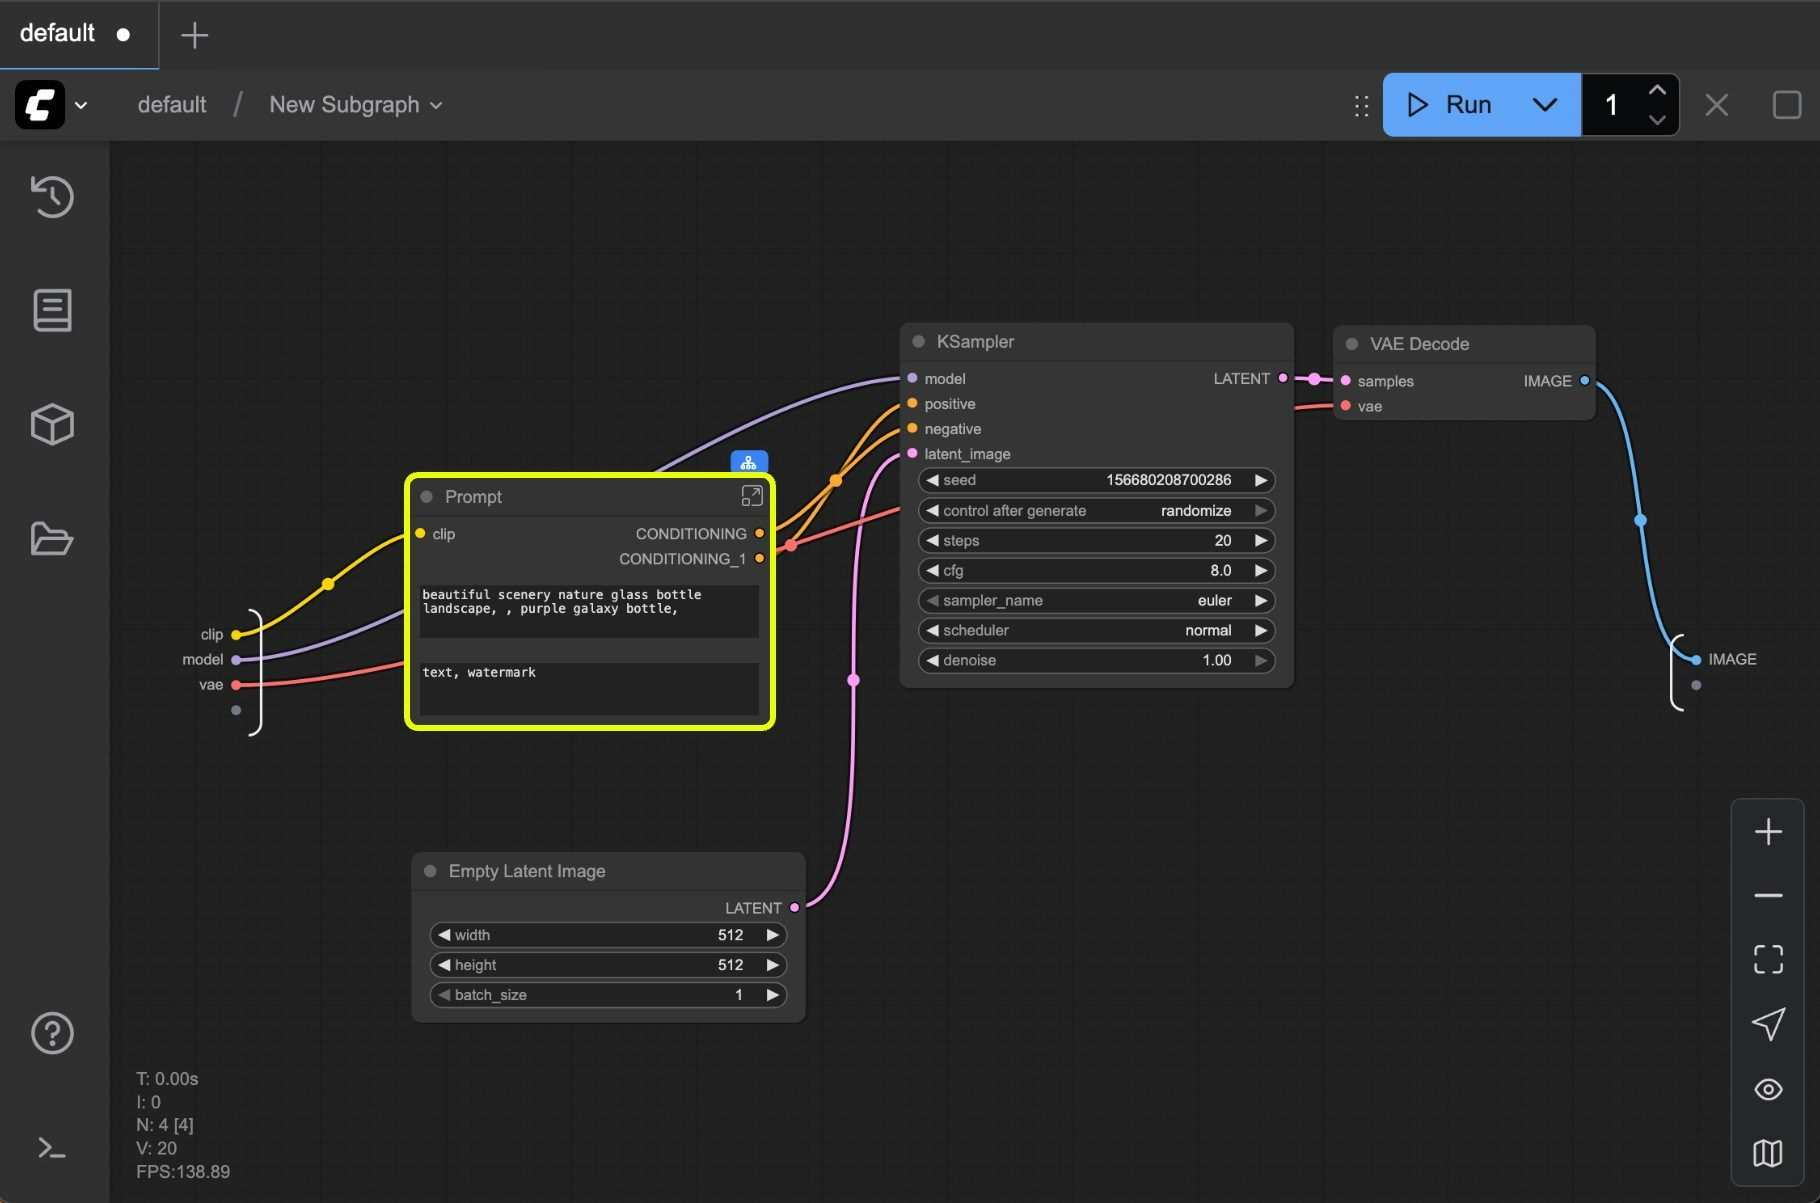
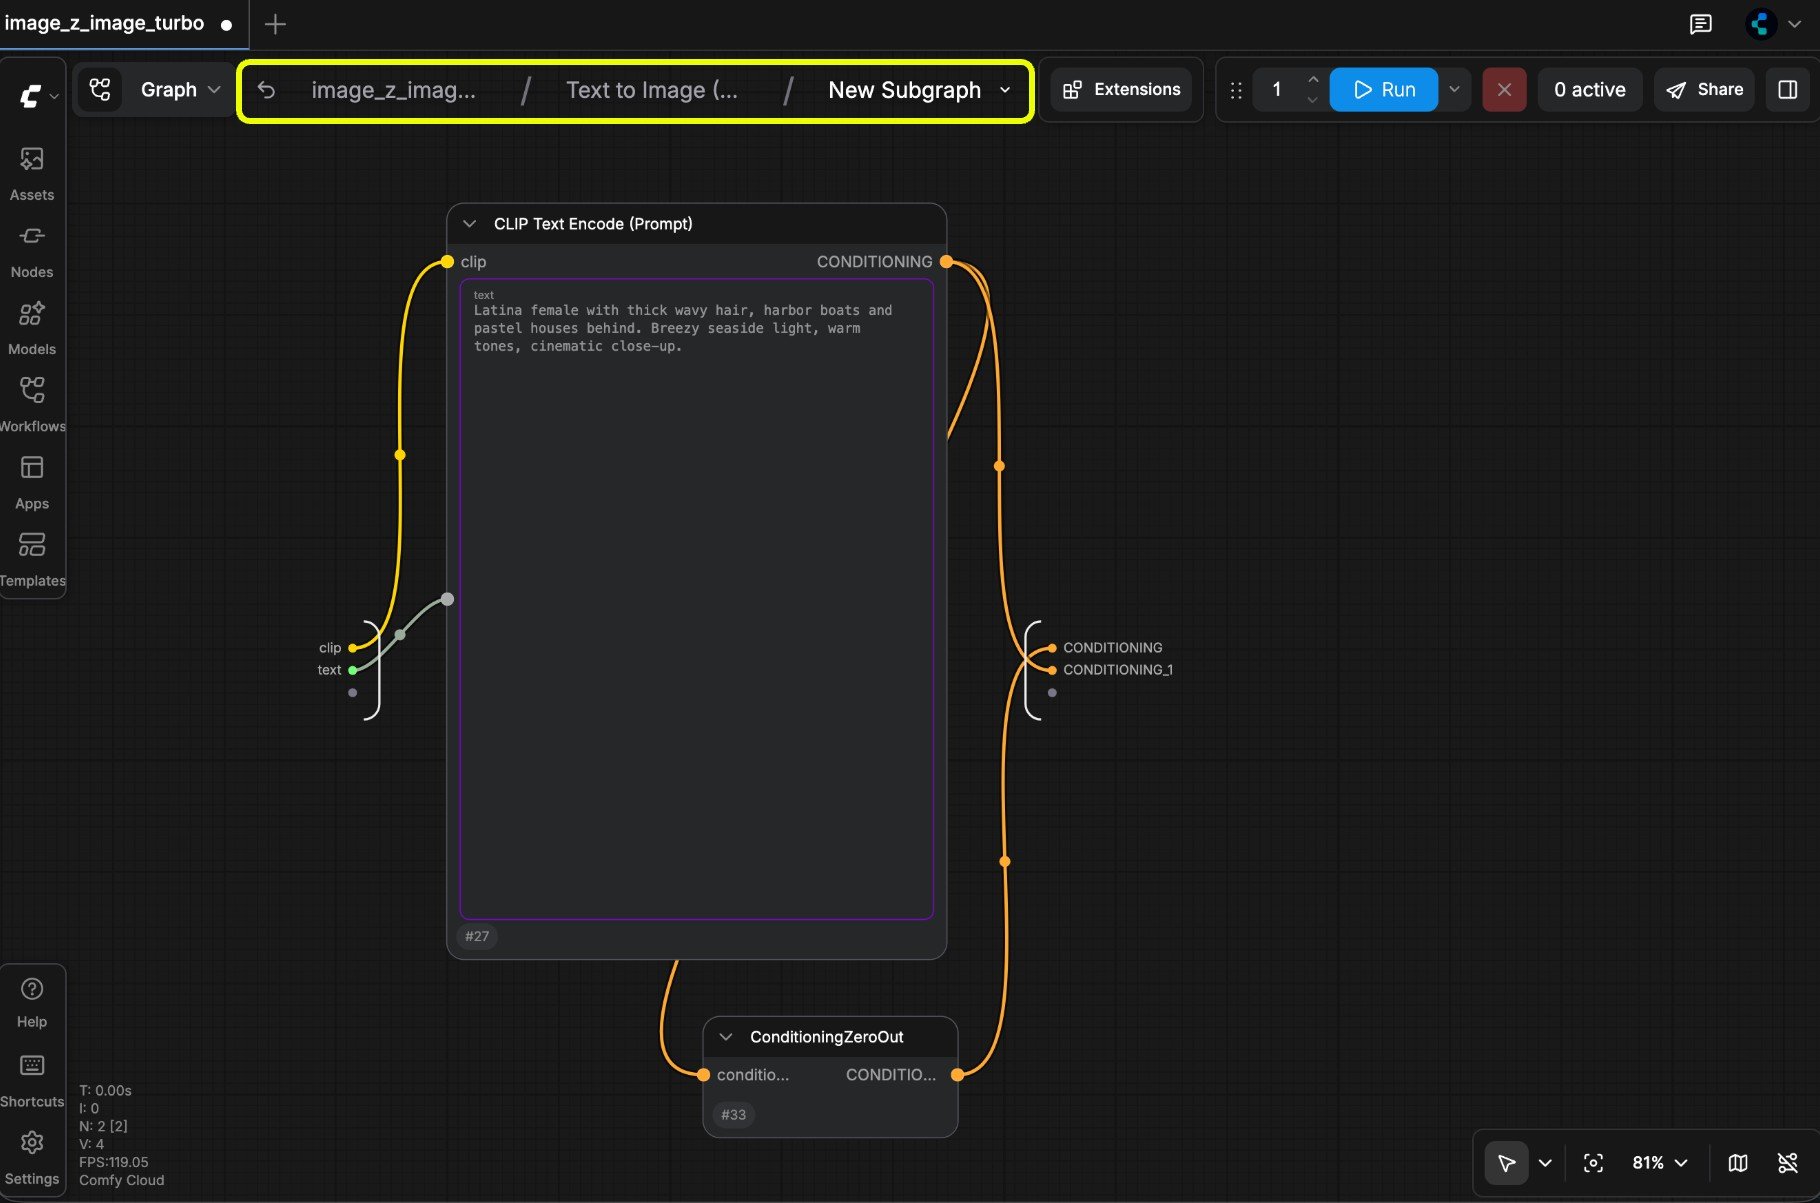
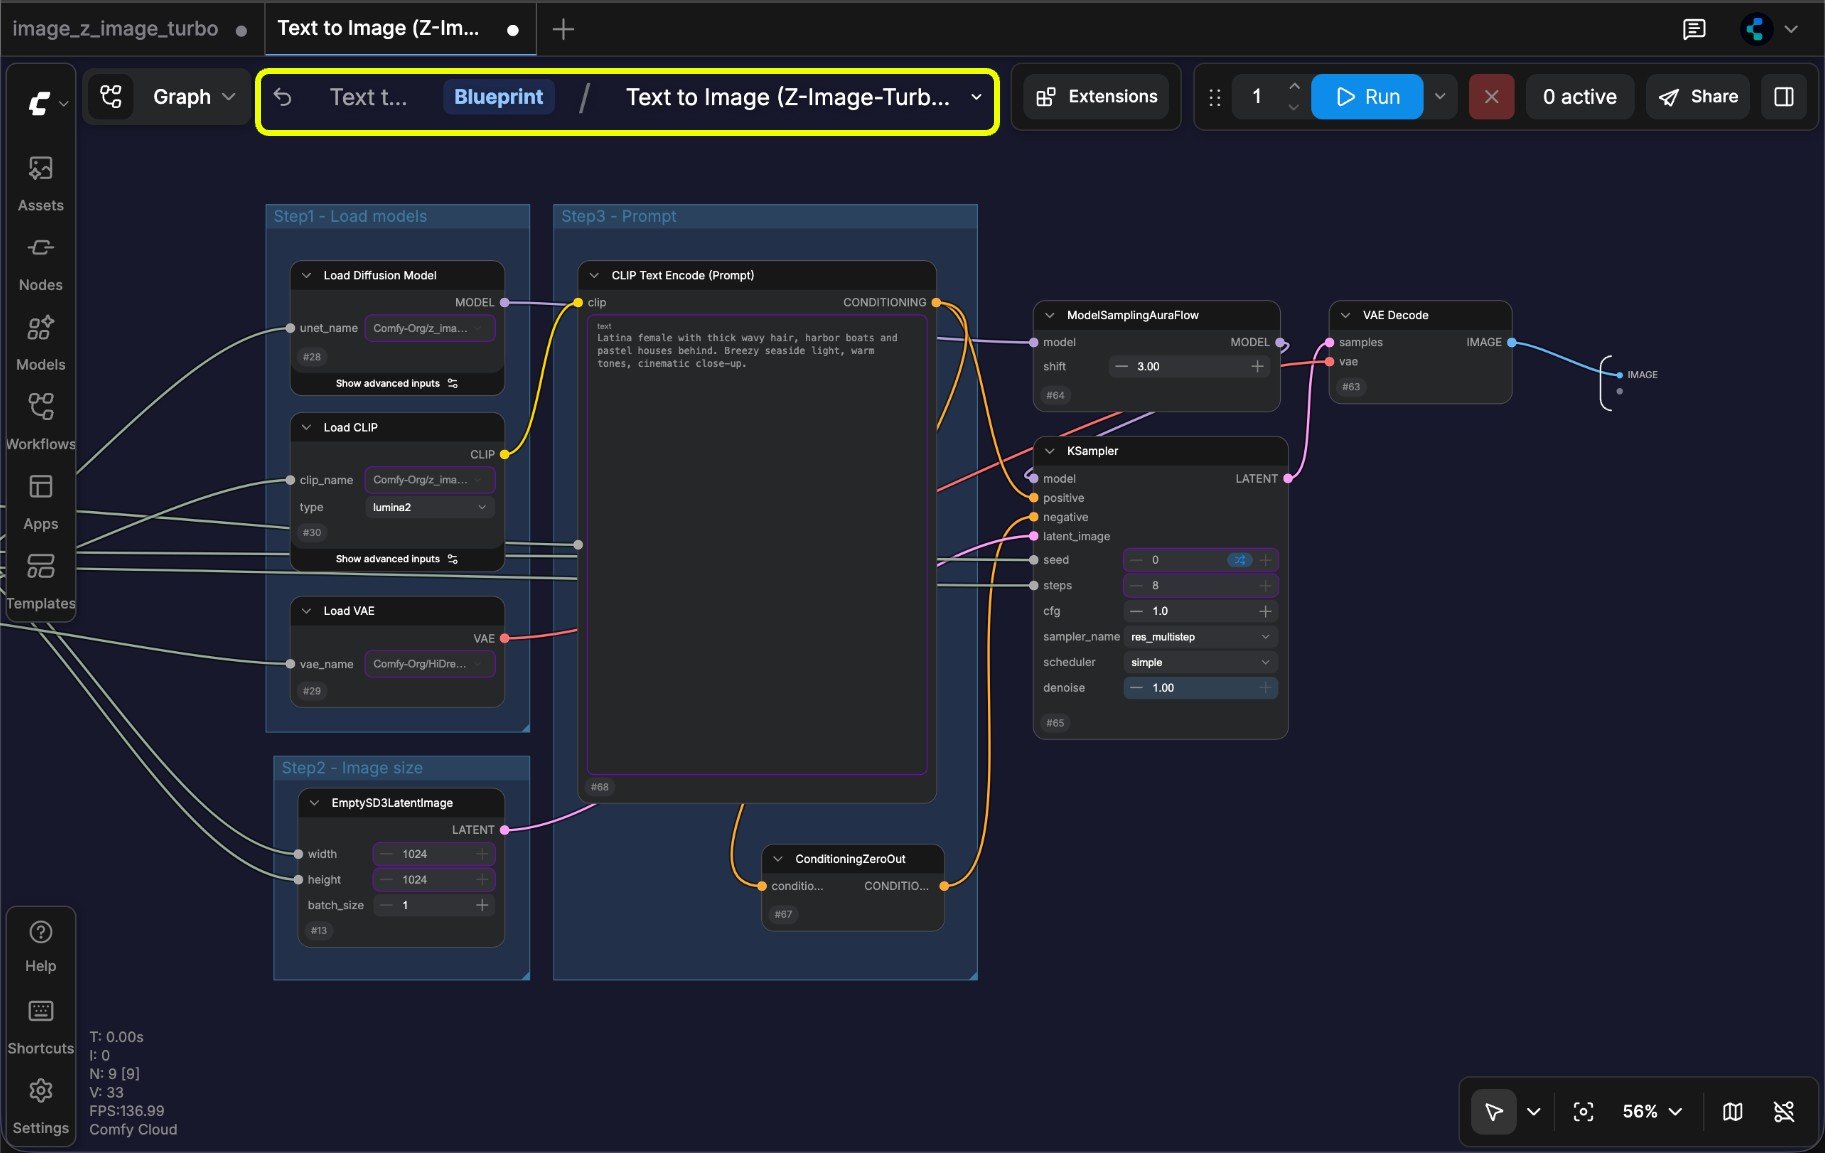
Exit subgraph
To exit a subgraph and return to the parent level:- Use the Navigation bar (labeled 1 in the image) at the top of the canvas, or
- Press the Esc key
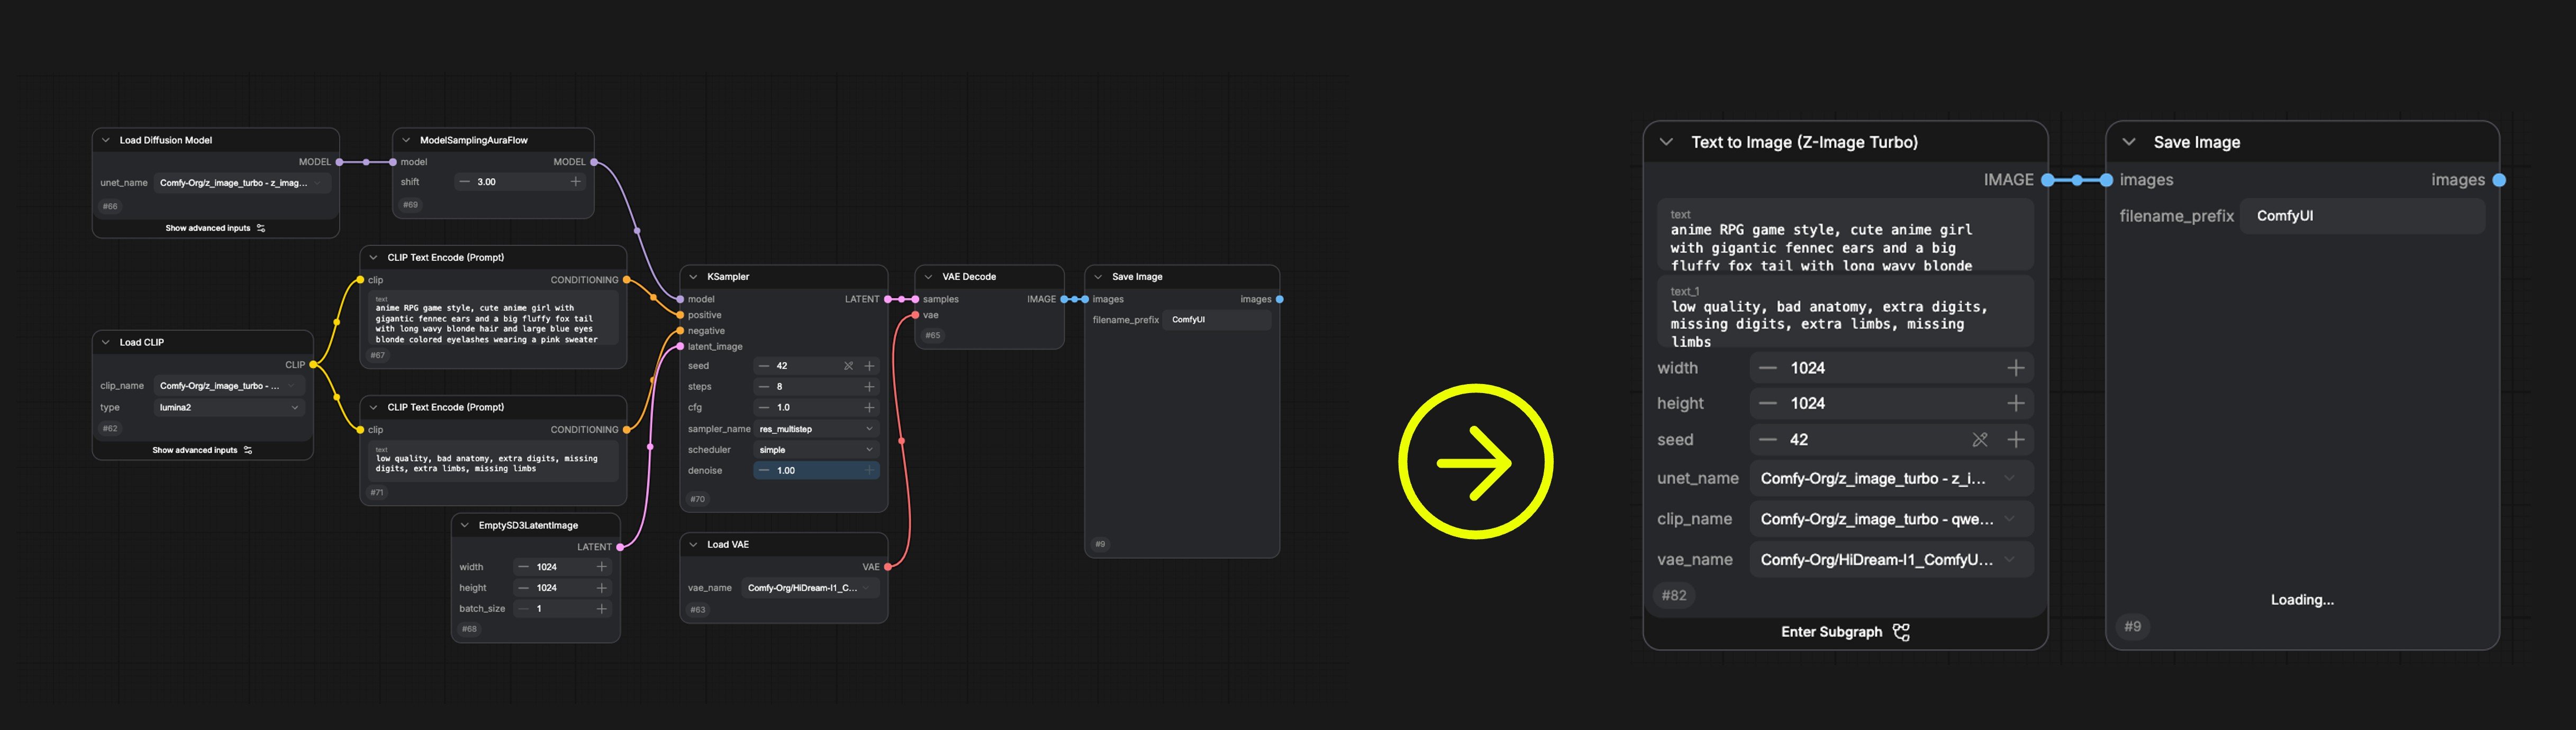
Unpack Subgraphs to Nodes
When you’re done creating a subgraph, you can convert it back to nodes if you need to.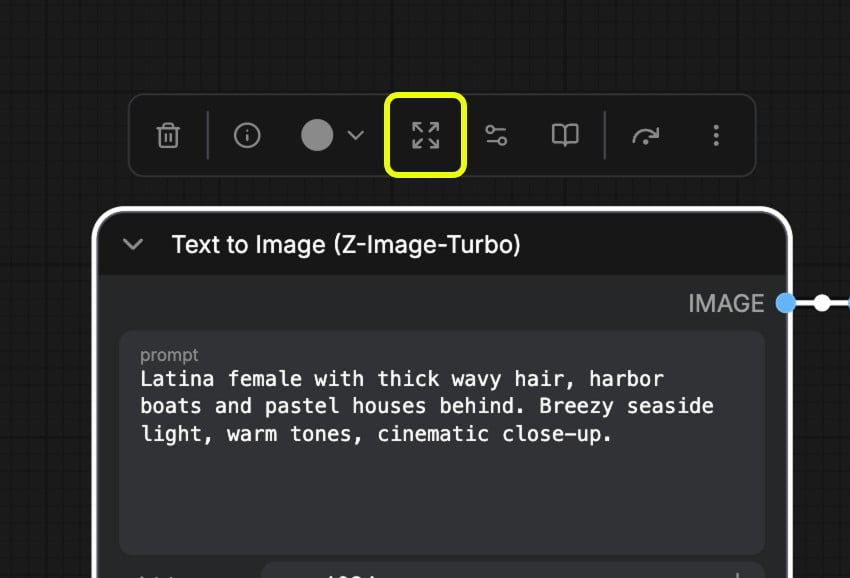
- You can select the subgraph node then use right-click menu “Unpack subgraph” to convert it back to nodes.
- Click the “Unpack subgraph” button in the select toolbox to convert it back to nodes.
Subgraph Blueprint
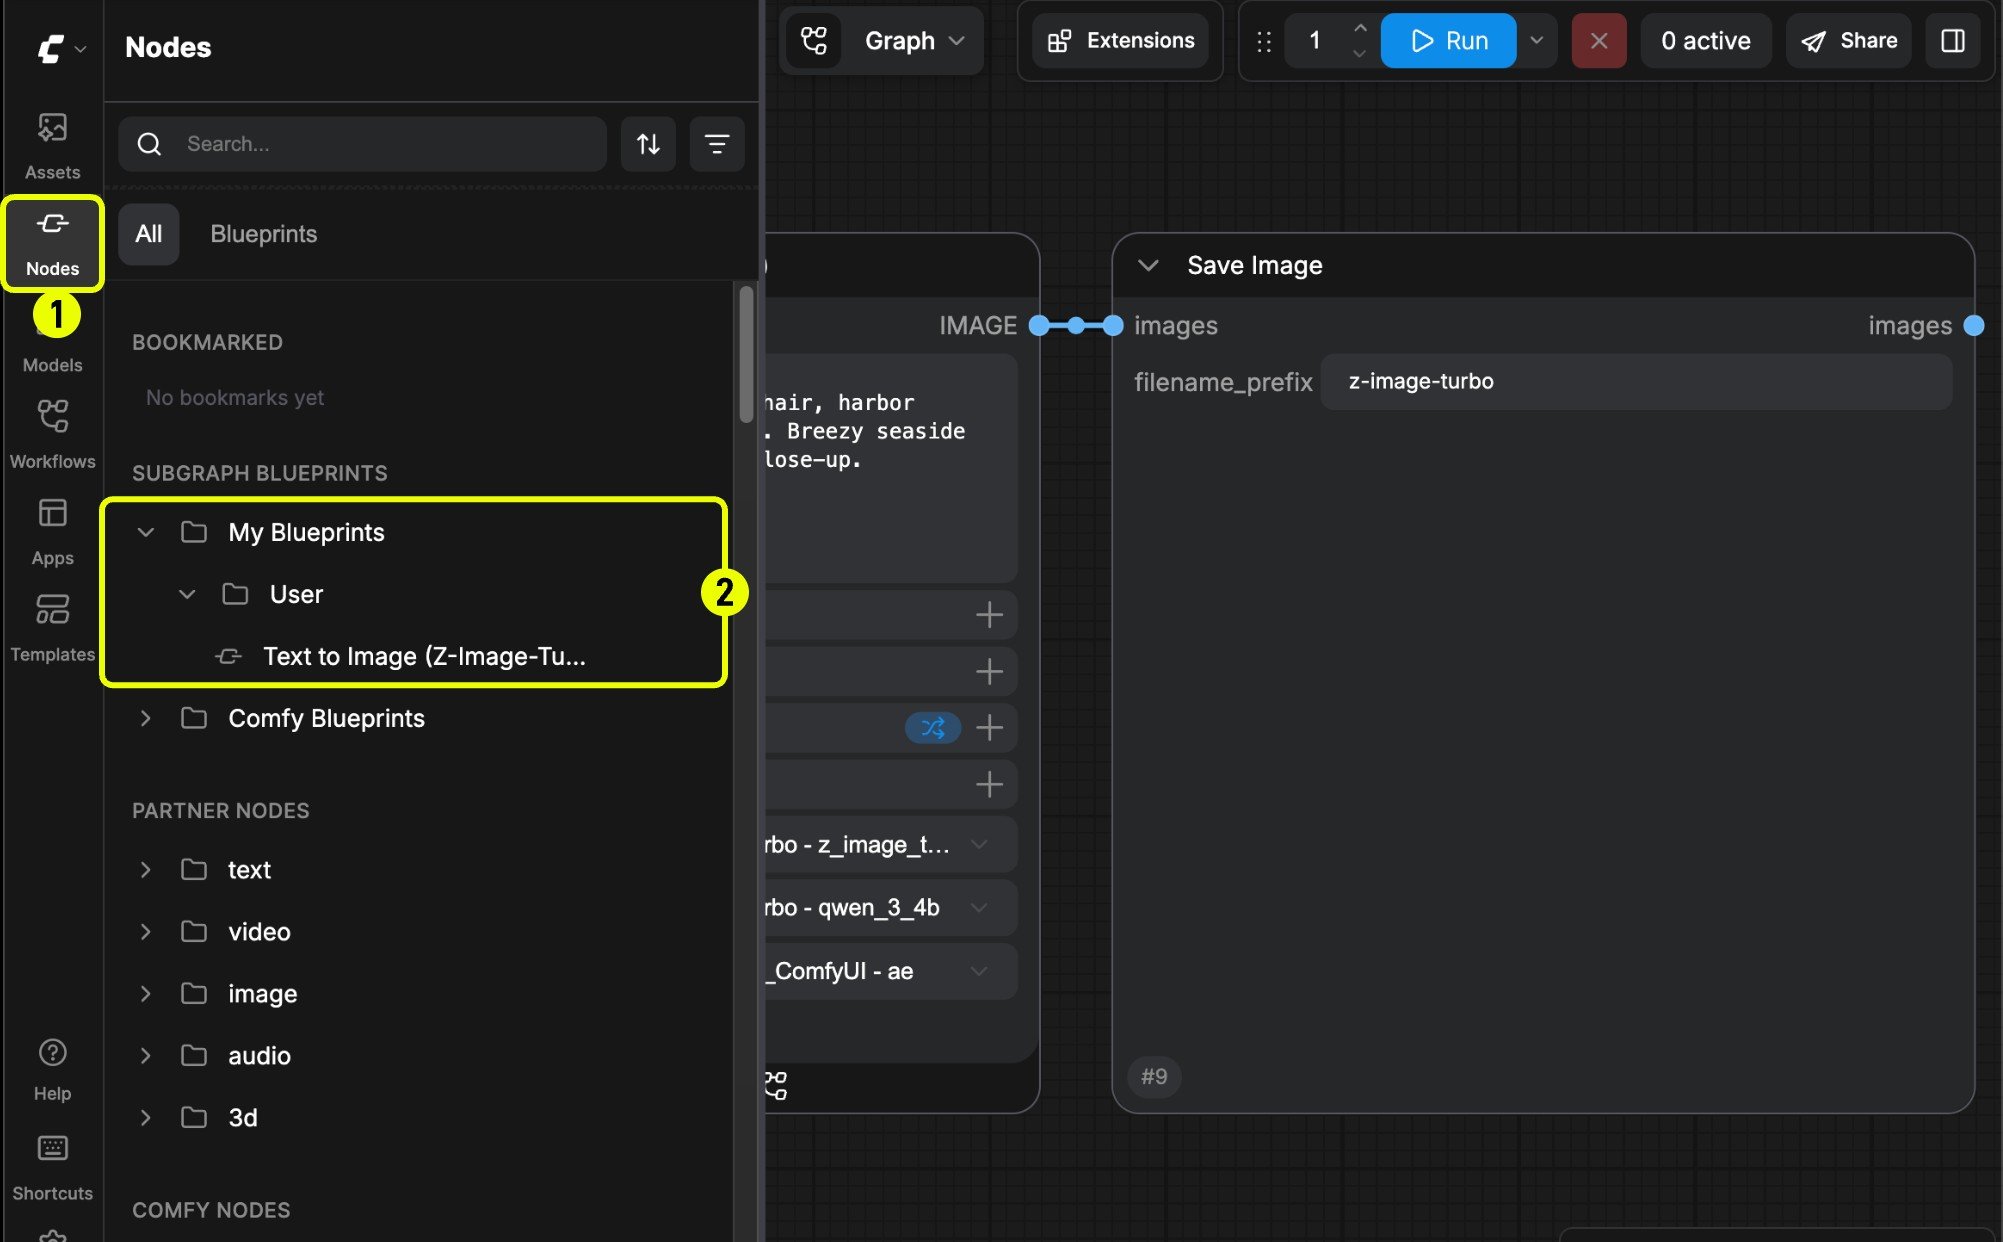
With ComfyUI frontend version 1.27.7 or later, you can publish your subgraph to the node library. This feature allows you to convert a subgraph to aSubgraph Blueprints node, which means it’s a reusable subgraph node.
Publish Subgraph to Node Library
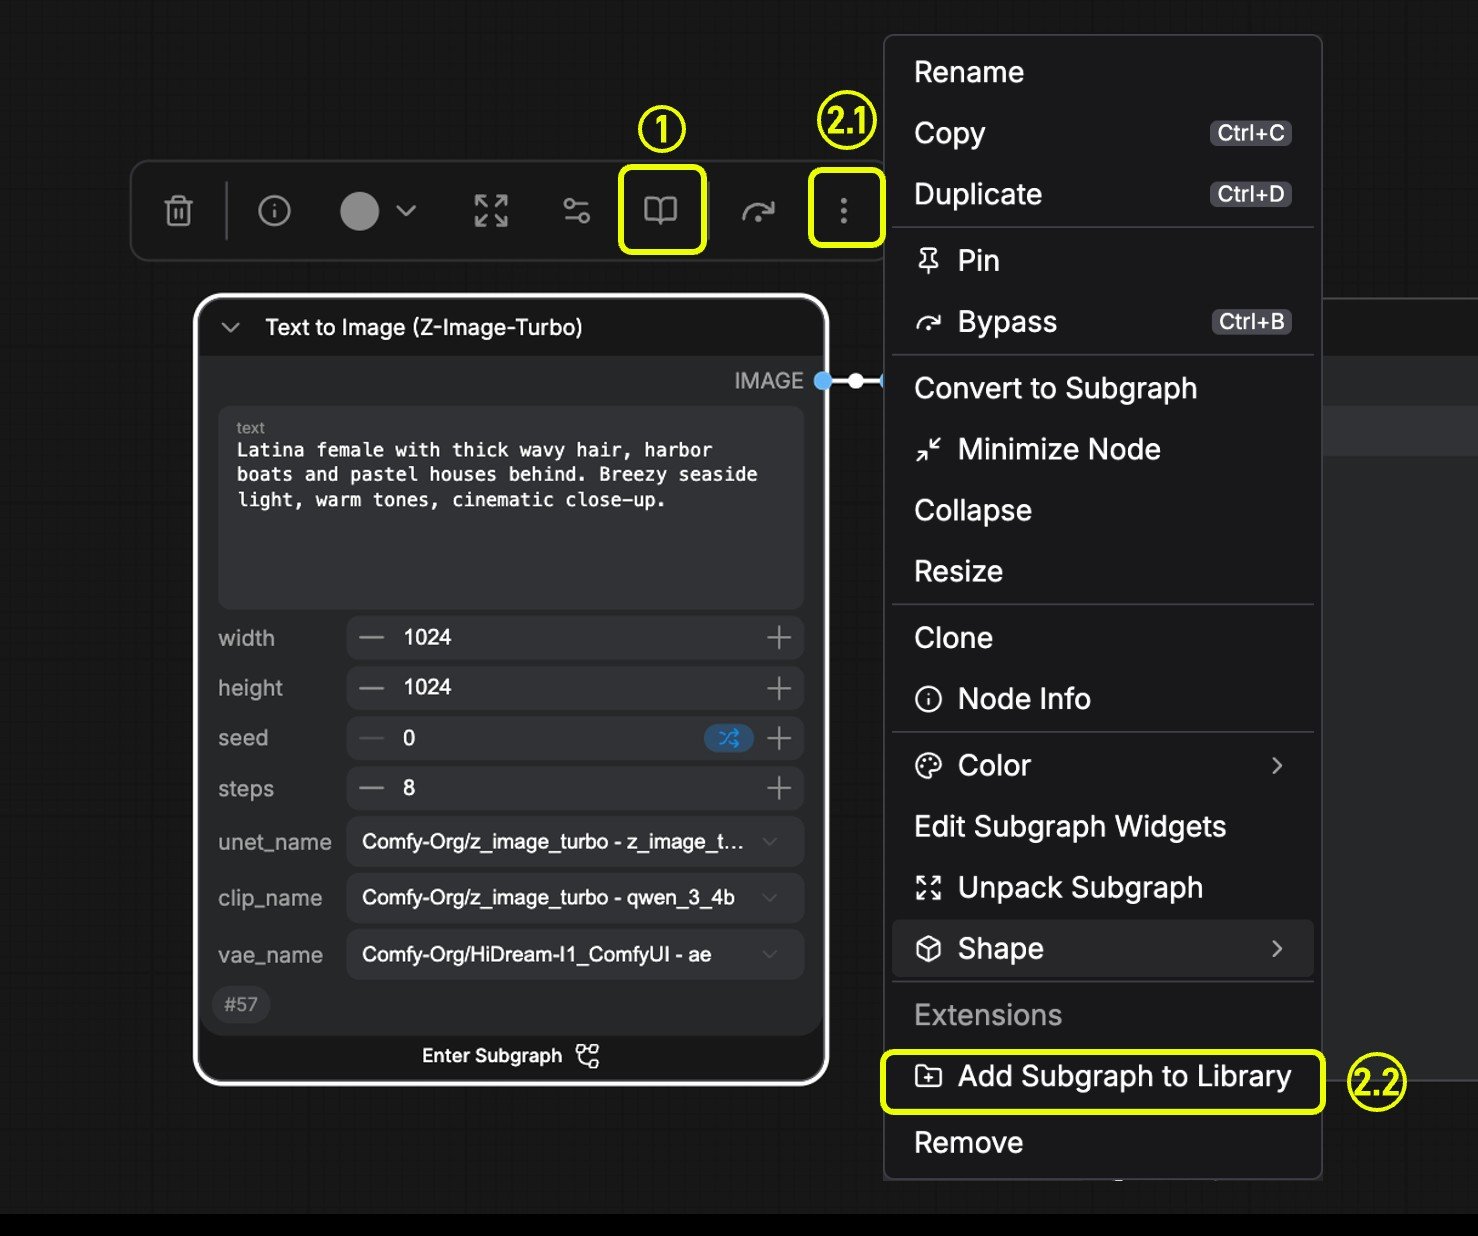
- Click the
book(publish)icon on the selection toolbox - Open the selection toolbox menu, use the
Add Subgraph to Librarymenu to publish subgraph
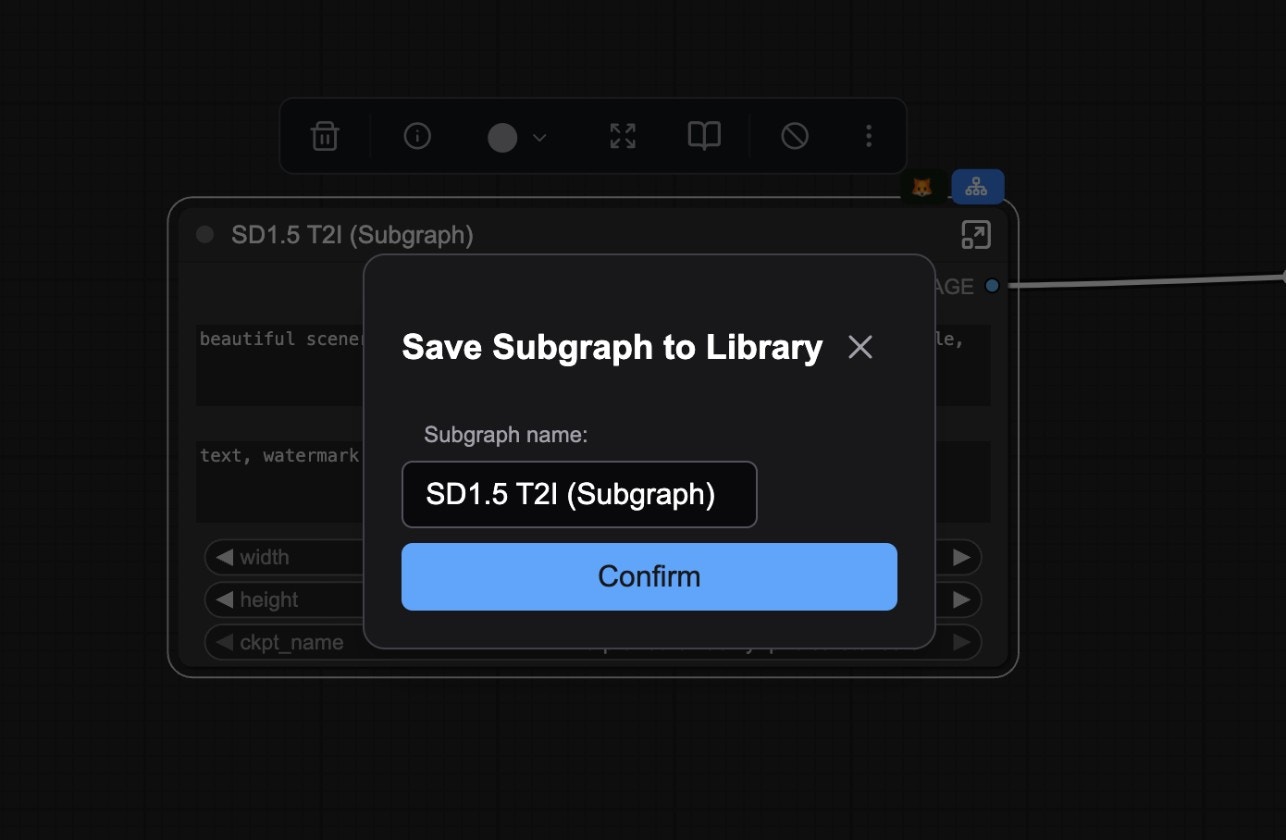
book(publish) icon or Add Subgraph to Library menu, you will see the following dialog:
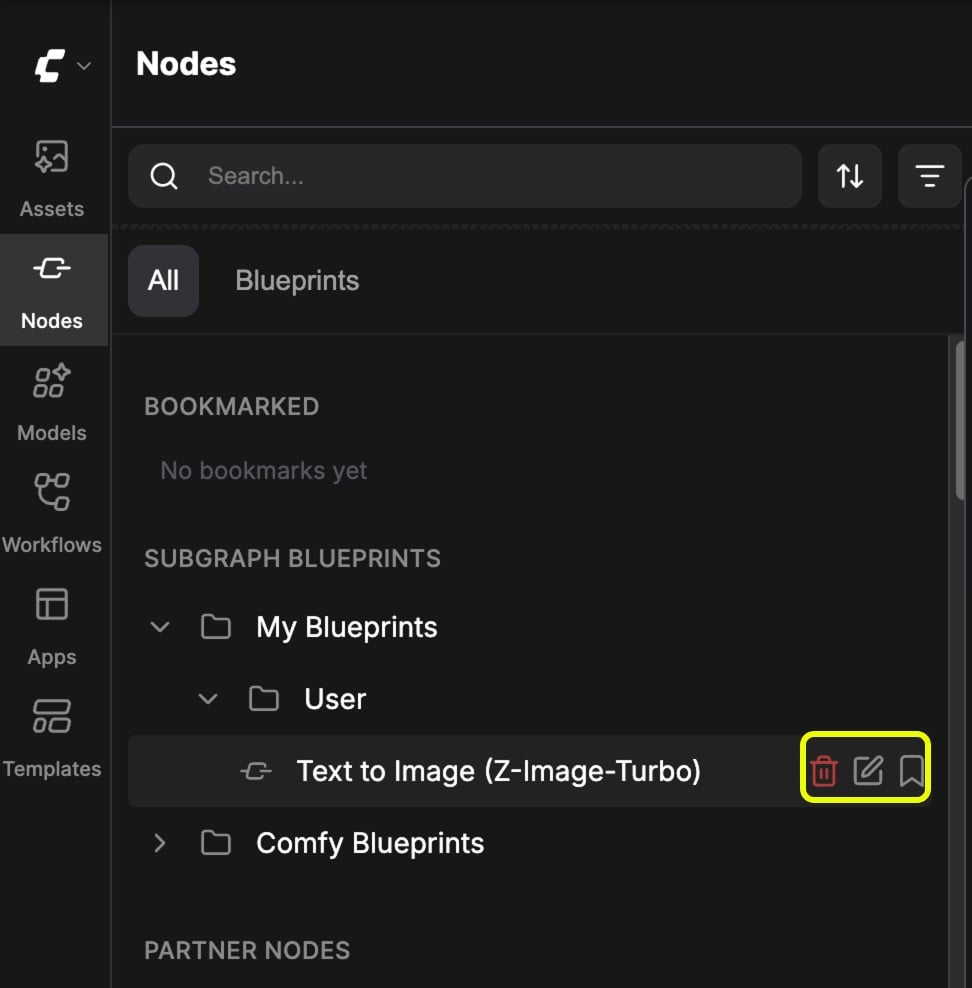
Edit Subgraph Blueprint
If you want to edit the subgraph blueprint, you can click the edit button just like the image below, you can delete it as well.