Get Started
Choose your platform to begin:Windows
Step-by-step installation guide for Windows 10 or later.
macOS
Step-by-step installation guide for macOS 13+ (Apple Silicon).
Linux
Build and install from source on Debian-based distributions.
Usage Guide
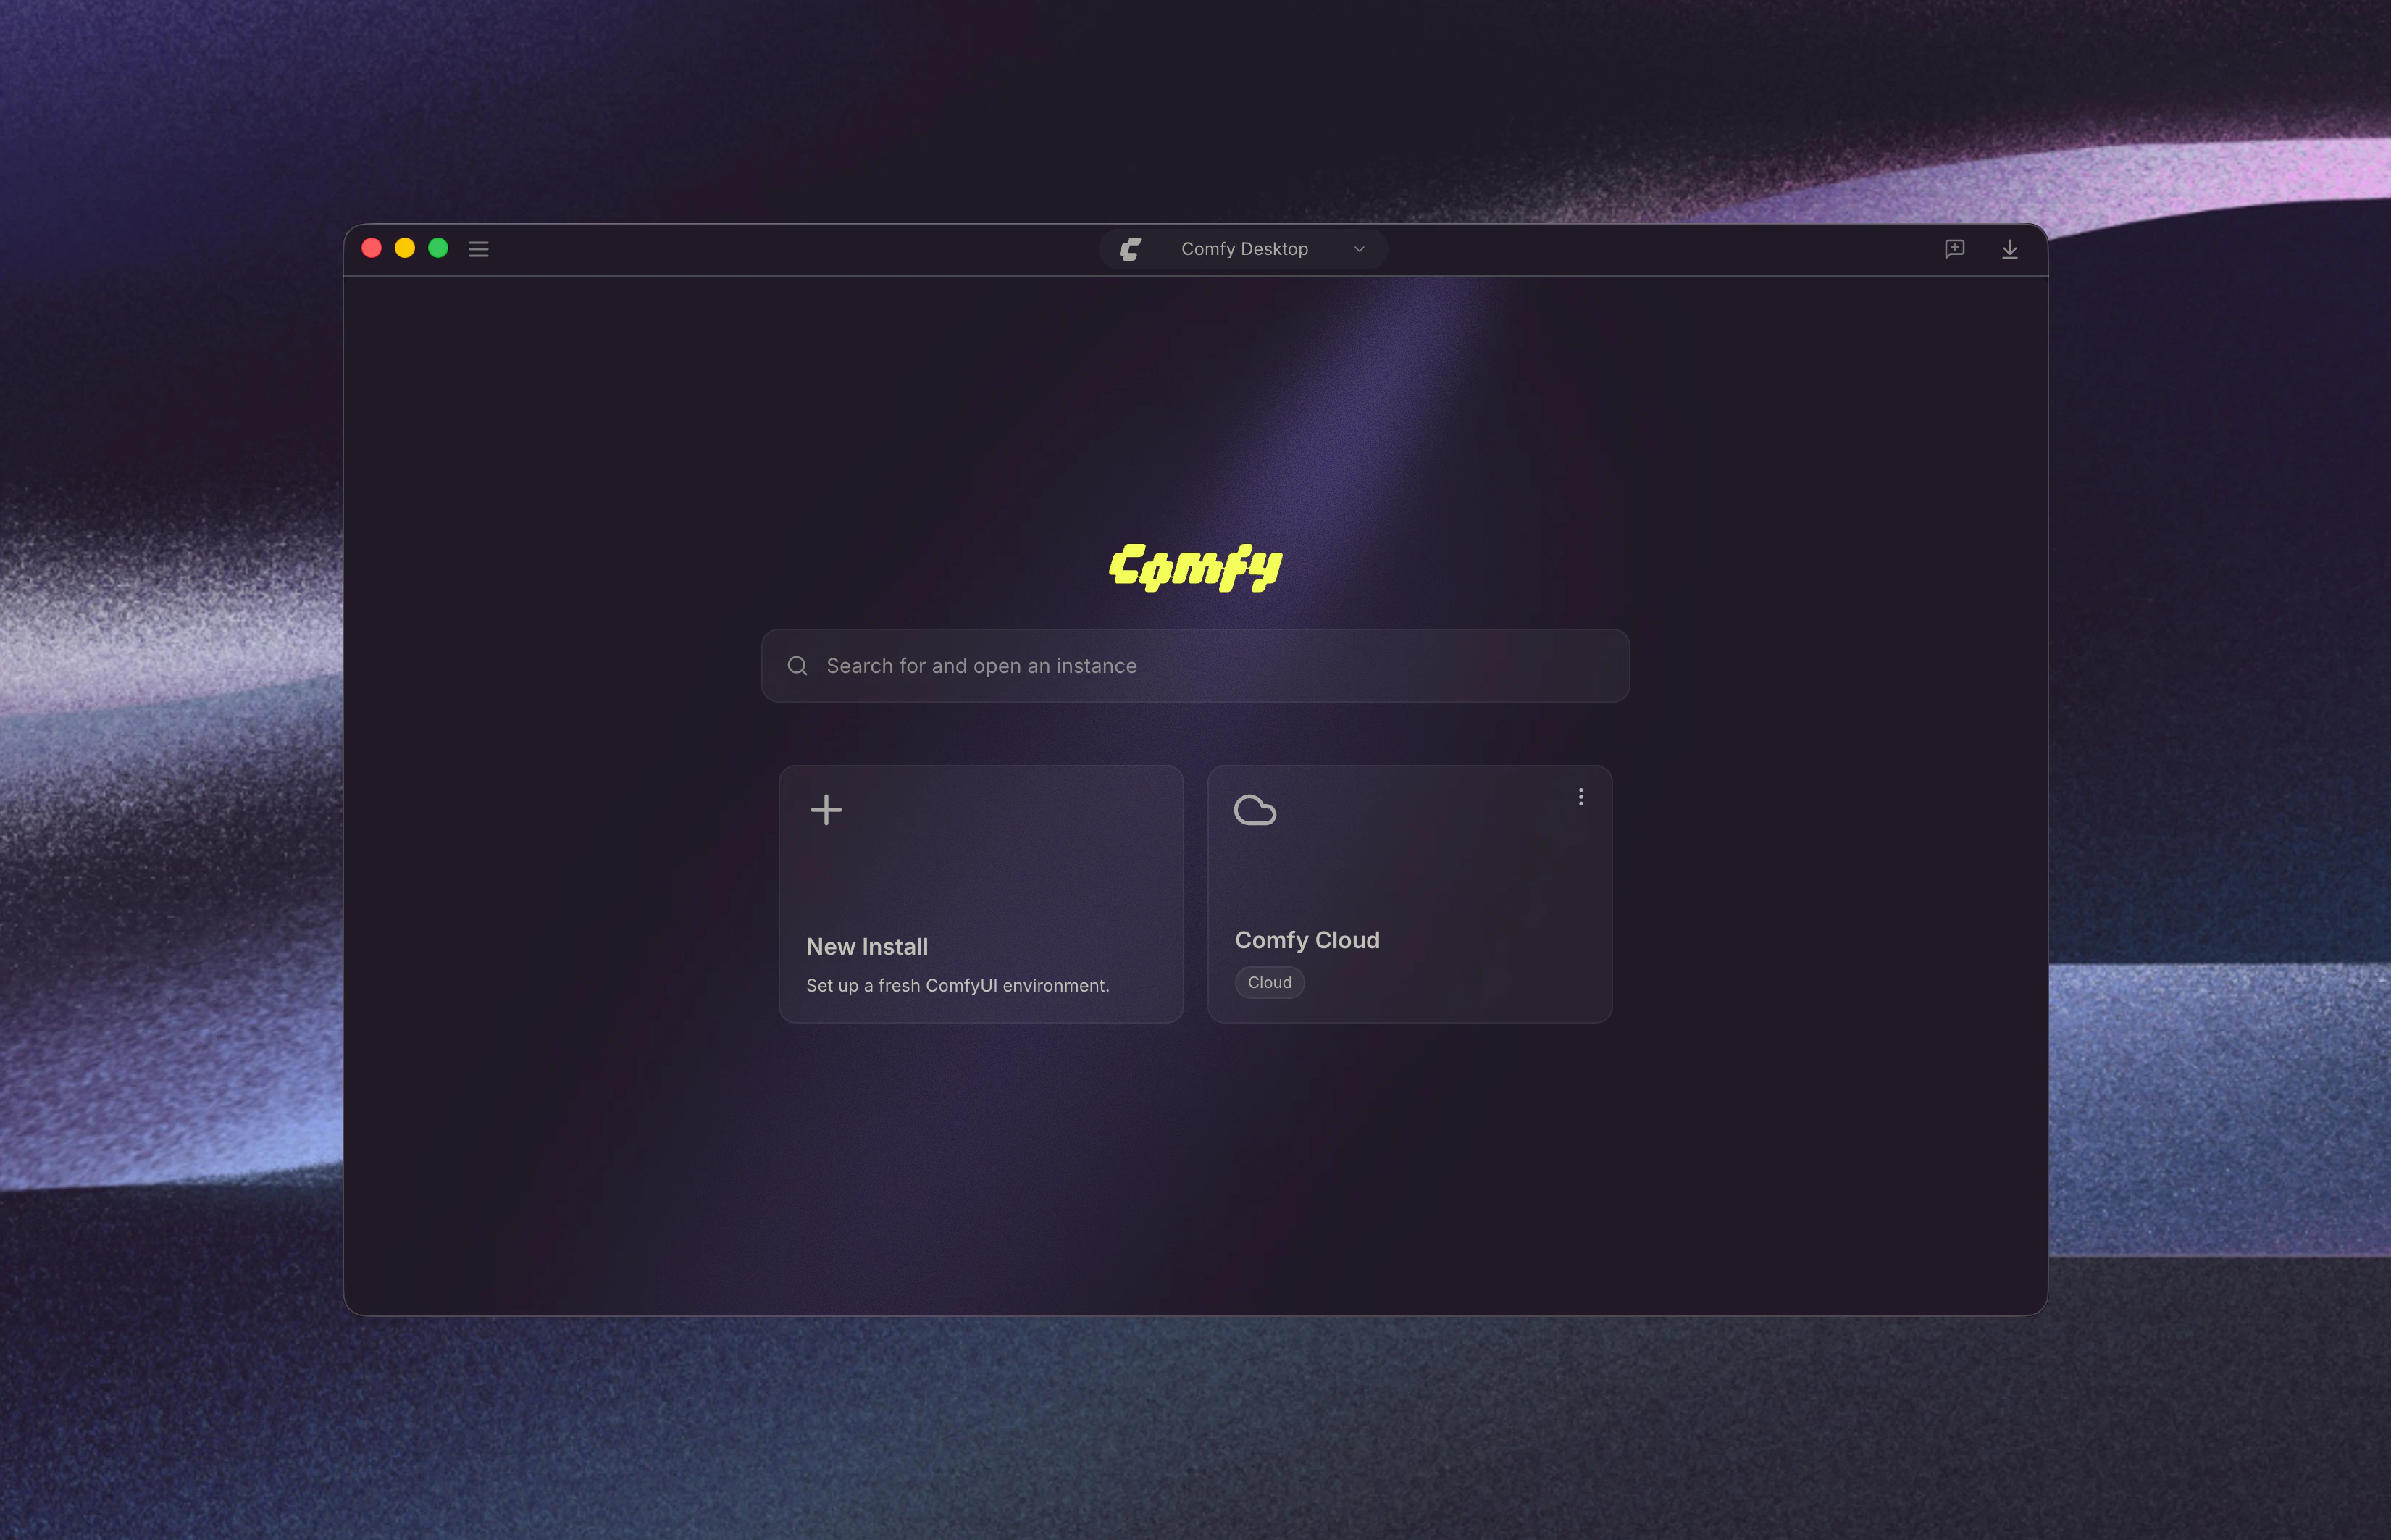
Once installed, learn how to use Comfy Desktop:Comfy Desktop Usage Guide
Dashboard overview, instance management, settings, snapshots, and more.
Migrate from Legacy Desktop
If you’re still using the older Legacy Desktop version (single-install desktop app), you can migrate your custom nodes, workflows, and models to the new Comfy Desktop. Your existing data is preserved — no manual migration needed.Migration Guide
Step-by-step guide to migrate from Legacy Desktop to Comfy Desktop.