System Requirements
- OS: Windows 10 or later
- Architecture: x64 or ARM64
- GPU: Dedicated GPU (NVIDIA / AMD) recommended for good performance, but not required
- Disk Space: At least 4.85 GB recommended per installation
Download Comfy Desktop
Download the latest installer for Windows. The page will automatically detect your platform.
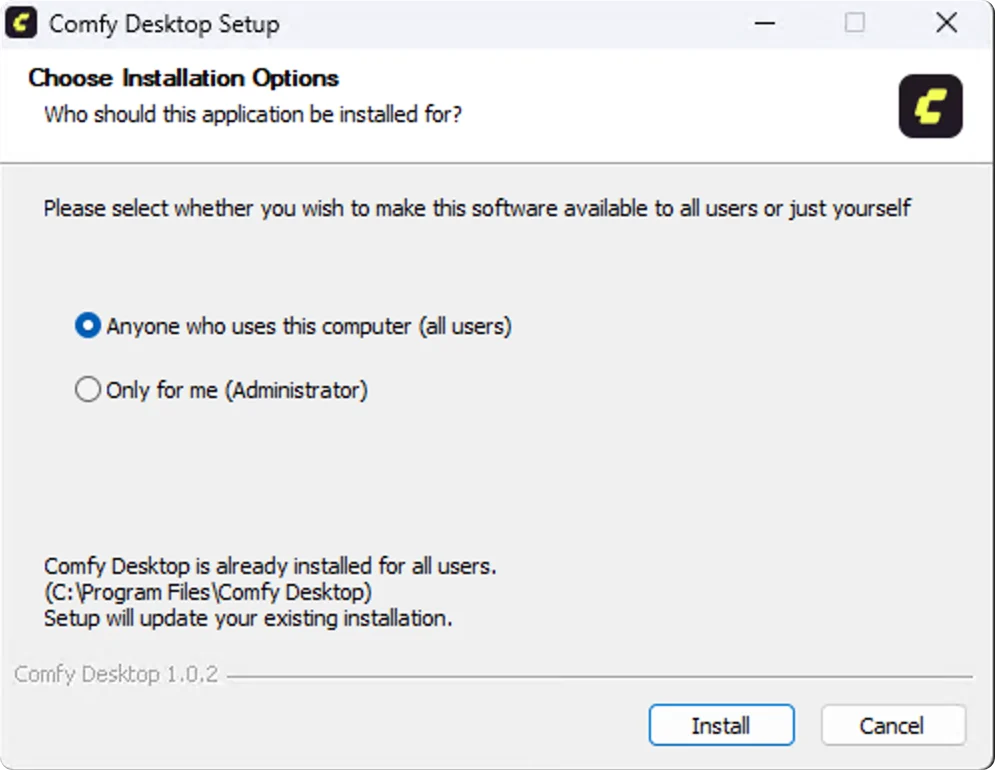
Installation
Run the downloaded.exe installer (NSIS installer) and follow the prompts. After installation, launch Comfy Desktop from the Start Menu or desktop shortcut.
Next Step: Using Comfy Desktop
Once installed, learn how to create instances, manage installations, and configure settings.
Updating Comfy Desktop
Comfy Desktop automatically checks for updates and lets you manage them in two ways.Quick Update
When an update is available, a Desktop Update Ready button appears at the top of the window: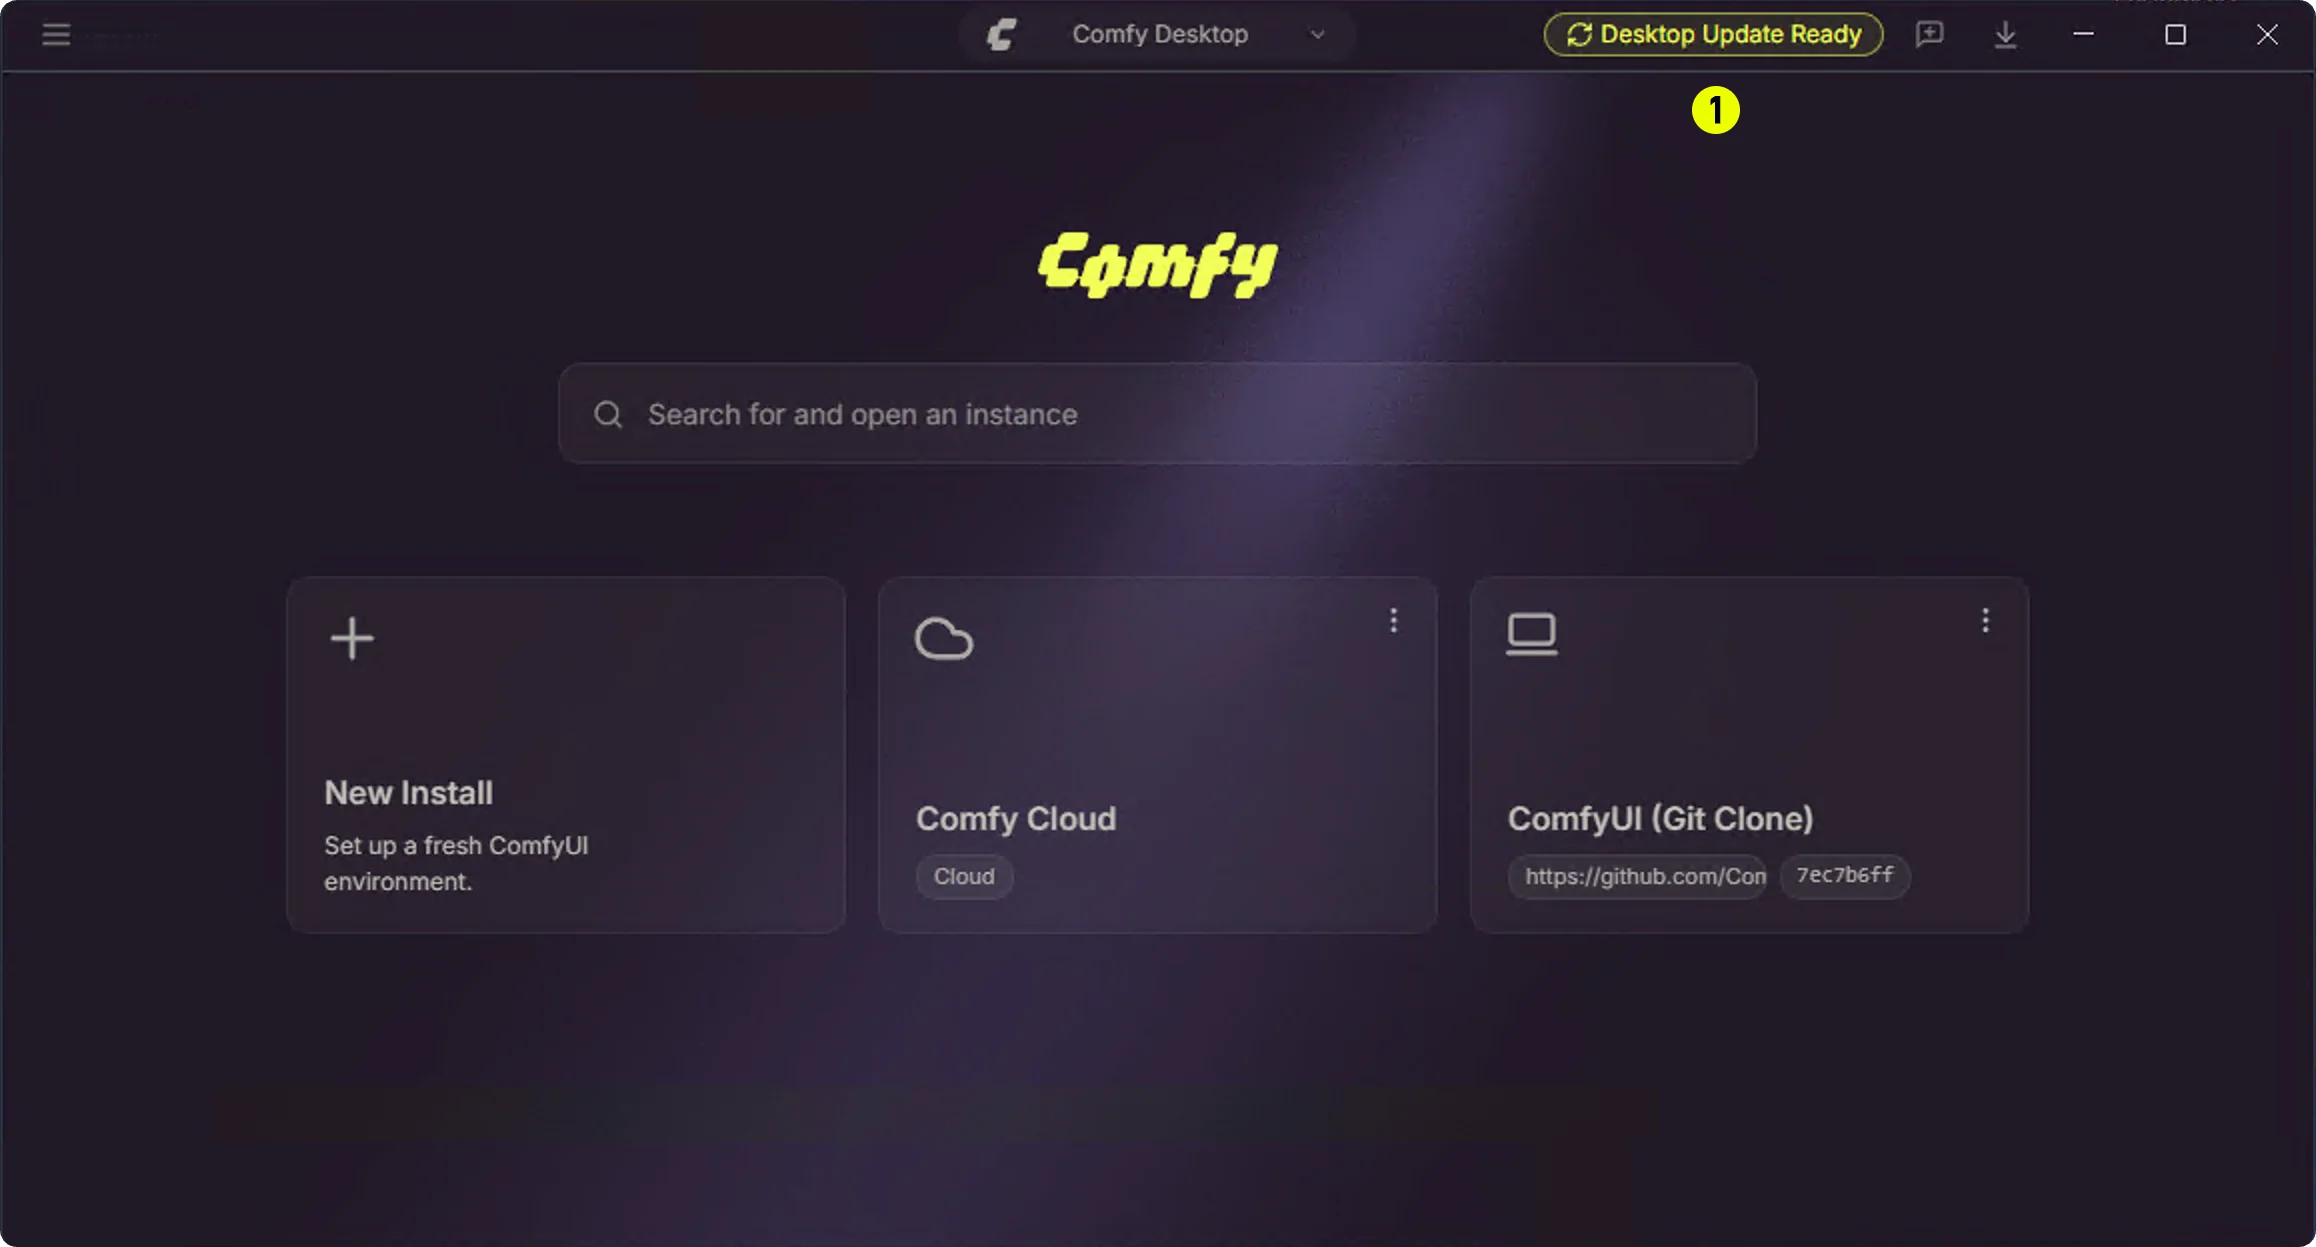
Manual Update via Settings
You can also check for and manage updates from the Settings panel:1
Open Desktop Settings
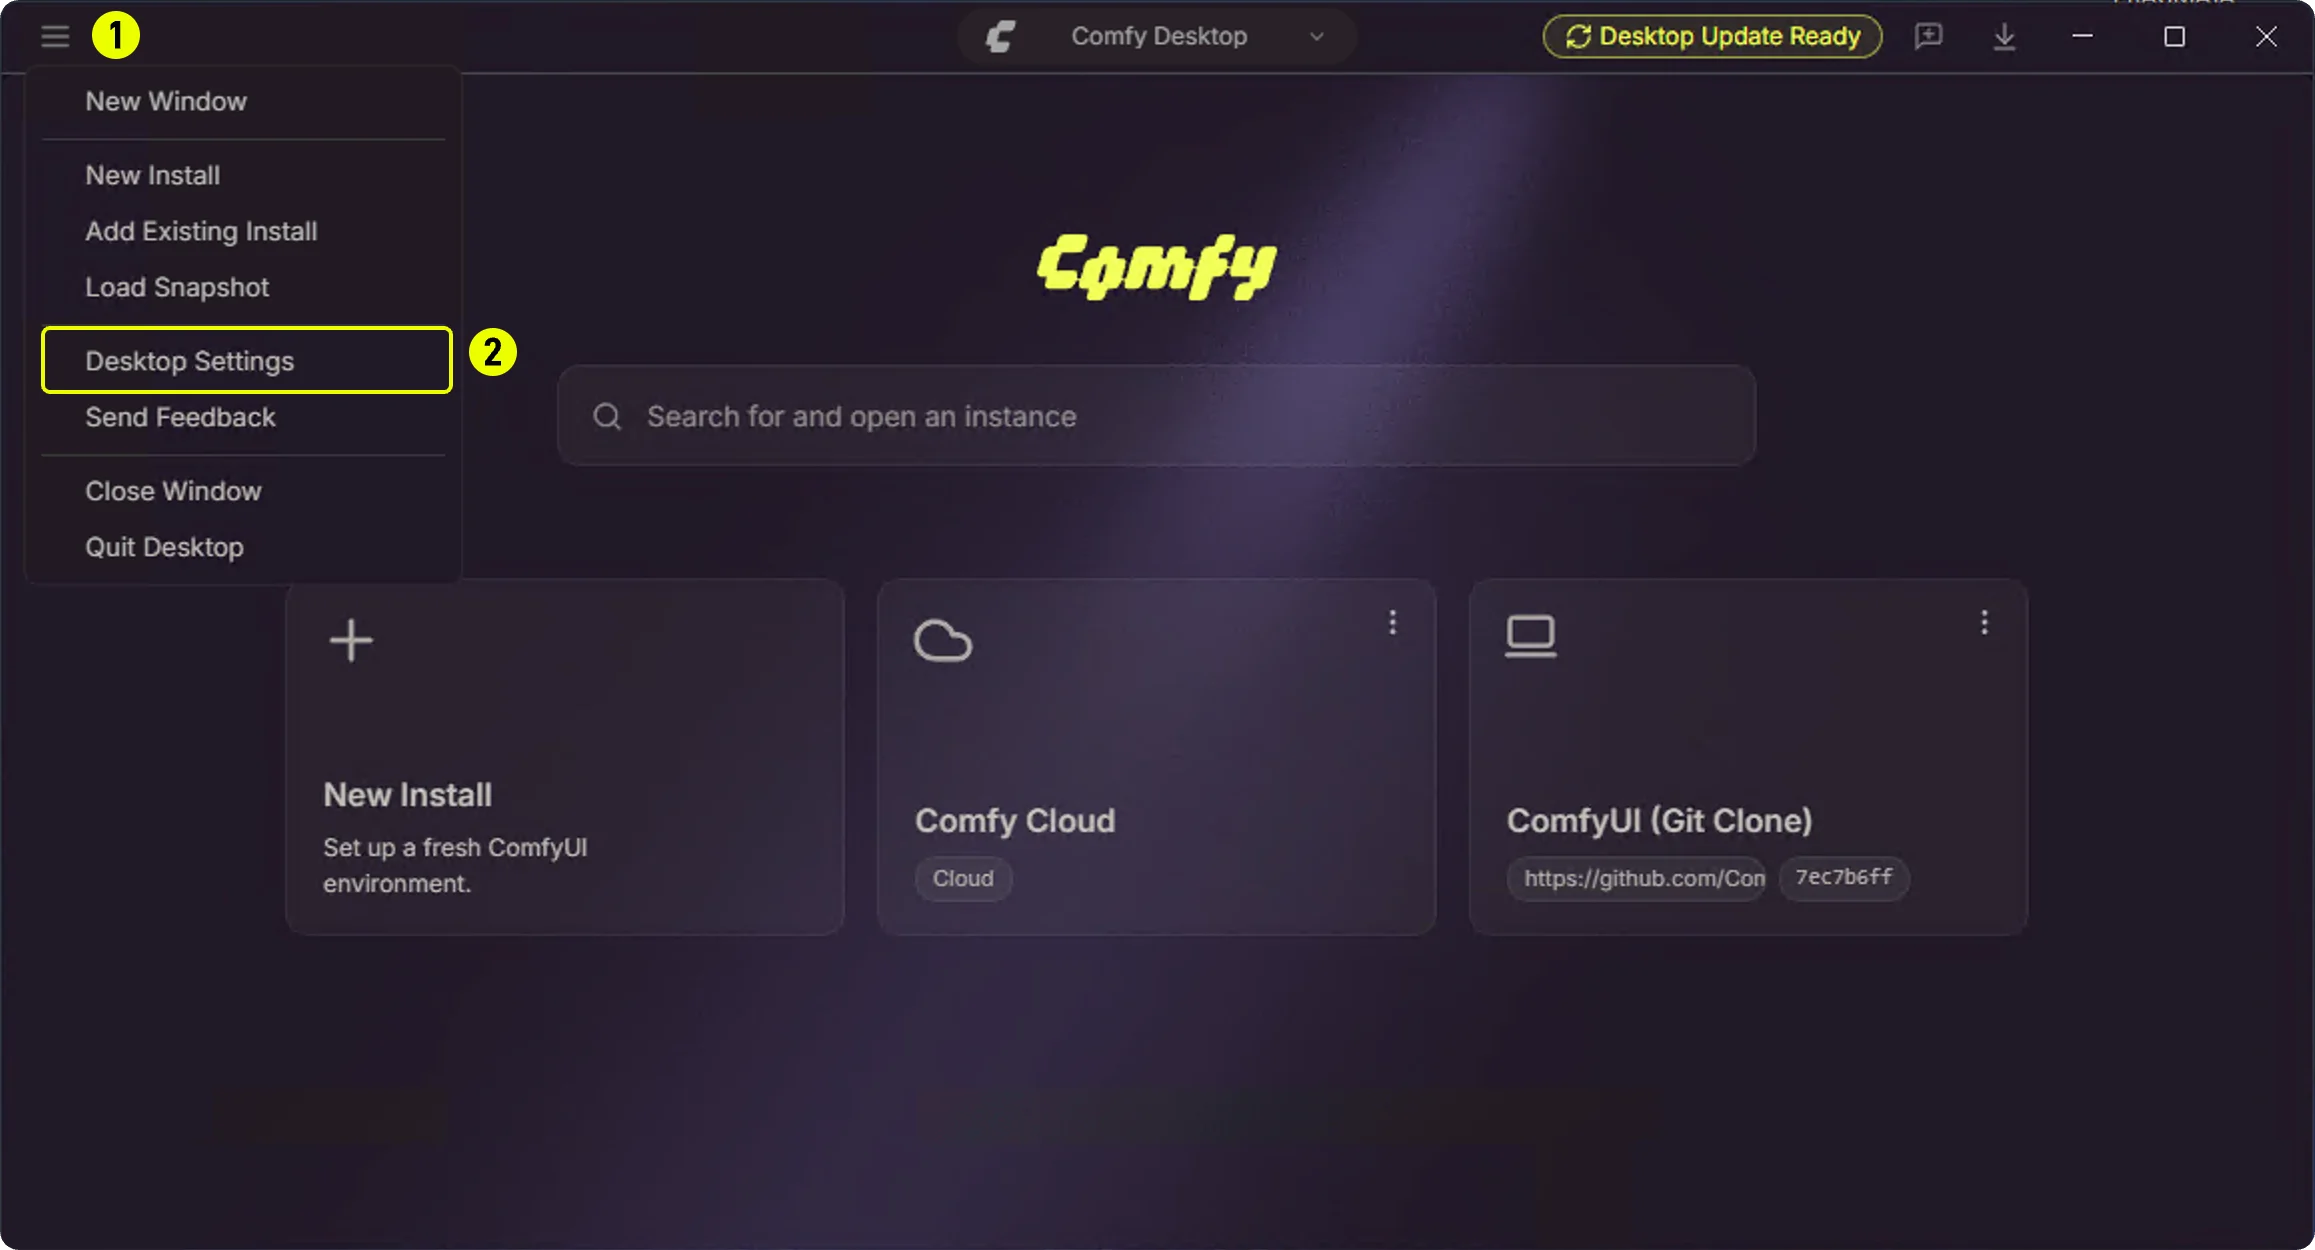
- ① Click the hamburger menu (top-left)
- ② Select Desktop Settings
2
Updates Panel
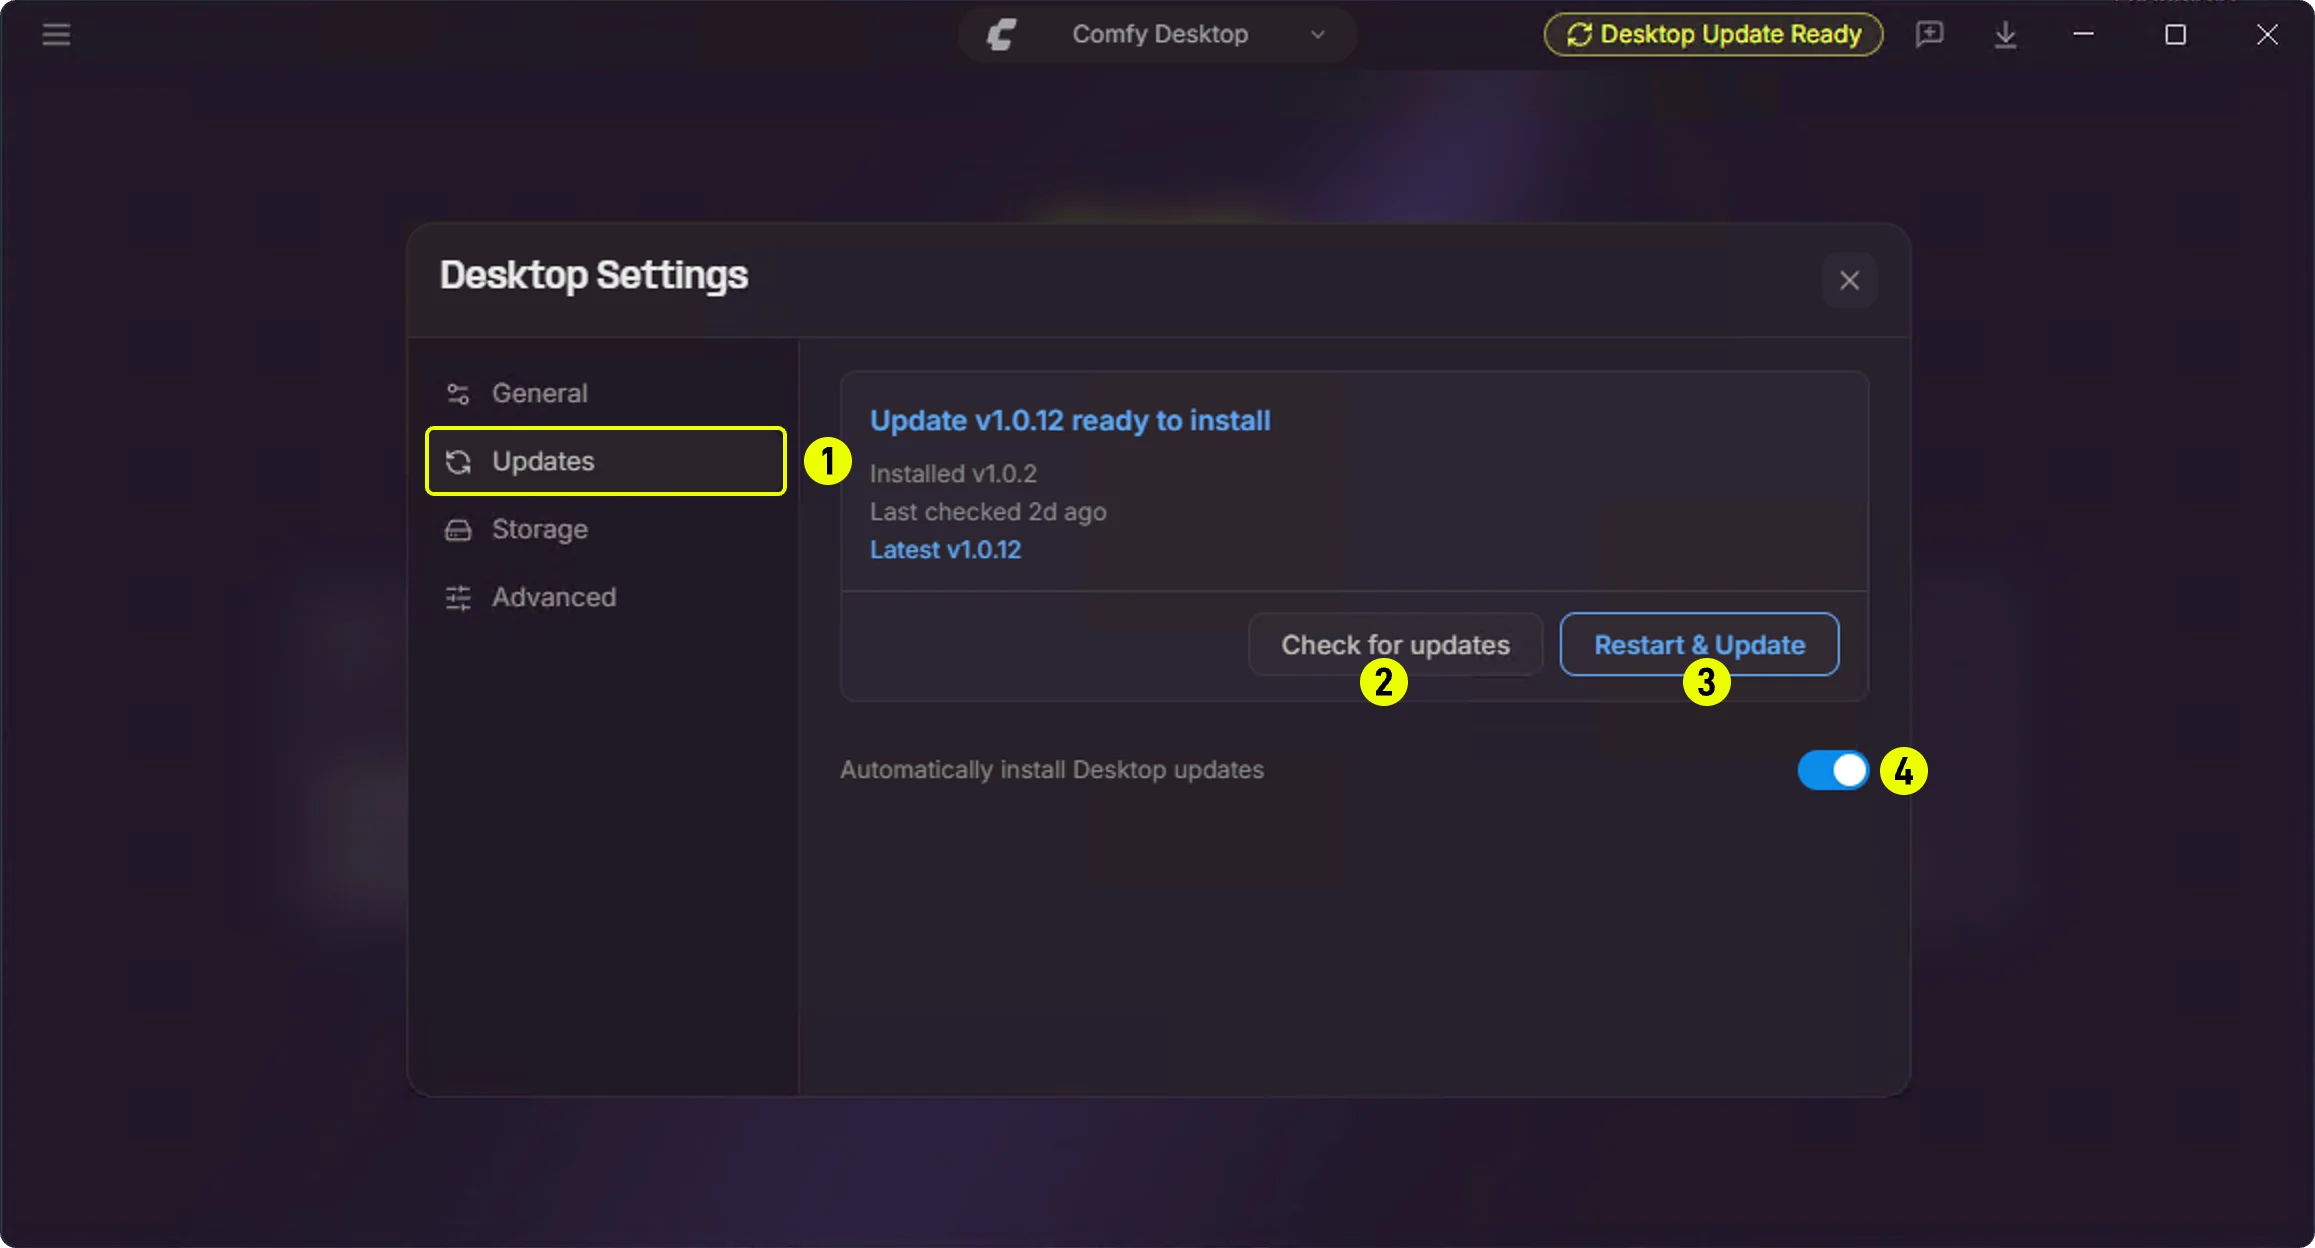
- ① Updates — Click the sidebar Updates tab
- ② Check for updates — Manually check for available updates
- ③ Restart & Update — Appears when a new version is available; click to restart and update
- ④ Automatically install Desktop updates — Toggle this on/off to control automatic updates
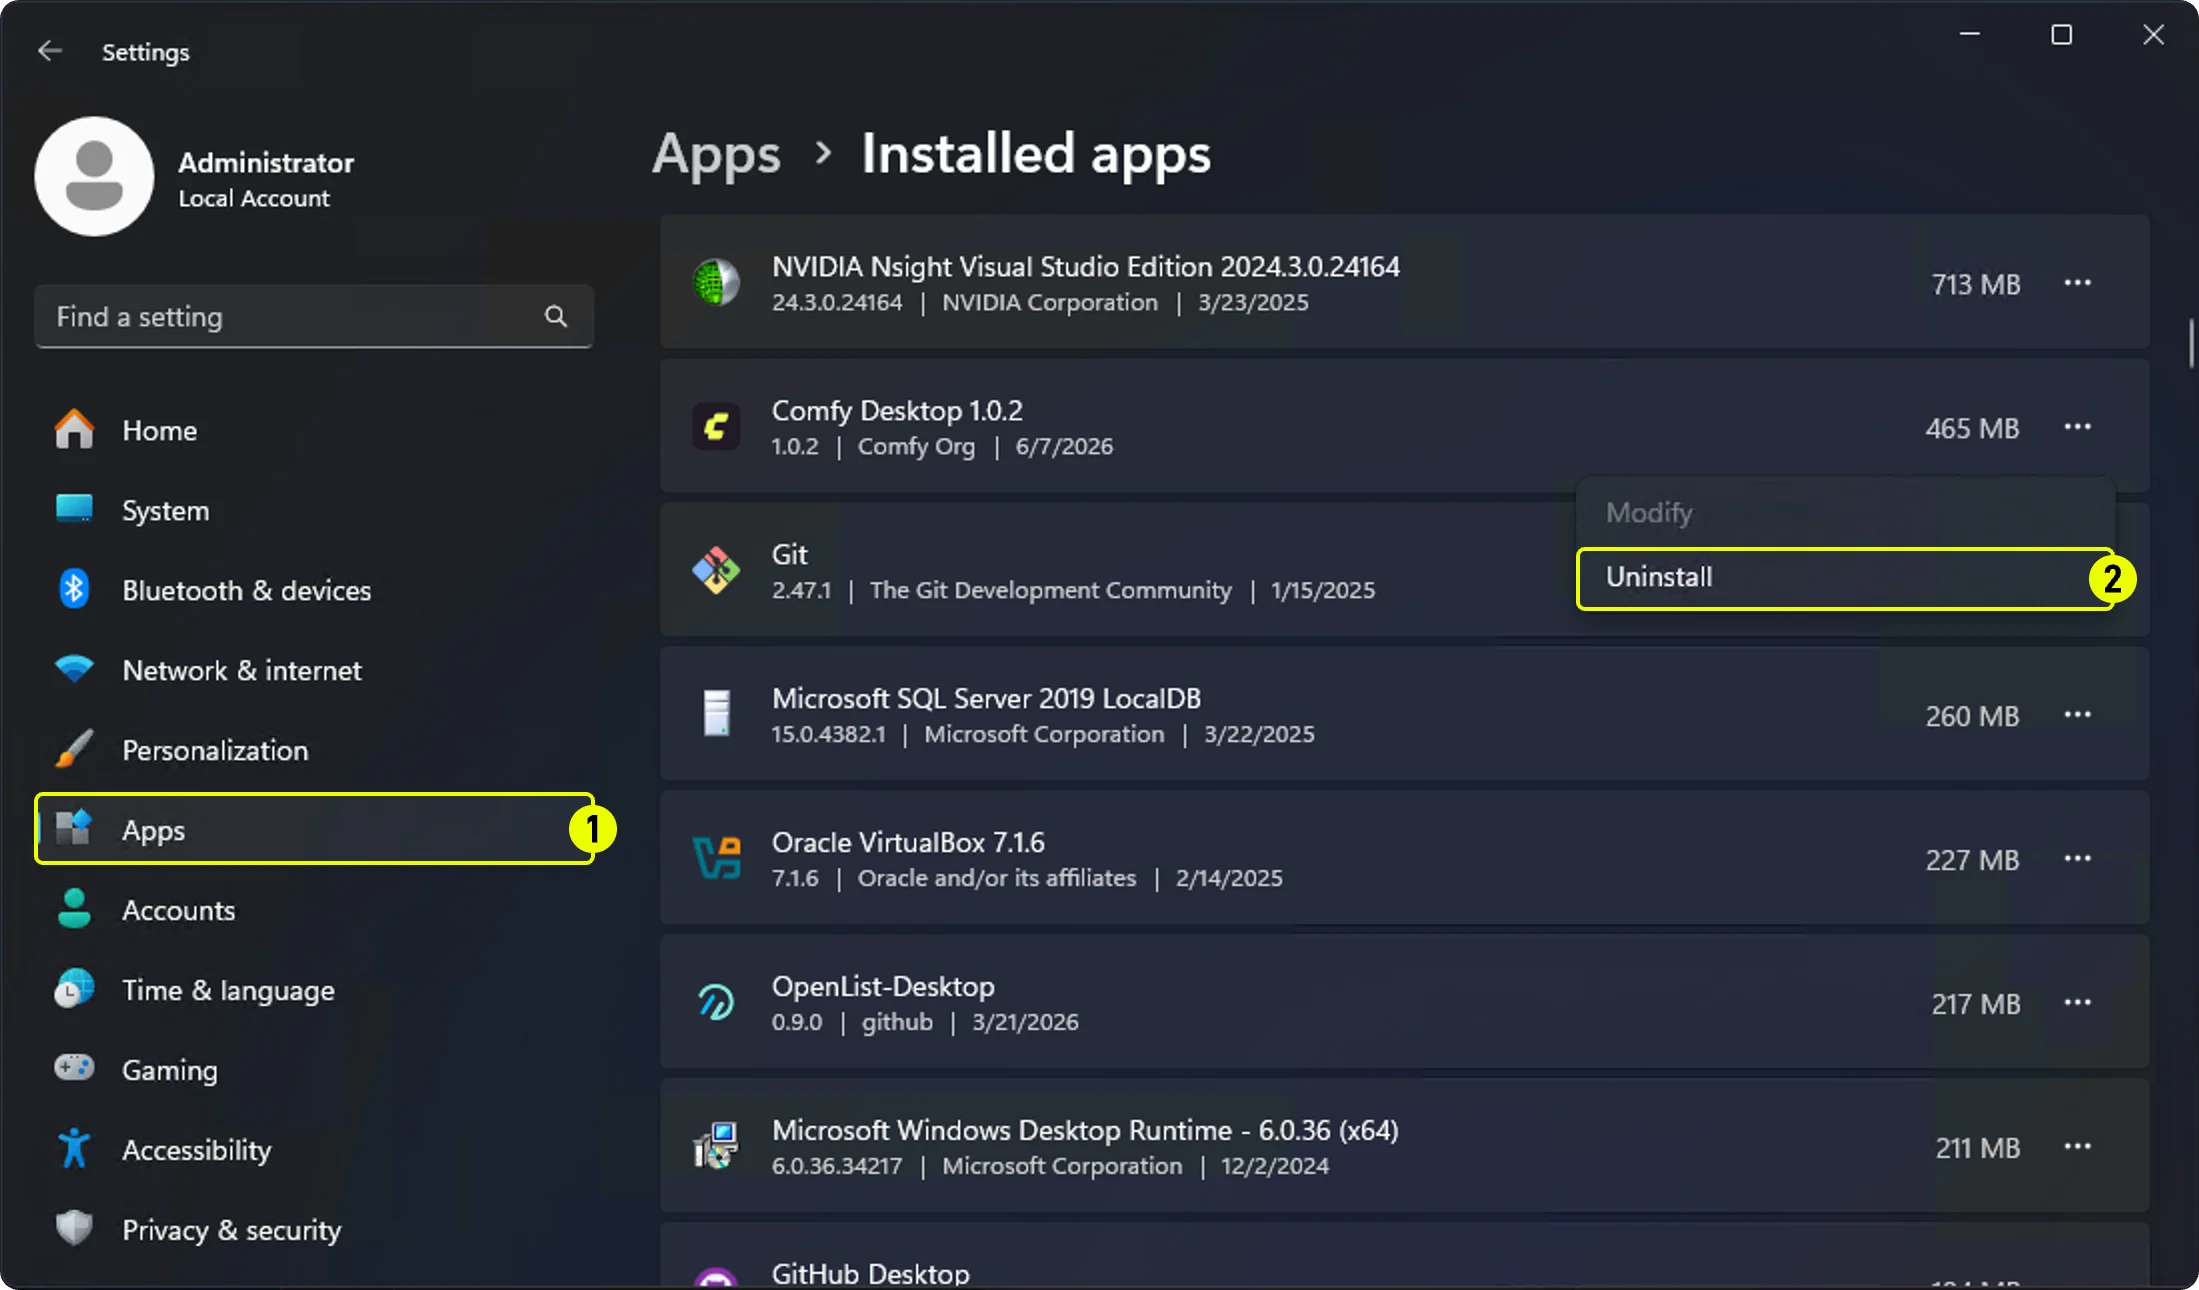
Uninstalling
Remove Comfy Desktop
- Go to Settings → Apps → Installed apps
- Find Comfy Desktop and click Uninstall
What Uninstalling the App Does NOT Remove
Uninstalling Comfy Desktop only removes the launcher app itself. The following data is not removed and must be deleted manually if you want a complete cleanup:
To fully remove everything:
- Delete the app data folder –
%APPDATA%\Comfy Desktop - Delete individual installations from within the app, or manually delete
%USERPROFILE%\ComfyUI-Installs - Delete the shared model library at
%USERPROFILE%\ComfyUI-Shared(only if you no longer need these files)