

- Create a virtual environment(avoid polluting the system-level Python environment)
- Clone the ComfyUI code repository
- Install dependencies
- Start ComfyUI
Create a virtual environment
Install Miniconda. This will help you install the correct versions of Python and other libraries needed by ComfyUI. Create an environment with Conda.Clone the ComfyUI code repository
You need to ensure that you have installed Git on your system. First, you need to open the terminal (command line), then clone the code repository.- Windows
- Linux
- MacOS
Install GPU and ComfyUI dependencies
1
Install GPU dependencies
Install GPU Dependencies
Alternatively, you can install the nightly version of PyTorch.
Nvidia
Nvidia
Install Nightly
Install Nightly
AMD
AMD
For Linux, install the ROCm 7.2 version of PyTorch:Alternatively, you can install the nightly version of PyTorch (ROCm 7.2).
For Windows, use AMD’s multi-architecture PyTorch packages with ROCm 10.0. The
Install Nightly
Install Nightly
device-* extras install your GPU’s kernels and the matching ROCm runtime automatically; a separate HIP SDK installation is not needed. Use Windows 11, a current AMD graphics driver, and 64-bit Python 3.13.The install command below uses device-all to install kernels for all supported GPUs. To reduce download size and disk usage, optionally replace both occurrences of device-all with the target for your GPU:This table only lists examples. A GPU missing from it may still be supported: supported architectures include RDNA 2, RDNA 3, RDNA 3.5, and RDNA 4. Keep
device-all to install kernels for all supported targets. For other models, see AMD’s GPU target table and ROCm compatibility matrix.Mac ARM Silicon
Mac ARM Silicon
Intel
Intel
Intel Arc GPUs (Arc A-Series, Arc B-Series, and Core Ultra processors with Arc Graphics) are supported through PyTorch’s native XPU backend. Intel GPUs use XPU, not CUDA.Make sure your Intel GPU driver is installed and up to date. Do not install CUDA wheels. If ComfyUI still does not detect the GPU, see Intel GPU troubleshooting.
2
Install ComfyUI dependencies
3
Start ComfyUI
Start the applicationRun
python main.py --help for built-in help, or see the Startup Flags reference for a complete list of command-line options.How to update ComfyUI
1
pull the latest code
Use the command line to enter the installation path of ComfyUI, then pull the latest code.
2
install the dependencies
Use the command line to enter the installation path of ComfyUI, then install the dependencies.
Adding Extra Model Paths
If you want to manage your model files outside ofComfyUI/models, you may have the following reasons:
- You have multiple ComfyUI instances and want them to share model files to save disk space
- You have different types of GUI programs (such as WebUI) and want them to use the same model files
- Model files cannot be recognized or found
extra_model_paths.yaml configuration file
Open Config File
- Portable/Manual Install
- Comfy Desktop
For the ComfyUI version such as portable and manual, you can find an example file named Copy and rename it to
extra_model_paths.yaml.example in the root directory of ComfyUI:extra_model_paths.yaml for use. Keep it in ComfyUI’s root directory at ComfyUI/extra_model_paths.yaml.
You can also find the config example file here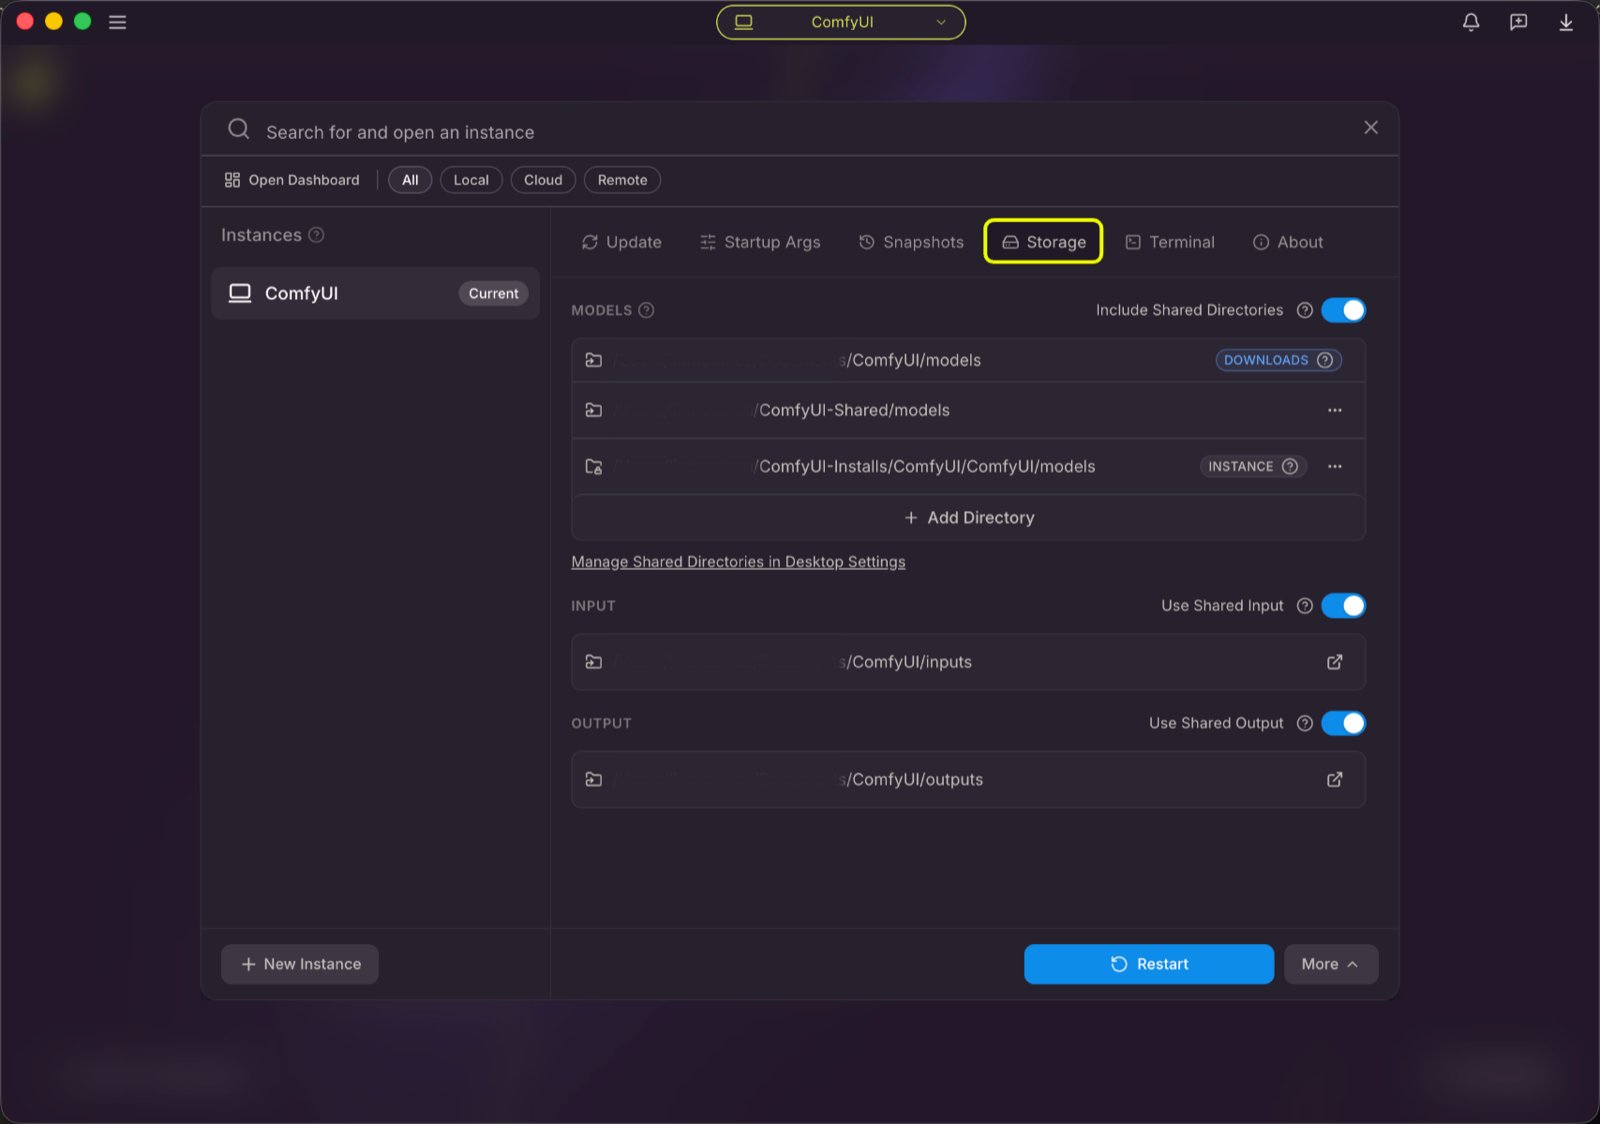
Example Structure
Suppose you want to add the following model paths to ComfyUI:extra_model_paths.yaml file like below to let ComfyUI recognize the model paths on your device:
D:\stable-diffusion-webui\, you can modify the corresponding configuration to
Add Extra Custom Nodes Path
Besides adding external models, you can also add custom nodes paths that are not in the default path of ComfyUI Below is a simple configuration example (MacOS), please modify it according to your actual situation and add it to the corresponding configuration file, save it and restart ComfyUI for the changes to take effect:FAQ
Docker: ComfyUI does not provide an official Docker image. If you want to run ComfyUI in a container, you can use community-maintained images from Docker Hub. These images are not officially maintained by Comfy-Org and are not supported by the ComfyUI team. Use them at your own risk.