

Luma Text to Image Partner Nodes Workflow
When theLuma Text to Image node is used without any image inputs, it functions as a text-to-image workflow. In this guide, we’ve created examples using style_image and image_luma_ref to showcase Luma AI’s excellent image processing capabilities.
1. Download Workflow Files
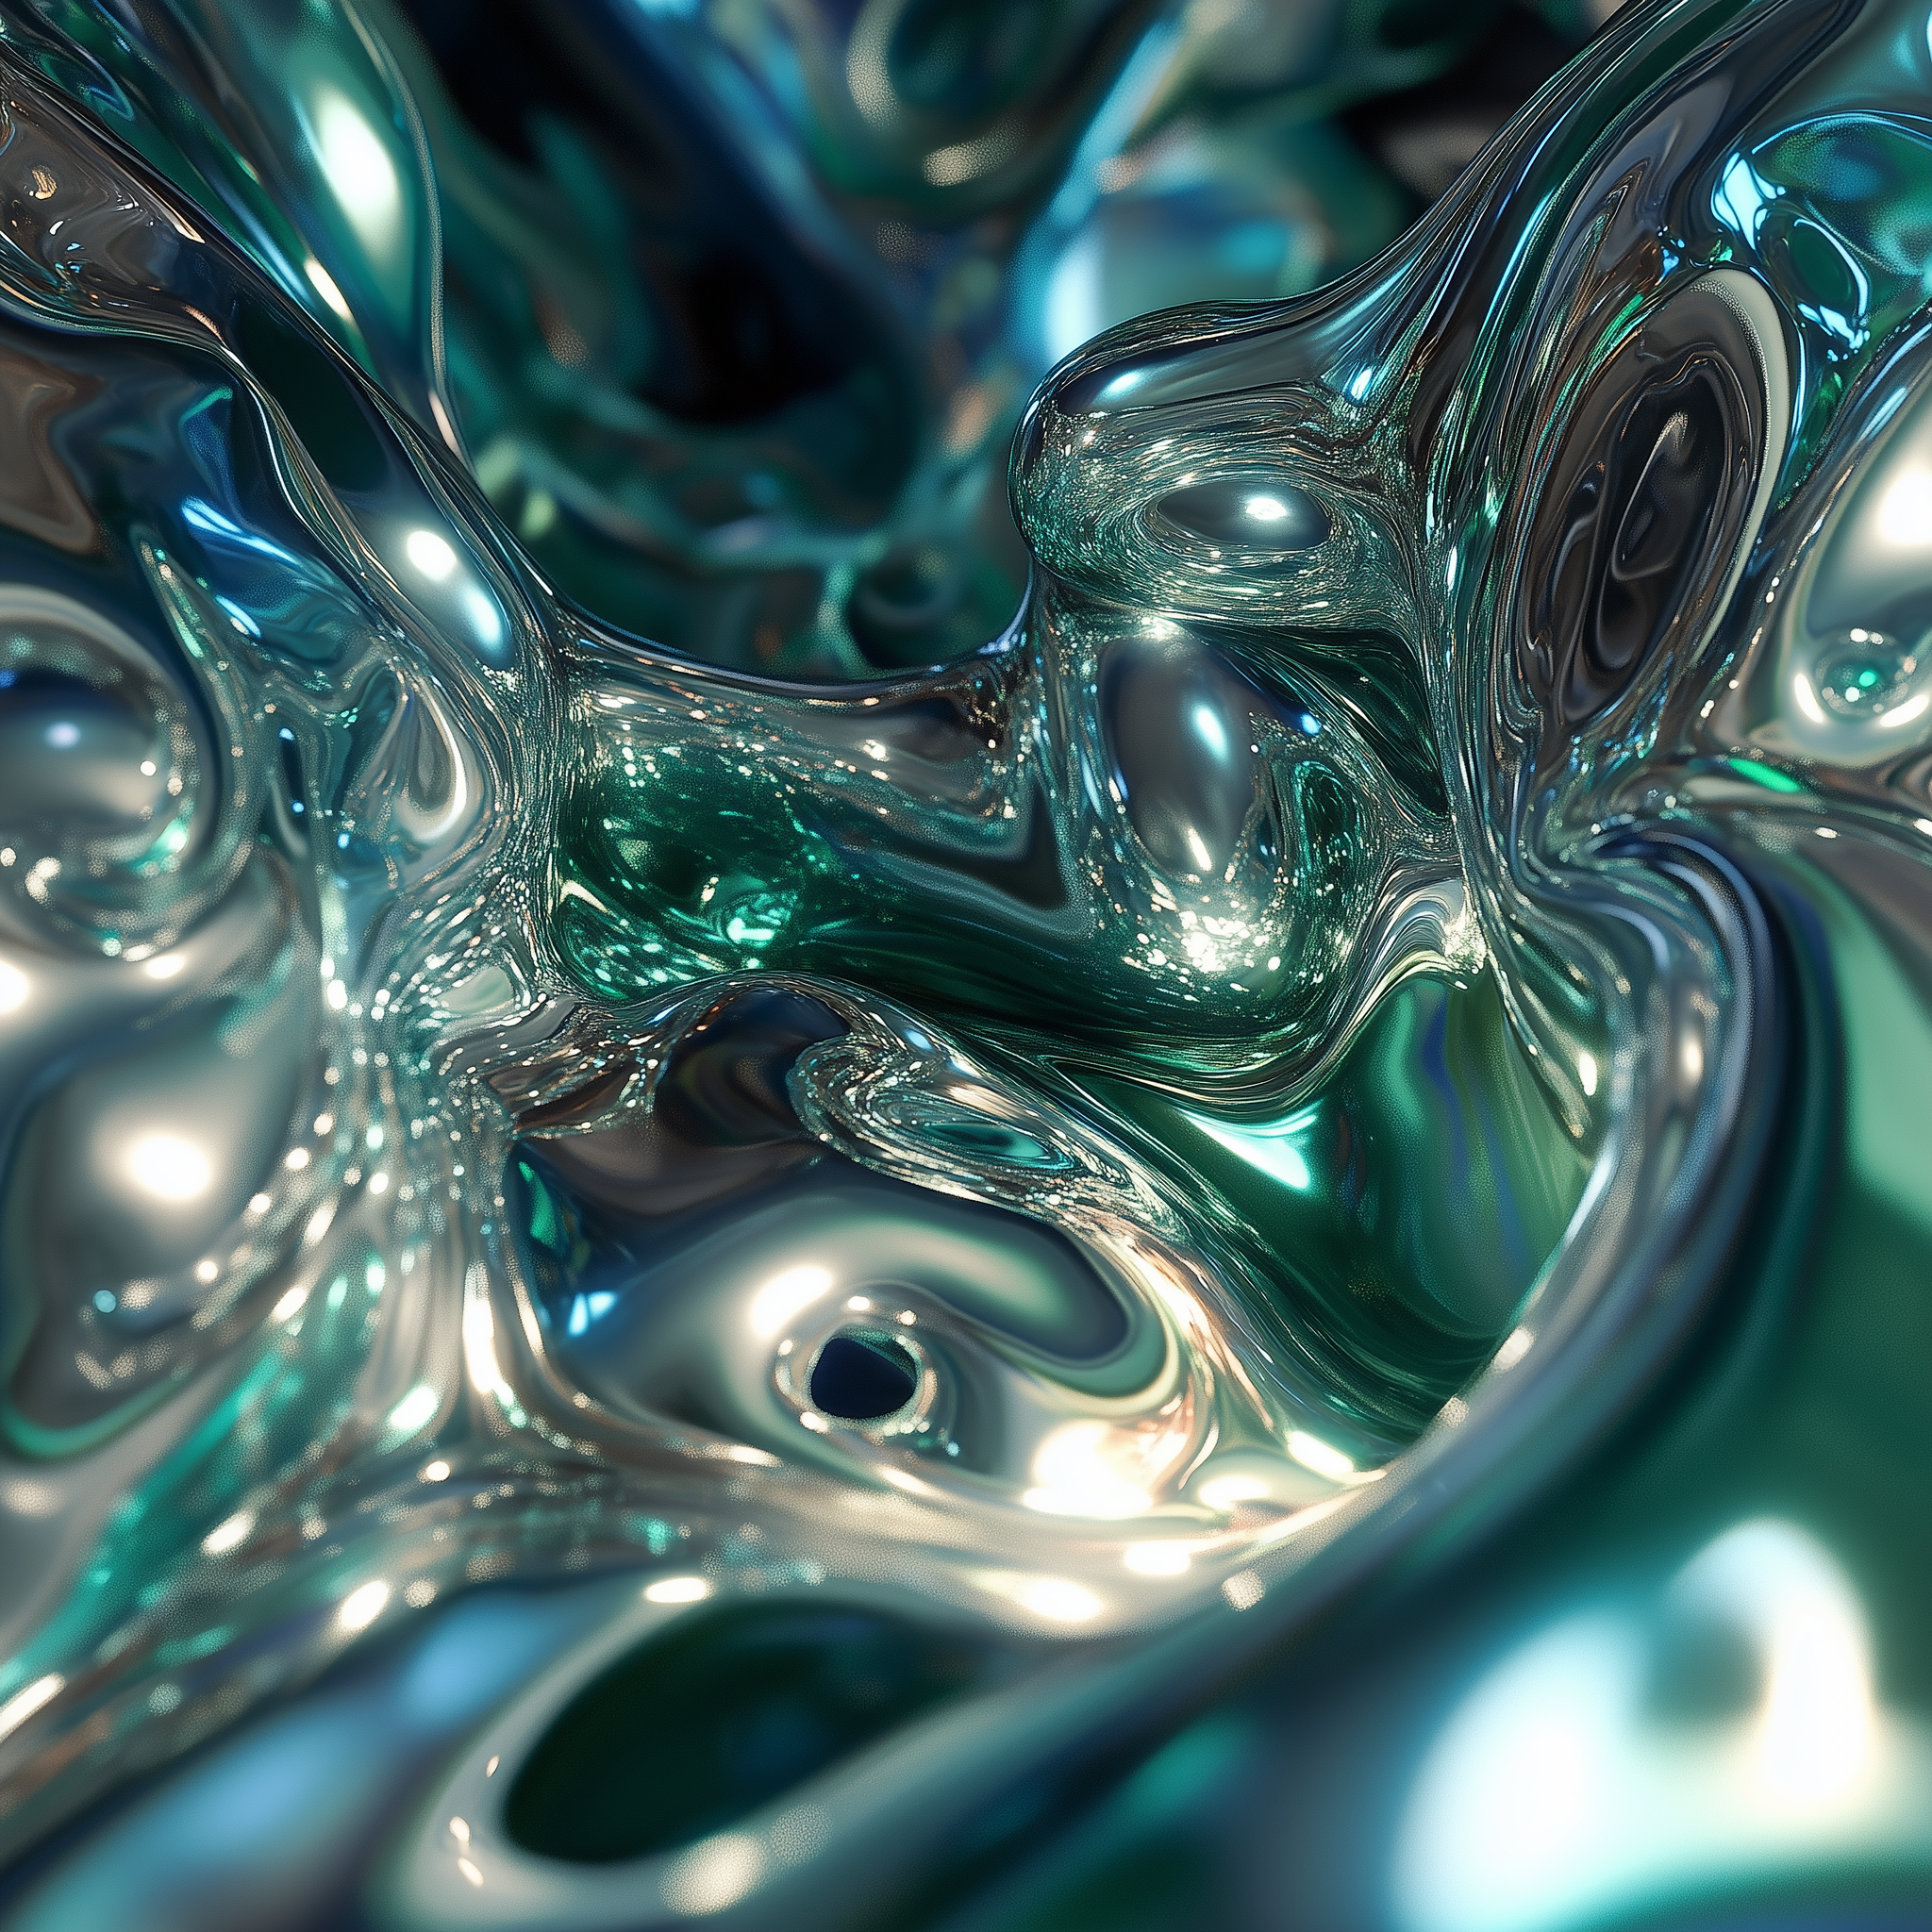
The workflow information is included in the metadata of the image below. Download and drag it into ComfyUI to load the workflow. Please download these images for input:

2. Follow Steps to Run the Workflow
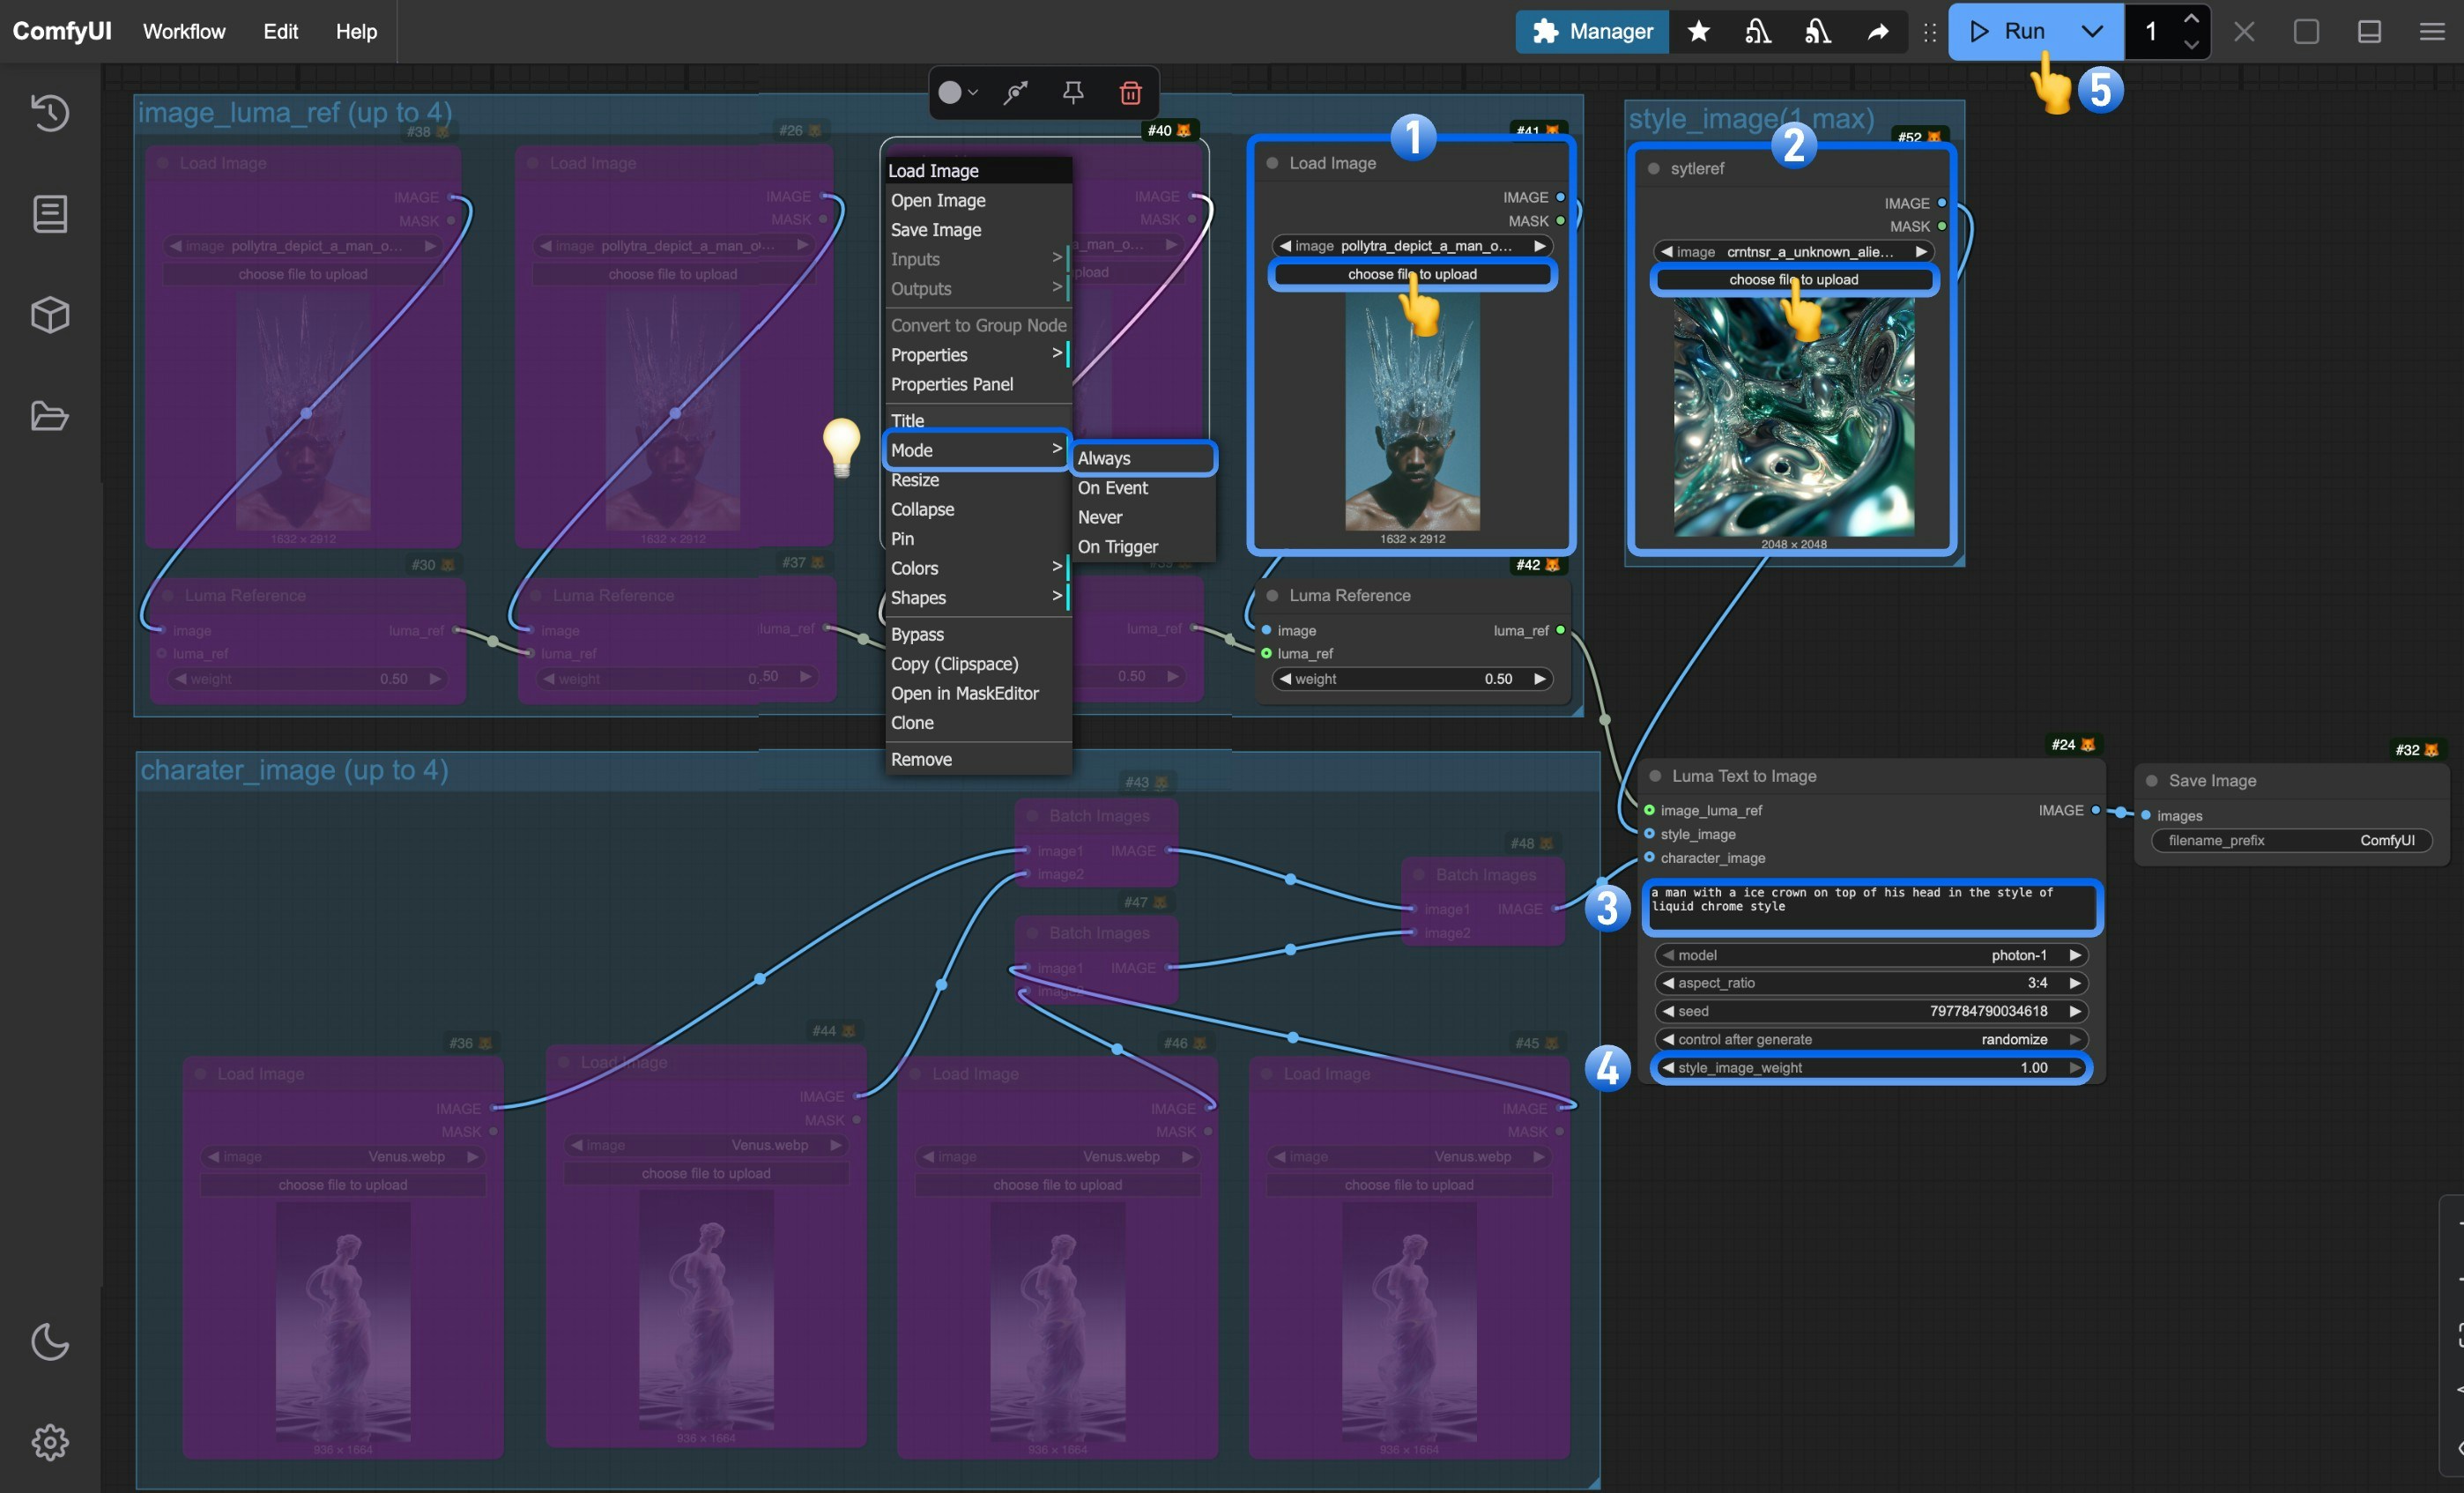
- Upload the reference image in the
Load imagenode - Upload the style reference image in the
Load image (renamed to styleref)node - (Optional) Modify the prompts in the
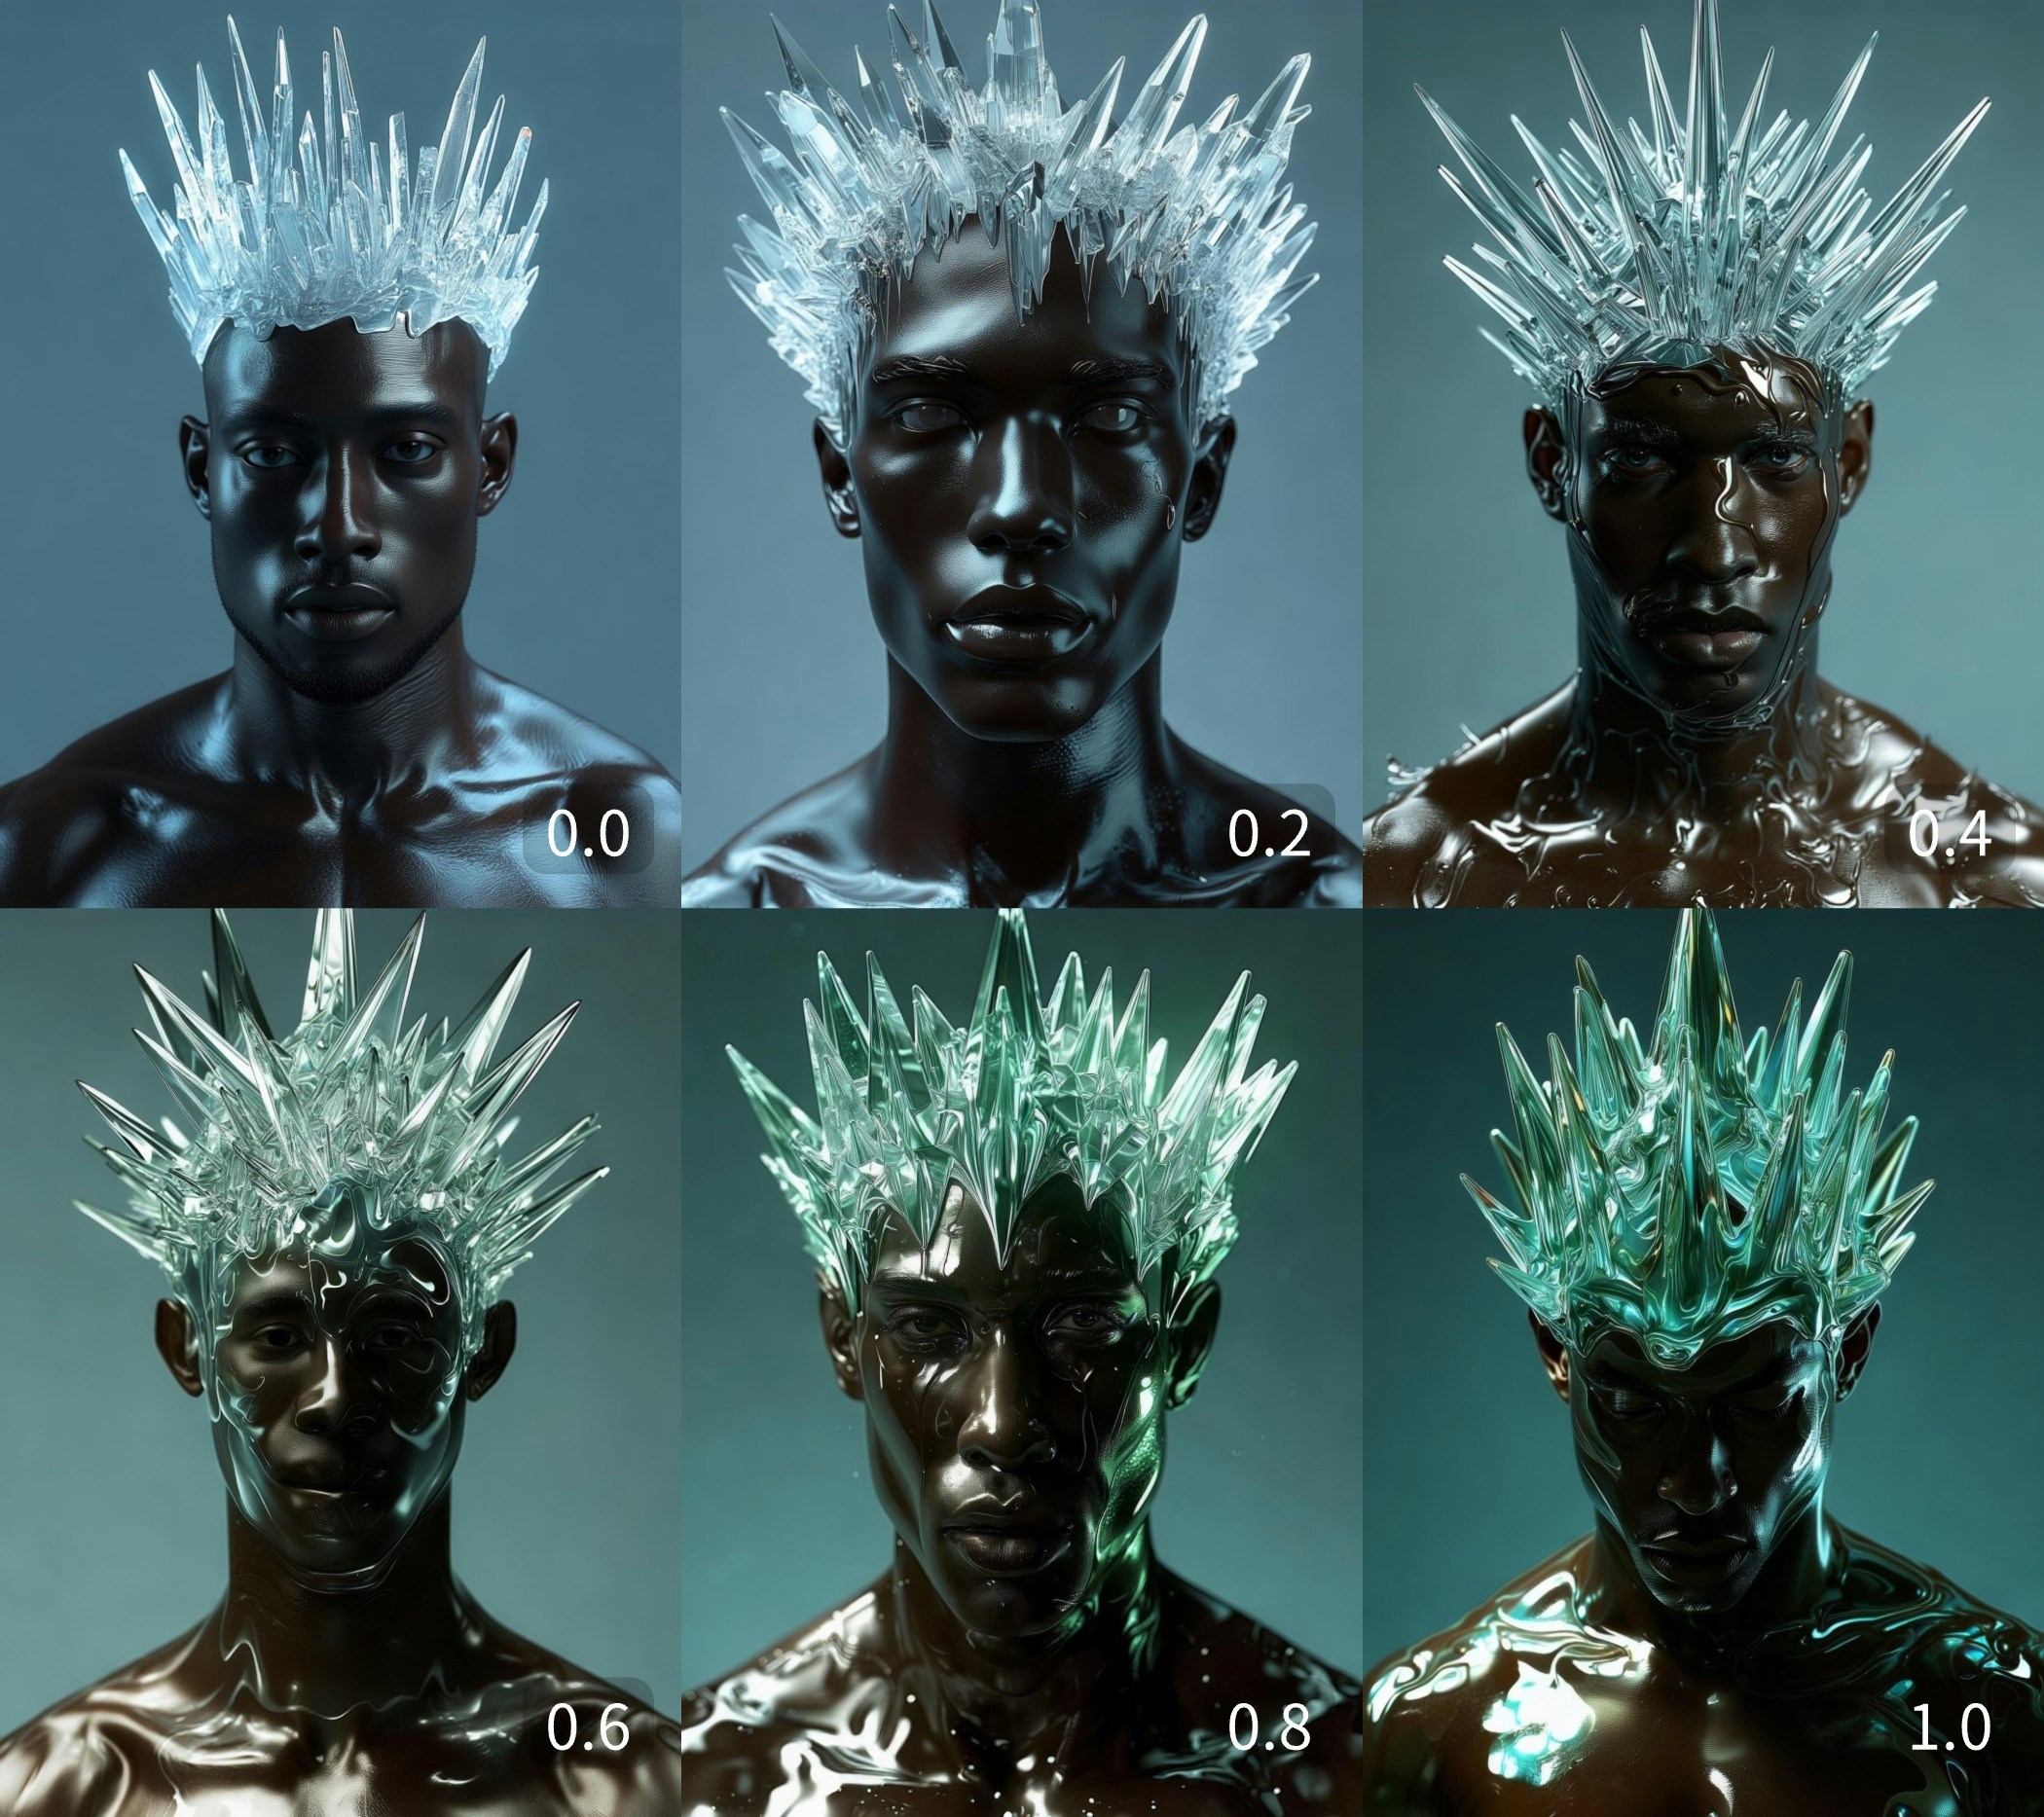
Luma Text to Imagenode - (Optional) Adjust the
style_image_weightto control the style reference image’s influence - Click the
Runbutton or use the shortcutCtrl(cmd) + Enterto generate the image - After the API returns results, view the generated image in the
Save Imagenode. Images are saved to theComfyUI/output/directory
3. Additional Notes
- The node allows up to 4 reference images and character references simultaneously.
- To enable multiple image inputs, right-click on the purple “Bypassed” nodes and set their
modetoalways