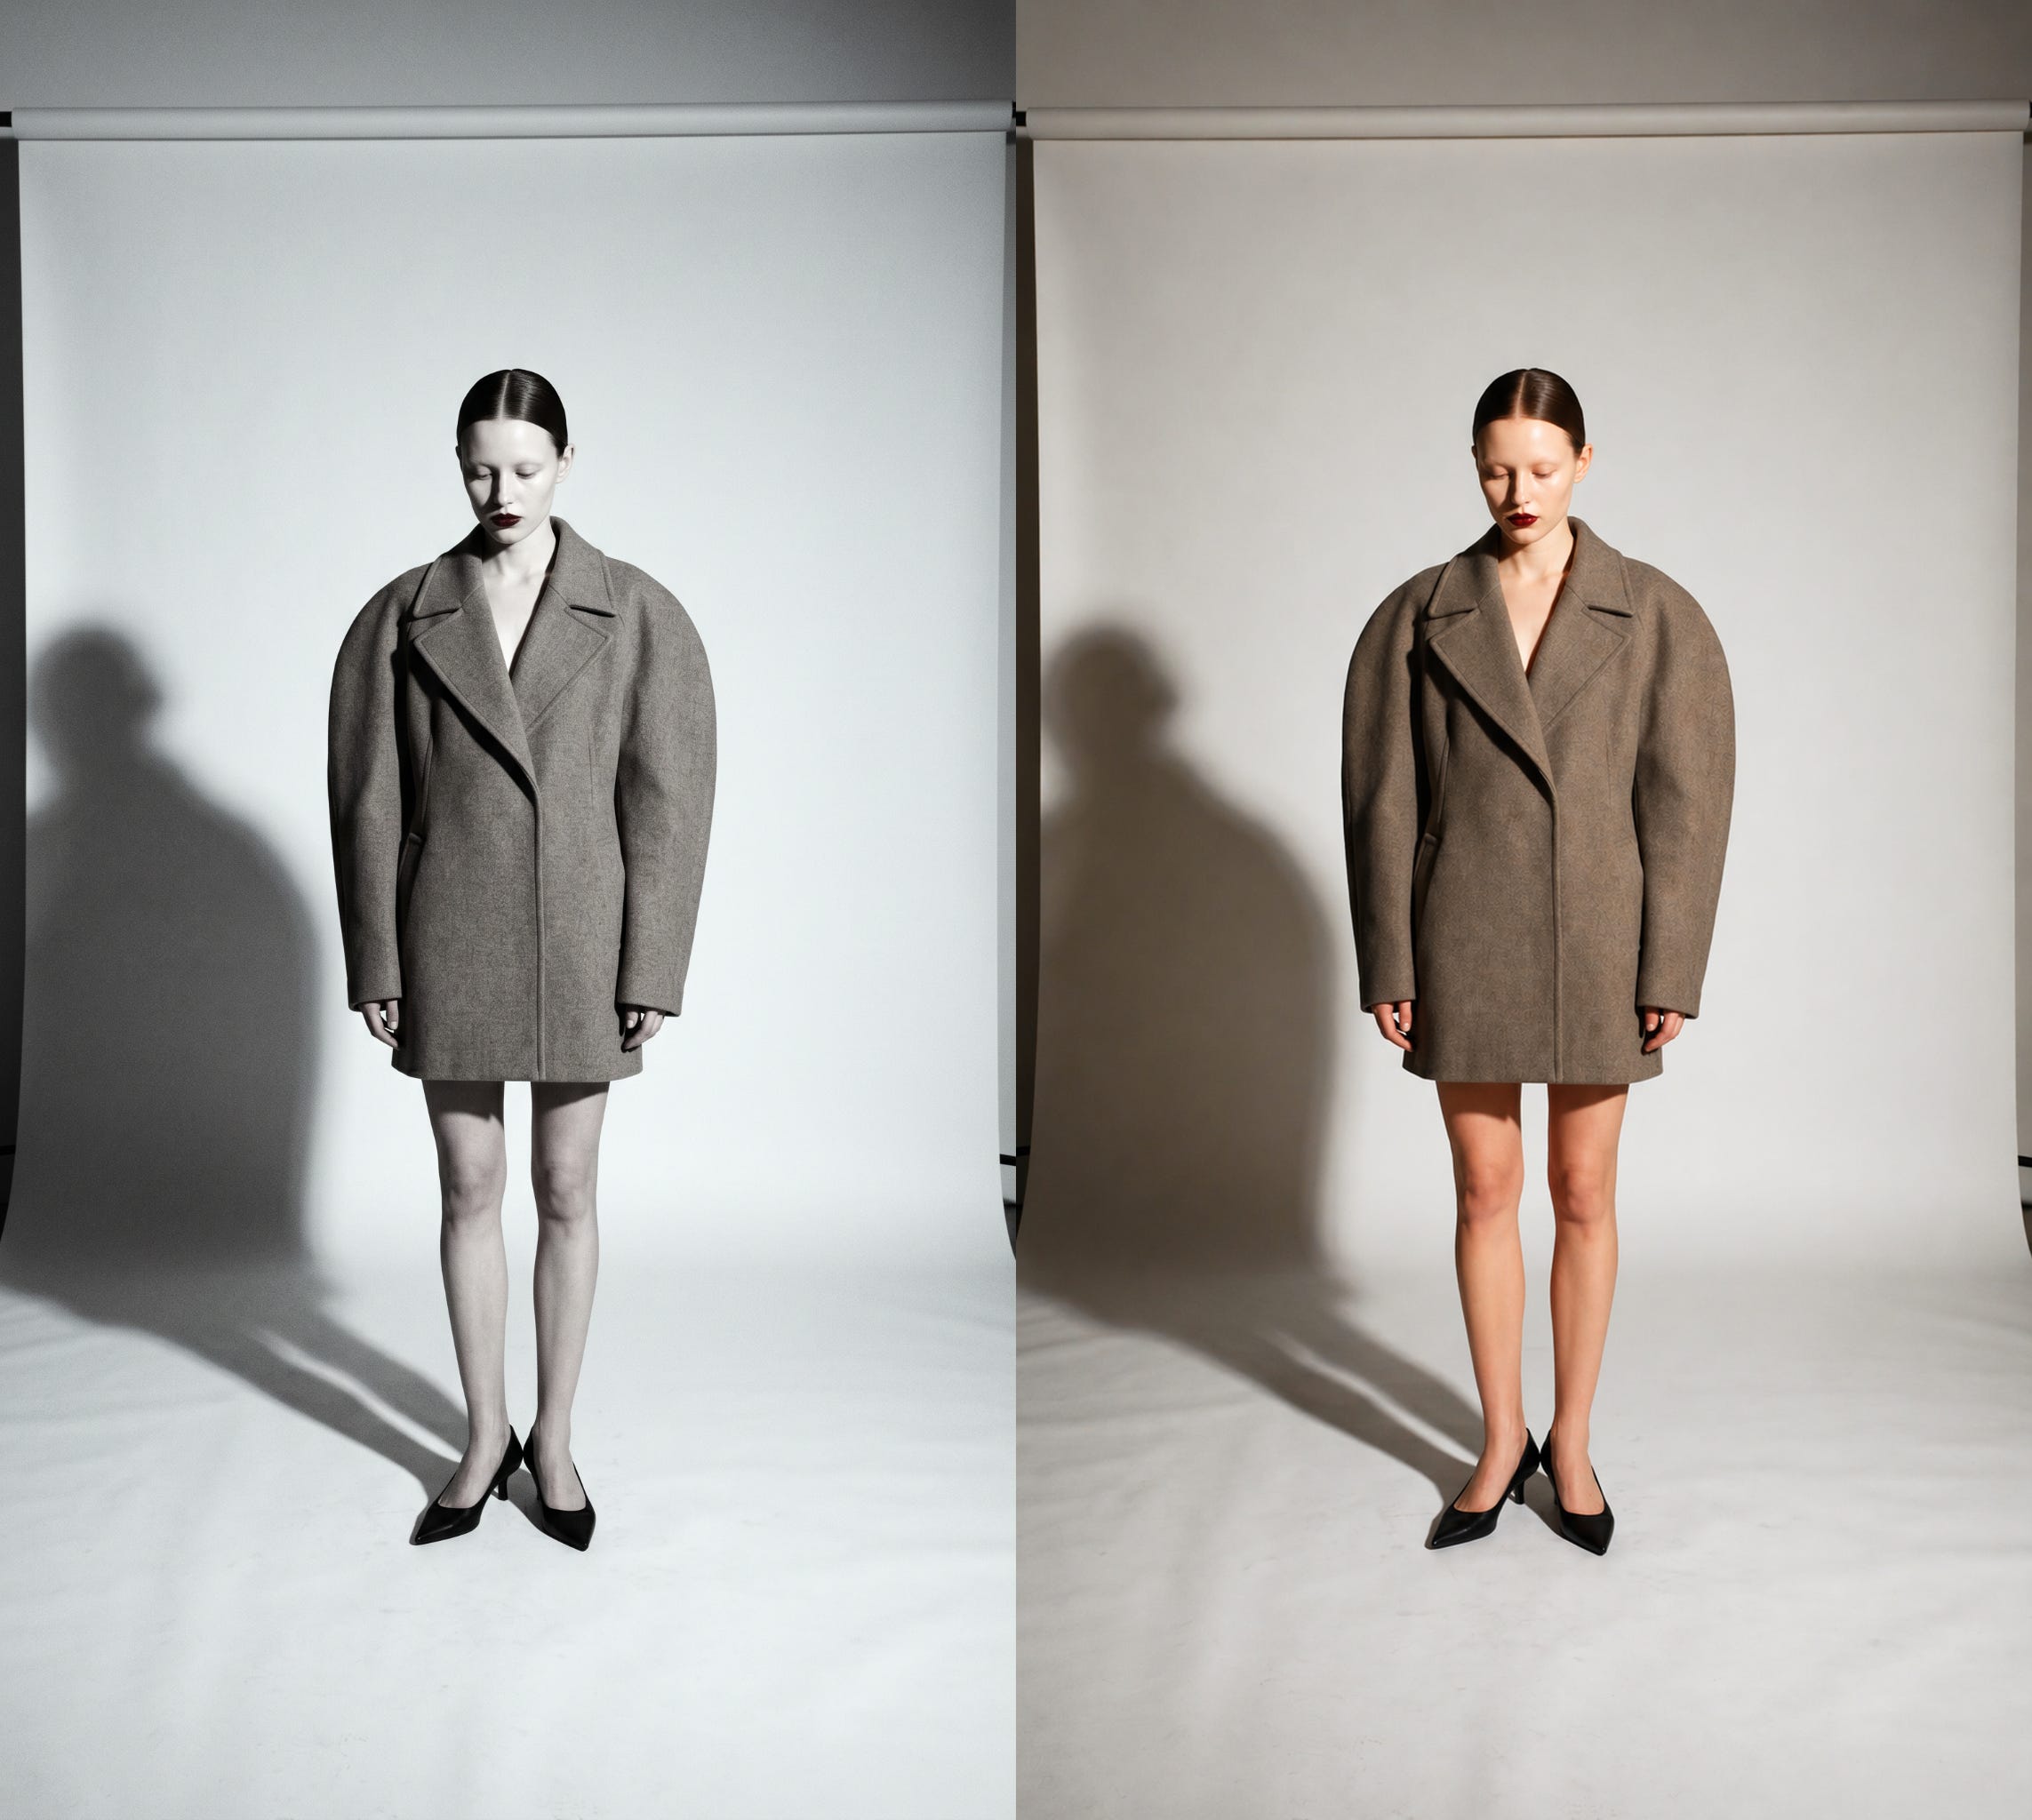
This guide shows how to run the GPT-Image-2 workflows in ComfyUI. For what the model is and what it does best, see the GPT-Image-2 overview.
To use the Partner Nodes, you need to ensure that you are logged in properly and using a permitted network environment. Please refer to the Partner Nodes Overview section of the documentation to understand the specific requirements for using the Partner Nodes.
Make sure your ComfyUI is updated.Workflows in this guide can be found in the Workflow Templates. If you can’t find them in the template, your ComfyUI may be outdated.If nodes are missing when loading a workflow, possible reasons:
  1. You are not using the latest ComfyUI version (Nightly version)
  2. Some nodes failed to import at startup

Getting Started

  1. Update ComfyUI to the latest version (v0.19.4 or later), or use Comfy Cloud.
  2. In the Node Library, search for OpenAI GPT Image 1.5 and add the node.
  3. Set the model field to gpt-image-2.

Available workflows

Text to image (T2I)

Generate an image from a text prompt with GPT-Image-2’s reasoning-driven composition.

Run Text-to-Image on Cloud

Try the Text-to-Image workflow instantly on Comfy Cloud.

Download Text-to-Image workflow

Download the workflow JSON.
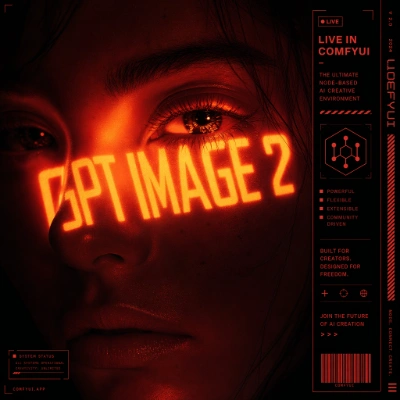
GPT-Image-2 Text-to-Image workflow preview GPT-Image-2 Text-to-Image example

Image edit

Edit an input image with high structural fidelity at up to 2K resolution.

Run Image Edit on Cloud

Try the Image Edit workflow instantly on Comfy Cloud.

Download Image Edit workflow

Download the workflow JSON.
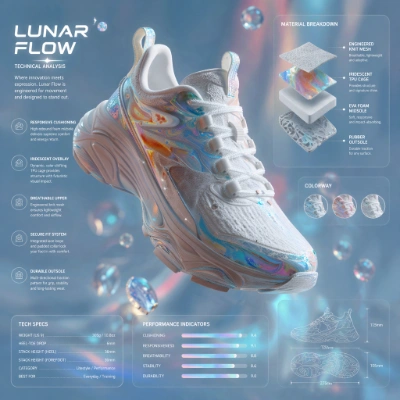
GPT-Image-2 Image Edit workflow preview

Download Sample Input Image

Get the example input image for this workflow
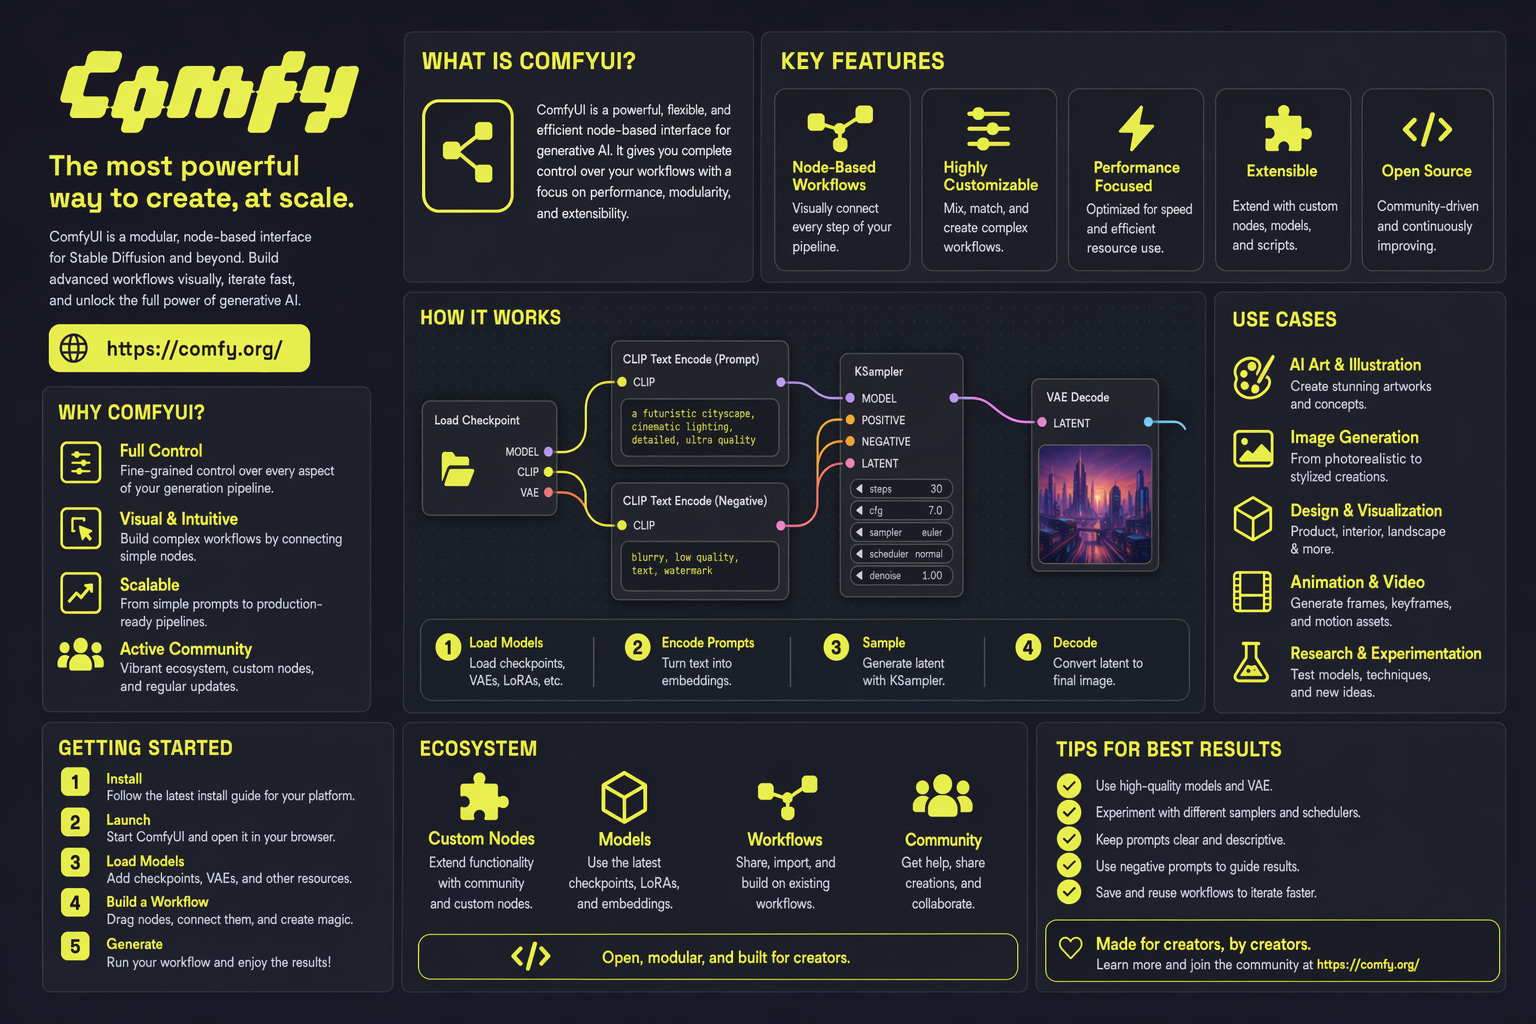
GPT-Image-2 Image-to-Image example GPT-Image-2 Image Edit example 1 GPT-Image-2 Image Edit example 2