Image to Video Workflow with Luma Partner Nodes
The Luma Image to Video node requires at least one image input (first_image or last_image) along with text prompts to determine the video’s motion effects. In this guide, we’ve created an example using first_image and luma_concepts to showcase Luma AI’s video generation capabilities.
1. Download the Workflow
The workflow information is included in the metadata of the video below. Download and drag it into ComfyUI to load the workflow.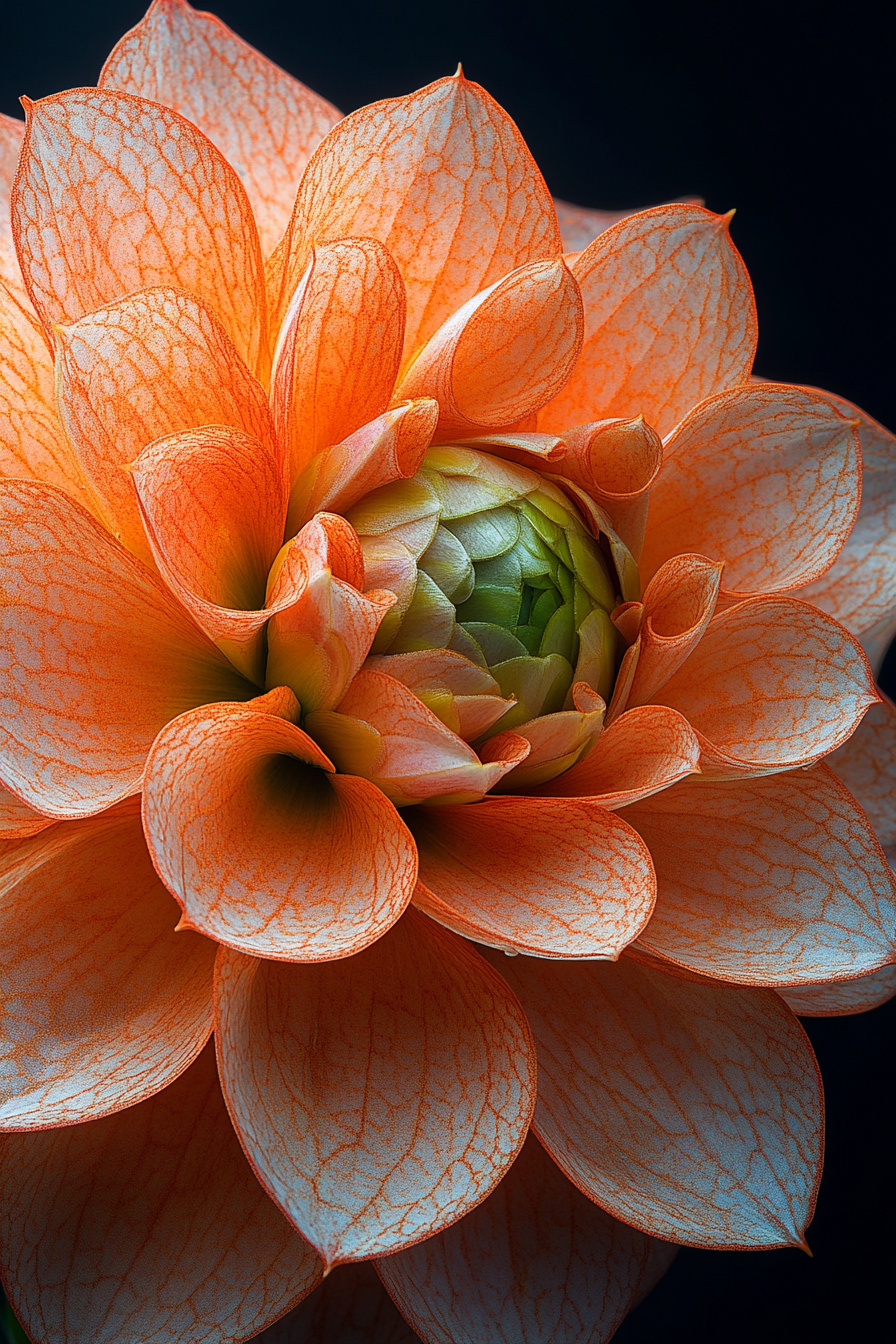
2. Follow the Workflow Steps
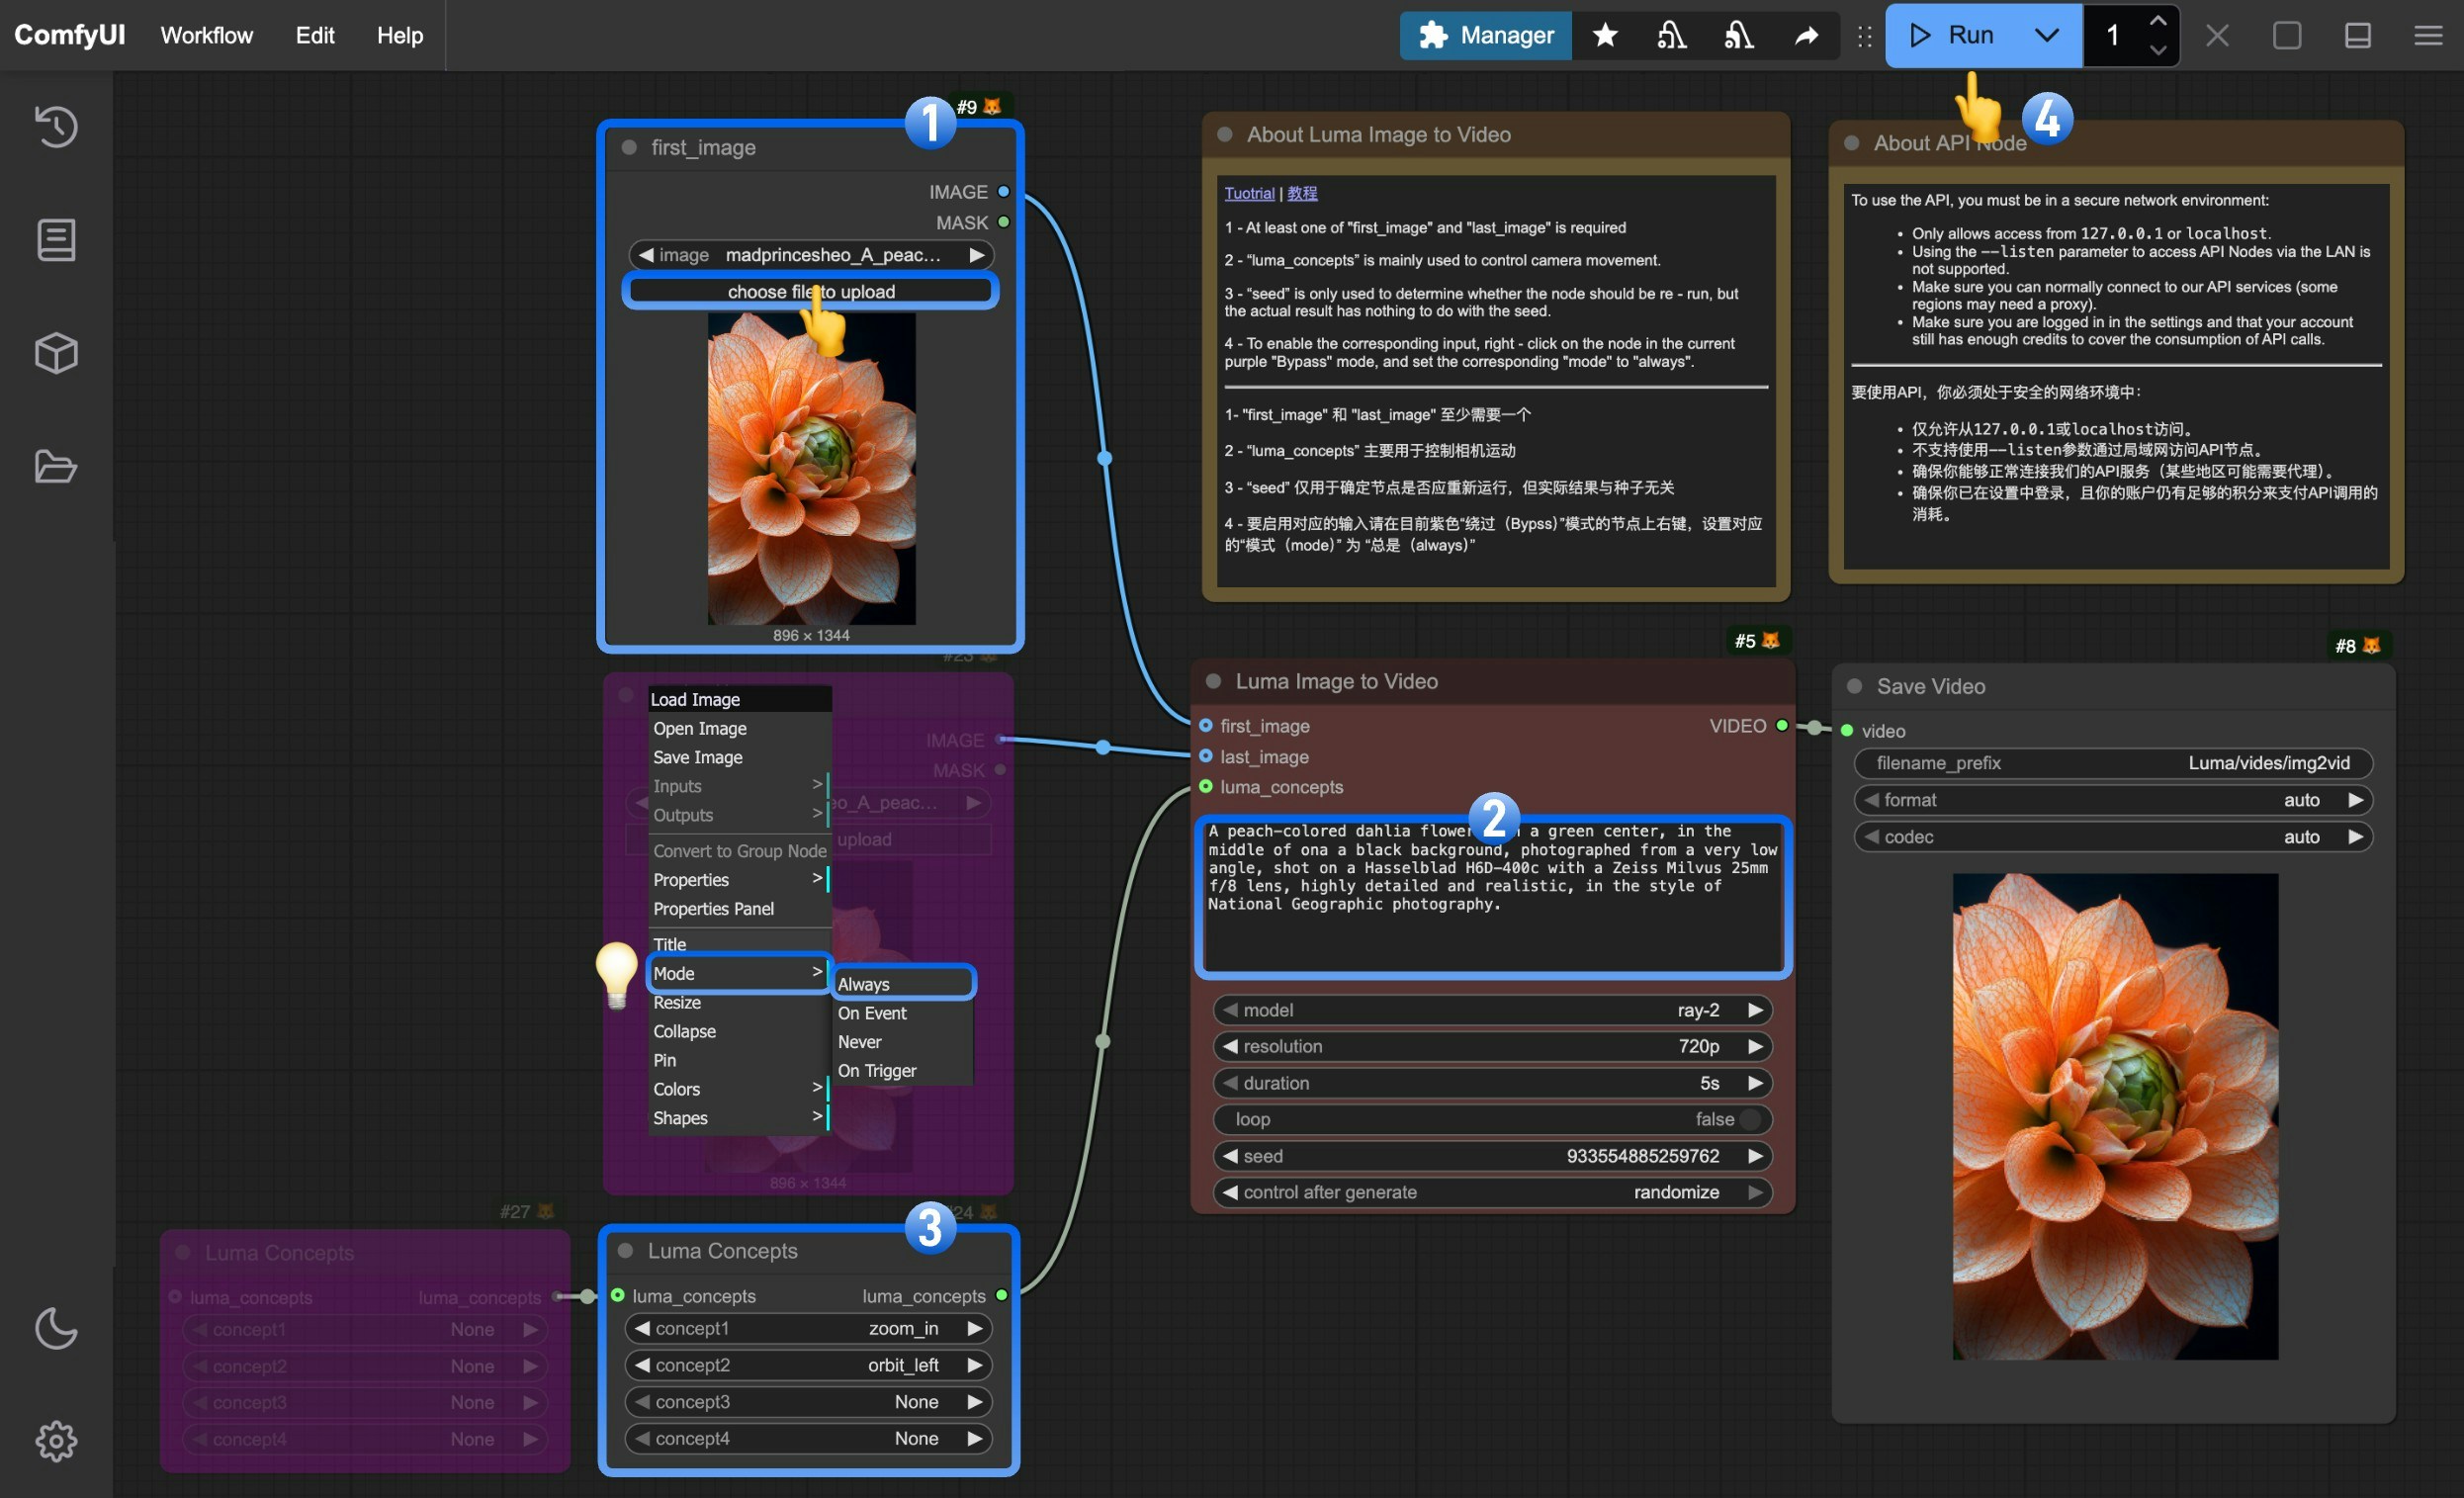
- Upload your input image in the
first_imagenode - (Optional) Write prompts in the Luma Image to Video node to describe how you want the image animated
- (Optional) Modify the
Luma Conceptsnode to control camera movement for professional cinematography - Click
Runor useCtrl(cmd) + Enterto generate the video - Once the API returns results, view the generated video in the
Save Videonode. The video will also be saved to theComfyUI/output/directory
3. Additional Notes
- Image Input Requirements: At least one of
first_imageorlast_imageis required, with a maximum of 1 image per input - Luma Concepts: Controls camera movement for professional video effects
- Seed Parameter: Only determines if the node should rerun, doesn’t affect generation results
- Enable Input Nodes: Right-click on purple “Bypass” mode nodes and set “mode” to “always” to enable inputs
- Model Selection: Different video generation models have unique characteristics, adjustable via the model parameter
- Resolution and Duration: Adjust output video resolution and length using resolution and duration parameters