

Bria: Eraser
Remove a specific object or region from an image. The masked area is erased and filled with surrounding context; everything outside the mask stays unchanged.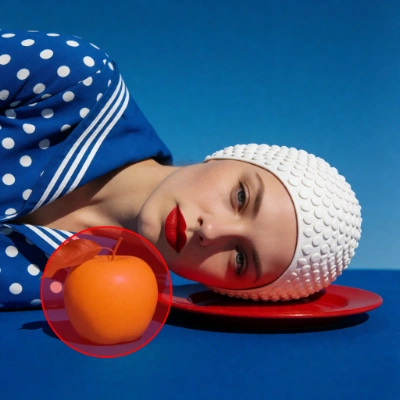
Run on Comfy Cloud
Open in Comfy Cloud
Download Workflow
Download JSON or search “Bria Eraser” in Template Library
LoadImage node:
vintage_girl_yellow_apple.png
Download sample input image
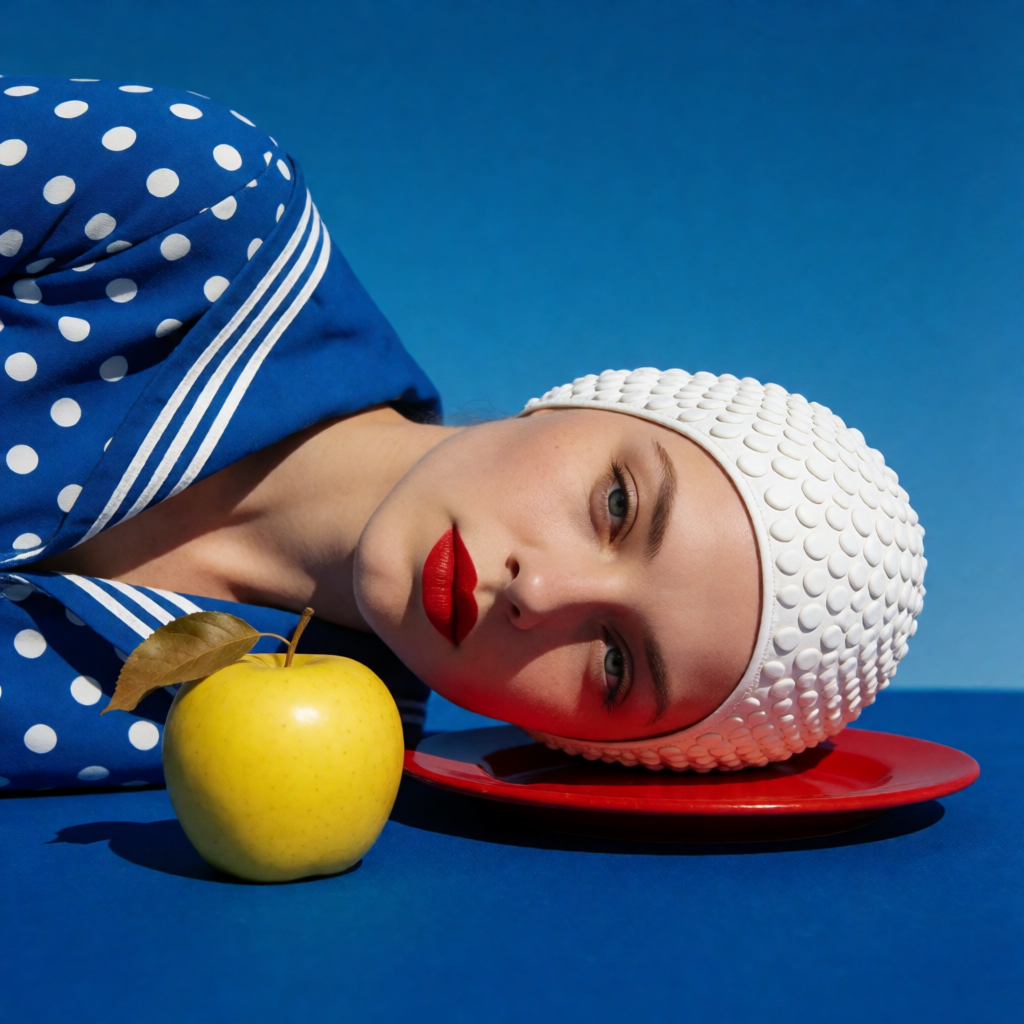
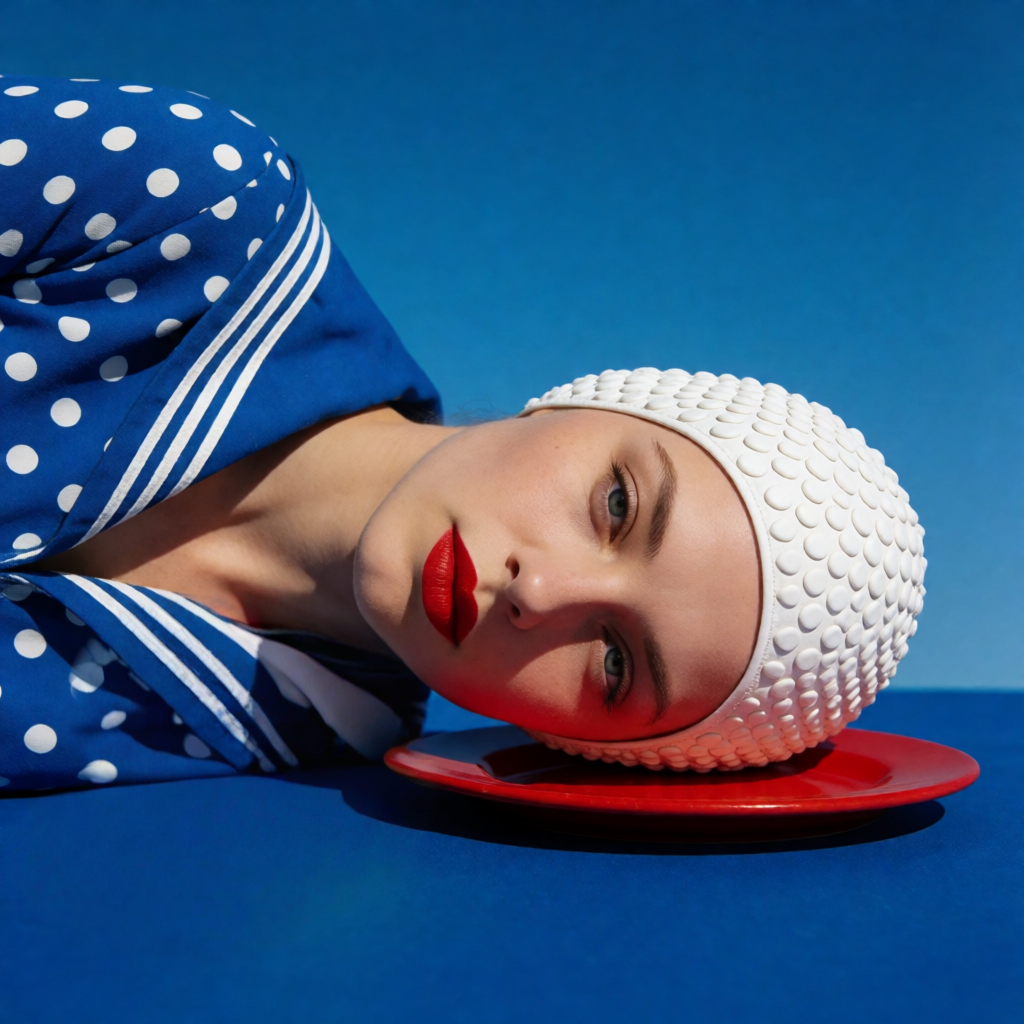
- Load an image: Upload your image in
LoadImage. The Painter canvas and compare view auto-update. - Paint a mask: Brush over the object or region you want to remove. Paint slightly beyond the object’s edge (hair, glass, fabric, contact points) so the model has room to blend cleanly.
- Run
BriaEraser: No prompt needed. The node erases the masked area and inpaints the background. Enter yourapi_keyif it is not already set. - Compare and save:
ImageCompareshows before/after,SaveImageAdvancedexports the result.
The masked area is fully regenerated from its surroundings, so the result blends seamlessly. The mask is binary: white (255) marks the region to erase, black (0) everywhere else, and it must match the image’s aspect ratio. For more precise results, use an automatic segmentation mask (SAM-style) if available: the API’s
mask_type distinguishes manual (brush-drawn) from automatic (algorithm-generated) masks.Bria: Expand Image
Expand an image beyond its original borders. The original image stays untouched; the surrounding area is generated to match its lighting, perspective, and texture.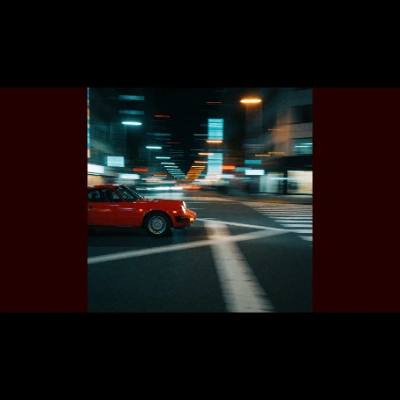
Run on Comfy Cloud
Open in Comfy Cloud
Download Workflow
Download JSON or search “Bria Expand Image” in Template Library
LoadImage node:
red_sports_car_night.png
Download sample input image
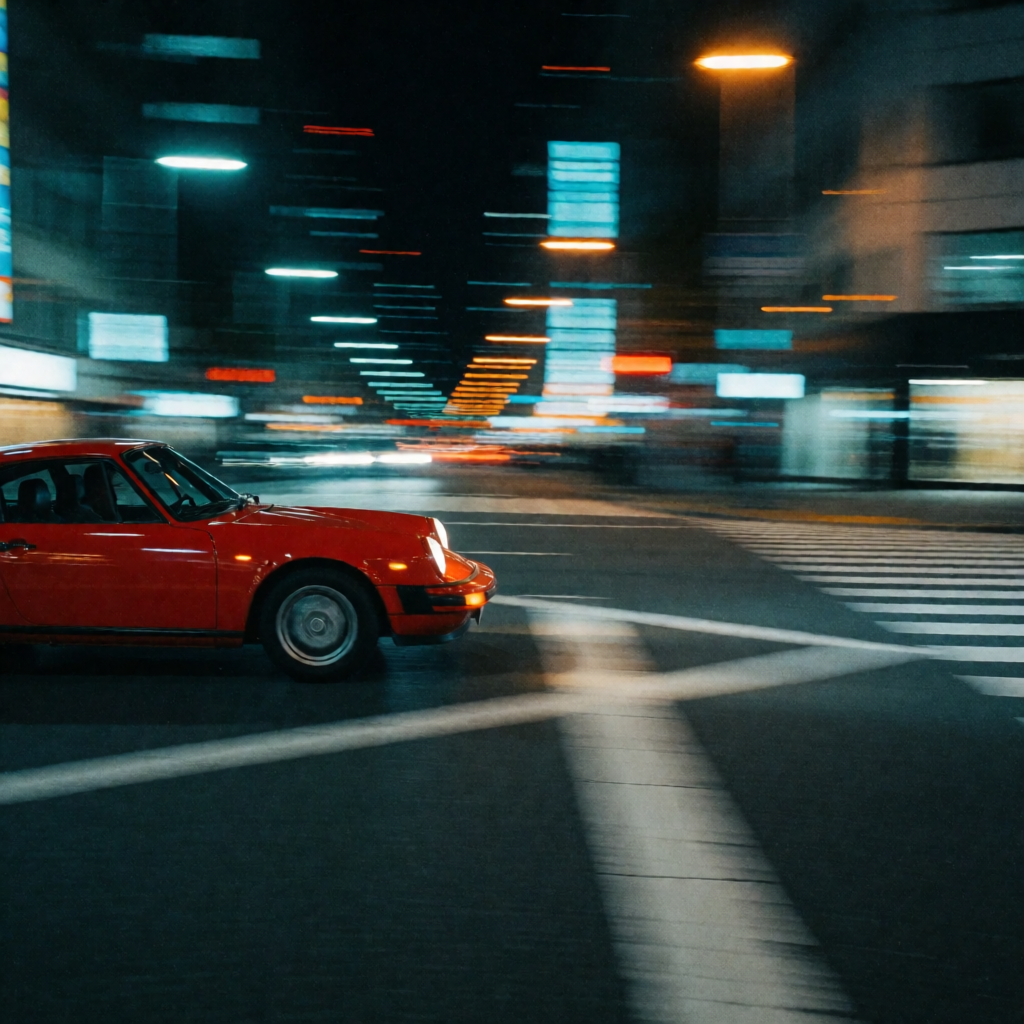
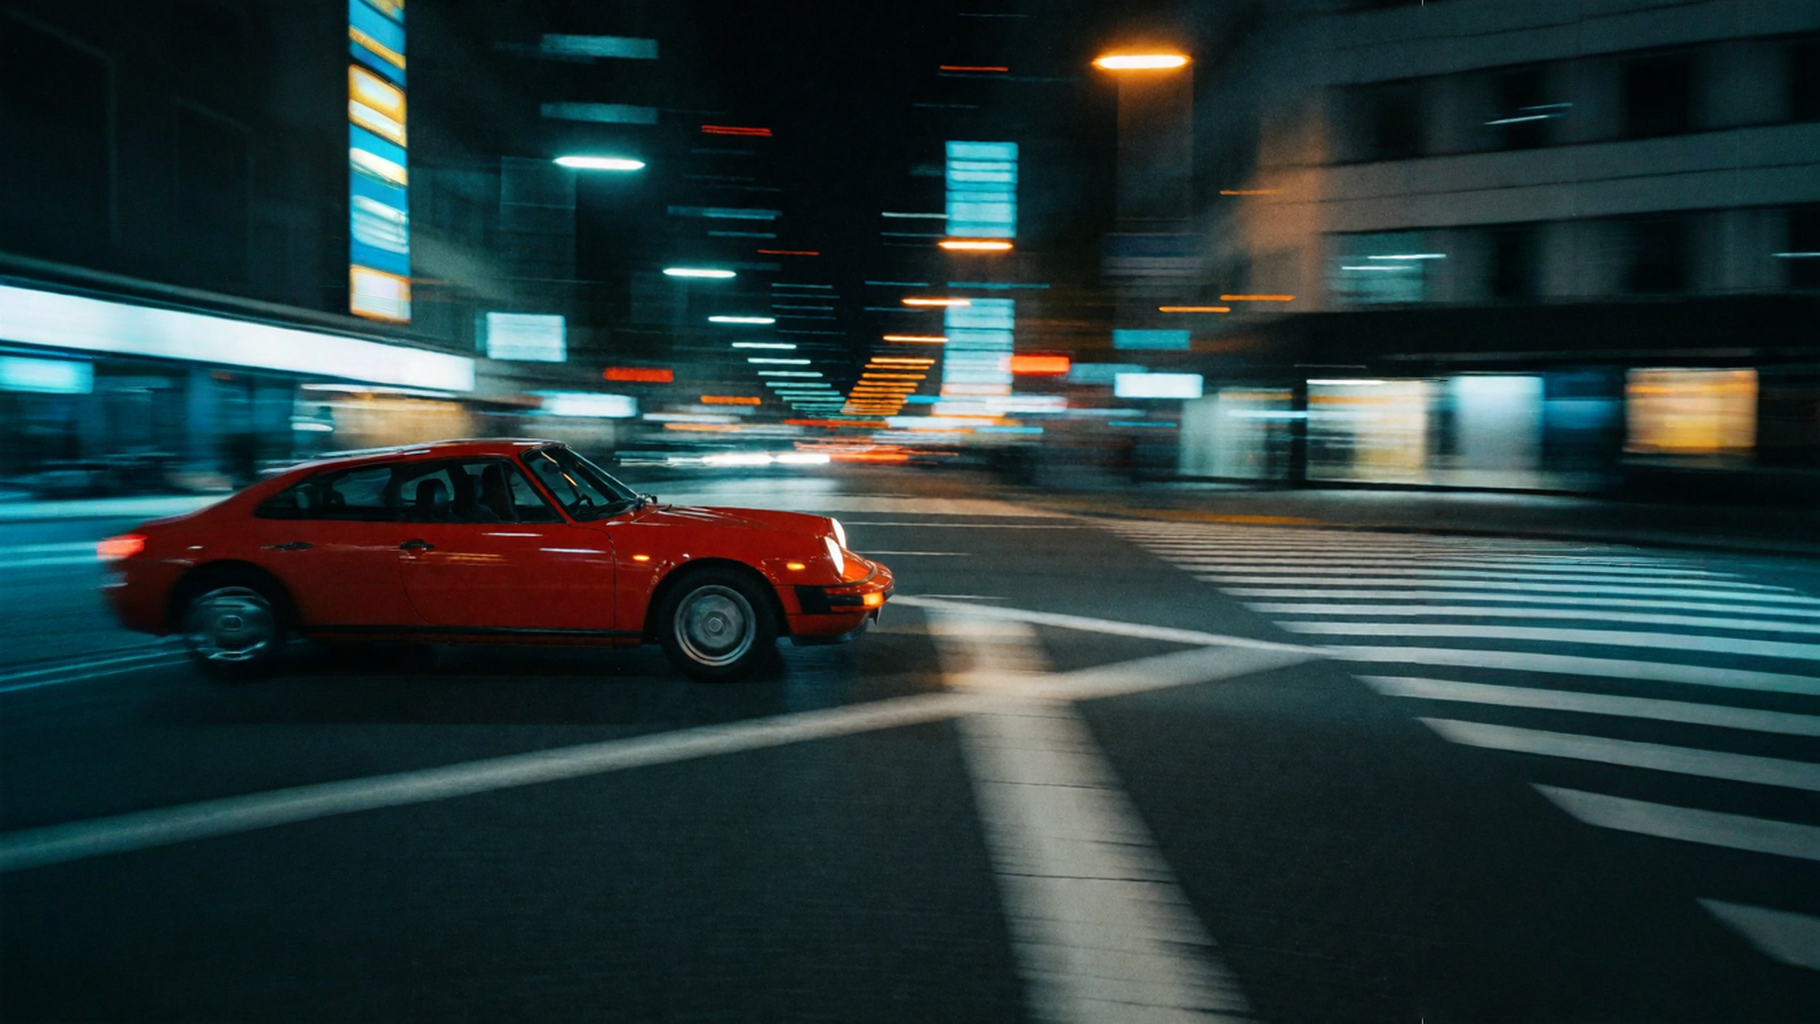
- Load an image: Upload your image in
LoadImageand connect it toBriaExpandImage. - Choose an expansion mode in the
expand_modedropdown:- Preset aspect ratio: Pick one of
1:1,2:3,3:2,3:4,4:3,4:5,5:4,9:16,16:9. The image is centered and the edges are expanded to fit that ratio. - Custom ratio: Pick
custom_ratioand setratio_width/ratio_height(e.g. 21 and 9 for 21:9). Bria accepts width-to-height ratios between 0.5 and 3.0, so anything taller than 1:2 needs the manual mode. - Manual: Pick
manualand place the original image on a canvas withcanvas_width/canvas_height(max 5000 x 5000),image_width/image_height, andimage_x/image_y(the image’s top-left corner; can be negative to crop).
- Preset aspect ratio: Pick one of
- Prompt (optional): Leave it empty and Bria automatically generates a prompt from the input image and expands to match its scene and style. Or write your own to guide the expansion direction explicitly, for example “the street continuing to the right”, “add a streetlamp”, “no other cars”. English only; special characters are not supported.
- Optional:
negative_promptto avoid unwanted content,seedto reproduce a result,moderationto enable content moderation. - Save: Connect the image output to
SaveImage.
The
prompt output on the node shows the prompt actually used: your input, or the one auto-generated by Bria when the field is empty. If the target aspect ratio equals the image’s current ratio (e.g. a 1:1 image set to 1:1), no changes are made and the image is returned as-is. Canvas area is limited to 5,000 x 5,000 pixels. Keep the main subject above 15% of the total canvas area for best results.Bria: Generative Fill
Regenerate a specific region of an image from a prompt. The masked area is fully regenerated; everything outside the mask stays pixel-perfect unchanged.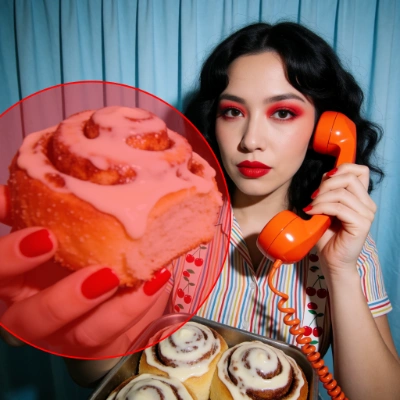
Run on Comfy Cloud
Open in Comfy Cloud
Download Workflow
Download JSON or search “Bria: Generative Fill” in Template Library
LoadImage node:
retro_girl_cinnamon_bun.png
Download sample input image
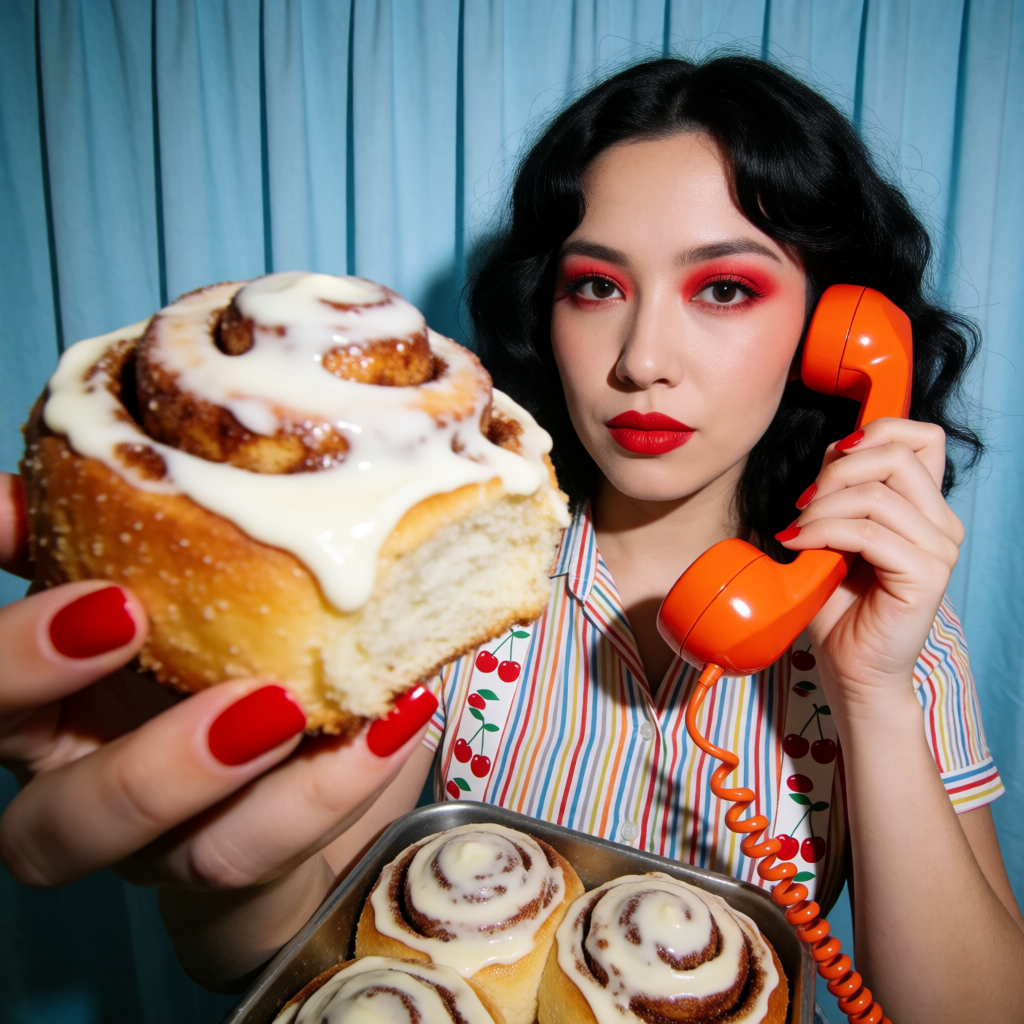

- Load an image: Upload your image in
LoadImage. The Painter canvas and compare view auto-update. - Paint a mask: Brush over the region you want to regenerate. Blob-shaped, brush-drawn masks work best. Paint slightly beyond the object’s edge (hair, glass, fabric, contact points) so the model has room to blend.
- Write the prompt: In
BriaGenFill, describe what should be generated inside the masked area, as if art-directing a cropped micro-scene: name the object, its material and size, how it interacts with the surface, and ask for a contact shadow. Around 90-110 words works best. Keeprefine_promptenabled. - Optional:
negative_promptto avoid unwanted details. Use a fixedseedto iterate on the mask or wording, then randomize once the result looks right. - Compare and save:
ImageCompareshows before/after,SaveImageAdvancedexports the result.
Masks trigger generative replacement, not pixel retouching: the masked area means “regenerate this region”, not “touch up this region”.
Get started
- Update ComfyUI to the latest version
- Go to Template Library, search for
Bria Eraser,Bria Expand Image, orBria Generative Fill