

Krea 2 Image Node Documentation
Check the following documentation for detailed node parameter settings:Krea 2 Text to Image Workflow

Run on Comfy Cloud
Open in Comfy Cloud
Download Workflow
Download JSON or search “Krea2” in Template Library
- Enter your prompt: type a text description in the Krea2ImageNode
- Select a model variant: choose between Krea 2 Medium (illustrations) or Krea 2 Large (photorealism)
- Adjust parameters: set aspect ratio, resolution, creativity level, and seed
- Click Queue: press
Ctrl+Enteror click the Queue button to generate - View result: the generated image appears in the SaveImage node, saved to
ComfyUI/output/
Krea 2 Style Reference Workflow
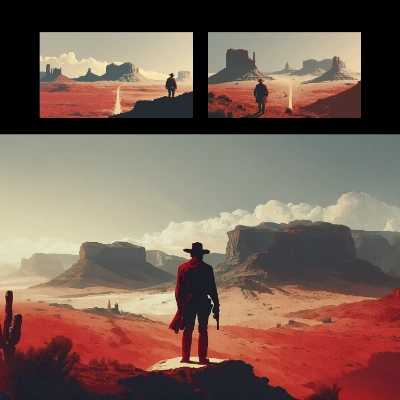 The Style Reference workflow adds an extra step: upload one or more reference images that define the aesthetic style, mood, and visual direction. The generated image will match your prompt while applying the style from your reference images.
Run on Comfy Cloud
Open in Comfy Cloud
Download Workflow
Download JSON or search “Krea 2: Style Reference” in Template Library
- Upload reference images: use the LoadImage nodes to load style reference images (supports up to 10)
- Enter your prompt: describe the scene you want in the Krea2ImageNode
- Select a model variant: choose between Medium and Large
- Adjust style strength: modify the style reference strength in the Krea2StyleReferenceNode nodes
- Click Queue: press
Ctrl+Enterto generate - View result: the generated image appears in the SaveImage node
Additional Notes
- The Krea 2 Image node supports up to 10 style reference images simultaneously
- The
moodboard_idparameter requires a valid UUID from a Krea moodboard on Krea’s website