

ComfyUI MoGe Introduction
MoGe (CVPR 2025, from Microsoft Research) is a powerful model for recovering 3D geometry from monocular open-domain images. It estimates metric point maps, metric depth maps, normal maps, and camera FOV: all in a single forward pass. Key capabilities:- Accurate 3D geometry estimation: point maps, depth maps, and normal maps from a single image: one model, one forward pass
- Metric scale (MoGe-2, MoGe-3): point maps and depth maps in real-world scale
- Flexible resolution support: works with various resolutions and aspect ratios (2:1 to 1:2)
- Fast inference: ~60ms per image on A100 / RTX 3090 (FP16, ViT-L)
- Mesh generation from both perspective and panoramic images
MoGe-2 adds metric scale and high-quality normal map estimation with sharper visual detail and lower inference latency. MoGe-2 with normal (moge_2_vitl_normal_fp16) is the recommended checkpoint. MoGe-3 keeps the MoGe-2 architecture and adds a self-guided sparse volumetric refinement stage for significantly improved fine-grained point map geometry. It ships as a ViT-L checkpoint (moge_3_vitl_fp16) and a larger ViT-g checkpoint (moge_3_vitg_fp16).
Model Installation
Download the MoGe checkpoint(s) and save them to the corresponding ComfyUI folder:- MoGe-2 (recommended): moge_2_vitl_normal_fp16.safetensors
- MoGe-1 (baseline): moge_1_vitl_fp16.safetensors
- MoGe-3 (highest detail): moge_3_vitg_fp16.safetensors (1.25B) or moge_3_vitl_fp16.safetensors (370M)
Run MoGe Inference and Run MoGe Panorama Inference nodes expose an advanced refine_steps control (0 to 8, default 3) that runs sparse volumetric refinement passes over the predicted depth. 0 disables refinement, and more passes sharpen fine detail and edges at a roughly linear cost. MoGe-1 and MoGe-2 checkpoints ignore this setting.
Example Workflows
MoGe: Depth Estimation
Upload a single RGB image and generate a colored depth preview and raw depth map.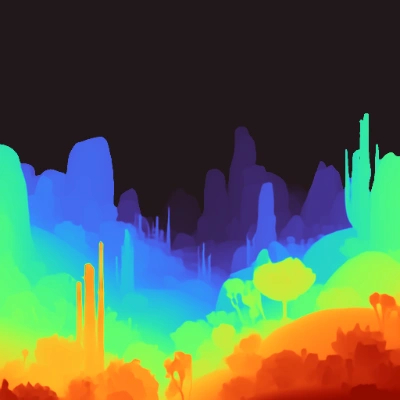
Run on Comfy Cloud
Open in Comfy Cloud
Download Workflow
Download JSON or search “MoGe: Depth Estimation” in Template Library
LoadImage node:
alien_world.png
LoadImage node 9 · alien_world.png1.1 Steps to Run
- Ensure the
LoadMoGeModelnode has loaded a MoGe checkpoint - Load an image in the
Load Imagenode - Click
Queueor useCtrl(cmd) + Enterto run - The workflow outputs colored depth preview, raw depth preview, and a mask
MoGe: Perspective Geometry Estimation
Upload an image to estimate its perspective geometry. Generate a 3D depth map and surface normals from the input, then convert to a textured GLB mesh.
Run on Comfy Cloud
Open in Comfy Cloud
Download Workflow
Download JSON or search “MoGe: Perspective Geometry Estimation” in Template Library
LoadImage node:
modern_living_room.png
LoadImage node 9 · modern_living_room.png
2.1 Steps to Run
- Ensure the
LoadMoGeModelnode has loaded a MoGe checkpoint - Load a perspective photo in the
Load Imagenode - (Optional) View the OpenGL and DirectX normal previews
- Click
Queueor useCtrl(cmd) + Enterto run
Moge: Panorama to Mesh
Upload an equirectangular 360° panorama image and generate a textured GLB mesh with vertex colors.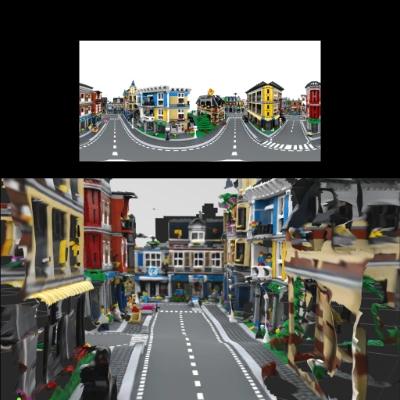
Run on Comfy Cloud
Open in Comfy Cloud
Download Workflow
Download JSON or search “Moge: Panorama to Mesh” in Template Library
LoadImage node:
lego_street_panorama.png
LoadImage node 28 · lego_street_panorama.png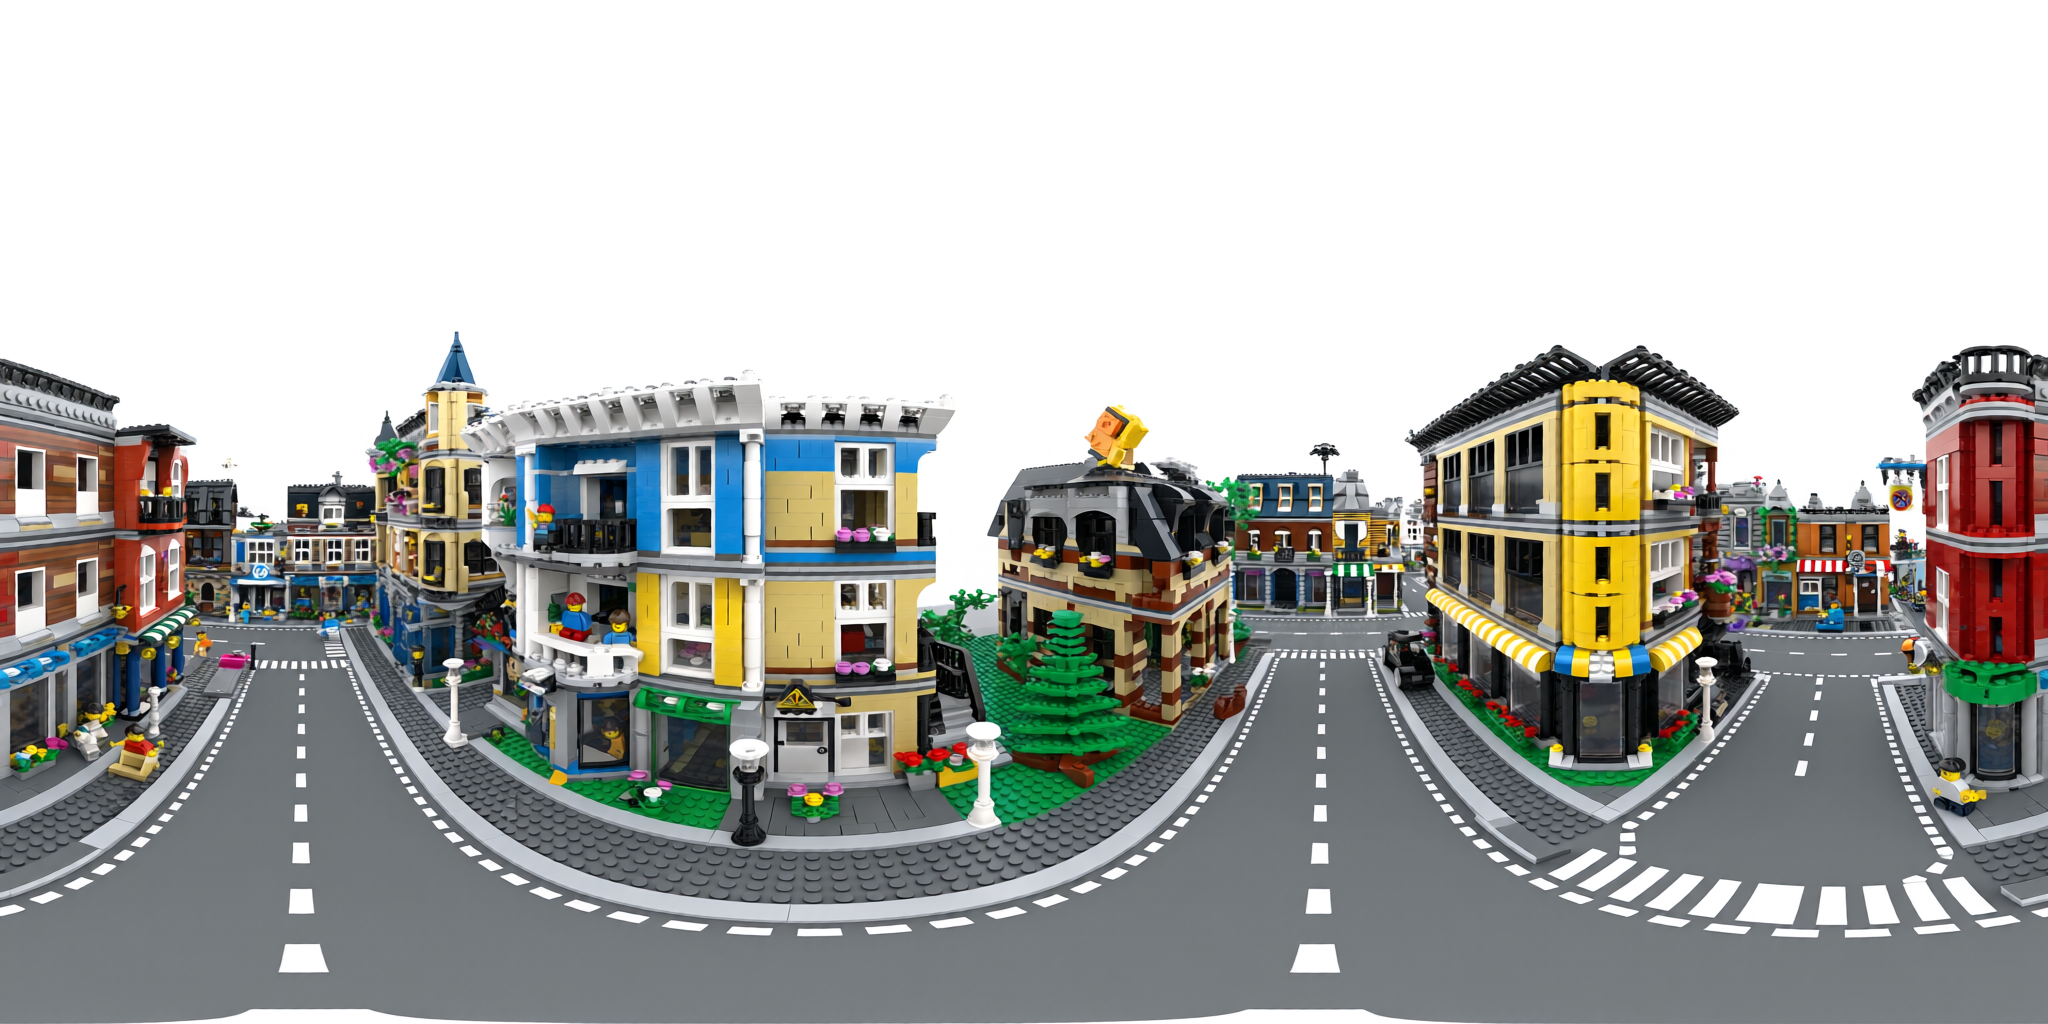
MoGePanoramaInference to split the panorama into 12 perspective views, run monocular geometry estimation on each view independently, then merge them into a single mesh.
3.1 Steps to Run
- Ensure the
LoadMoGeModelnode has loaded one of the MoGe checkpoints - Load an equirectangular panorama image in the
Load Imagenode - Click
Queueor useCtrl(cmd) + Enterto run
MoGe 3: Geometry Estimation
Estimate fine-detail geometry from a single image with MoGe 3. The MoGe-3 checkpoints lift the coarse point map onto a sparse voxel shell and refine depth with lightweight sparse 3D convolutions, which keeps thin structures and depth discontinuities that image-space decoders blur.
Run on Comfy Cloud
Open in Comfy Cloud
Download Workflow
Download JSON or search “Geometry Estimation: MoGe 3” in Template Library
LoadImage node:
cosmic_suitcase.png
LoadImage node 3 · cosmic_suitcase.png4.1 Steps to Run
- Ensure the
Geometry Estimation (MoGe 3)subgraph has a MoGe 3 checkpoint selected: the template ships withmoge_3_vitg_fp16.safetensors, andmoge_3_vitl_fp16.safetensorsis available in the same dropdown - Load an image in the
Load Imagenode - (Optional) Change
outputon the subgraph node to render a different map:maskis the default, anddepth,depth_colored,normal_opengl, andnormal_directxare the other options - Click
Queueor useCtrl(cmd) + Enterto run
Community Resources
- MoGe GitHub (microsoft/MoGe): Research paper and code
- Comfy-Org/MoGe: Official ComfyUI model weights