About Wan2.1-Fun-Control
Wan2.1-Fun-Control is an open-source video generation and control project developed by Alibaba team. It introduces innovative Control Codes mechanisms combined with deep learning and multimodal conditional inputs to generate high-quality videos that conform to preset control conditions. The project focuses on precisely guiding generated video content through multimodal control conditions. Currently, the Fun Control model supports various control conditions, including Canny (line art), Depth, OpenPose (human posture), MLSD (geometric edges), and trajectory control. The model also supports multi-resolution video prediction with options for 512, 768, and 1024 resolutions at 16 frames per second, generating videos up to 81 frames (approximately 5 seconds) in length. Model versions:- 1.3B Lightweight: Suitable for local deployment and quick inference with lower VRAM requirements
- 14B High-performance: Model size reaches 32GB+, offering better results but requiring higher VRAM
- Wan2.1-Fun-1.3B-Control
- Wan2.1-Fun-14B-Control
- Code repository: VideoX-Fun
- A workflow using only native Comfy Core nodes
- A workflow using custom nodes
Model Installation
You only need to install these models once. The workflow images also contain model download information, so you can choose your preferred download method. The following models can be found at Wan_2.1_ComfyUI_repackaged and Wan2.1-Fun Click the corresponding links to download. If you’ve used Wan-related workflows before, you only need to download the Diffusion models. Diffusion models - choose 1.3B or 14B. The 14B version has a larger file size (32GB) and higher VRAM requirements:- wan2.1_fun_control_1.3B_bf16.safetensors
- Wan2.1-Fun-14B-Control: Rename to
Wan2.1-Fun-14B-Control.safetensorsafter downloading
ComfyUI Native Workflow
In this workflow, we use videos converted to WebP format since theLoad Image node doesn’t currently support mp4 format. We also use Canny Edge to preprocess the original video.
Because many users encounter installation failures and environment issues when installing custom nodes, this version of the workflow uses only native nodes to ensure a smoother experience.
Thanks to our powerful ComfyUI authors who provide feature-rich nodes. If you want to directly check the related version, see Workflow Using Custom Nodes.
1. Workflow File Download
1.1 Workflow File
Download the image below and drag it into ComfyUI to load the workflow: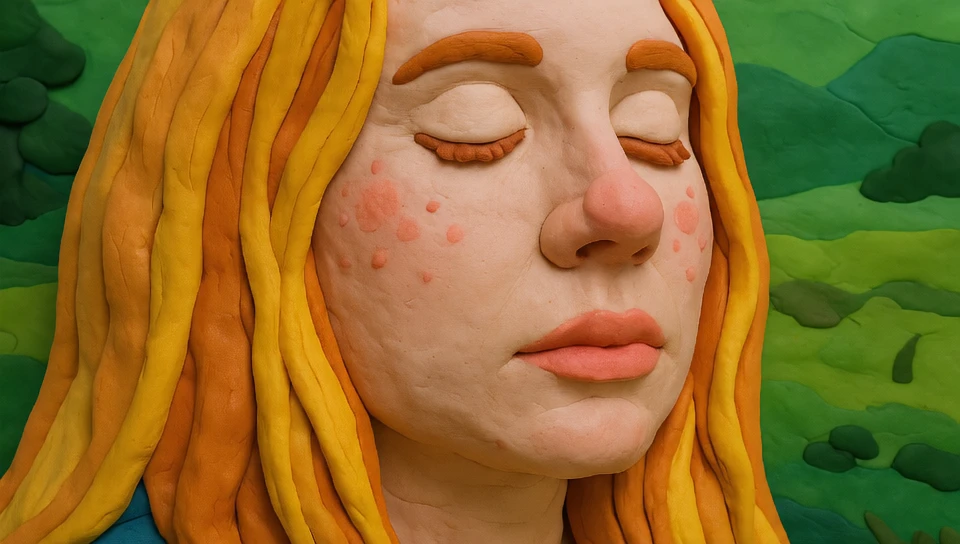
1.2 Input Images and Videos Download
Please download the following image and video for input: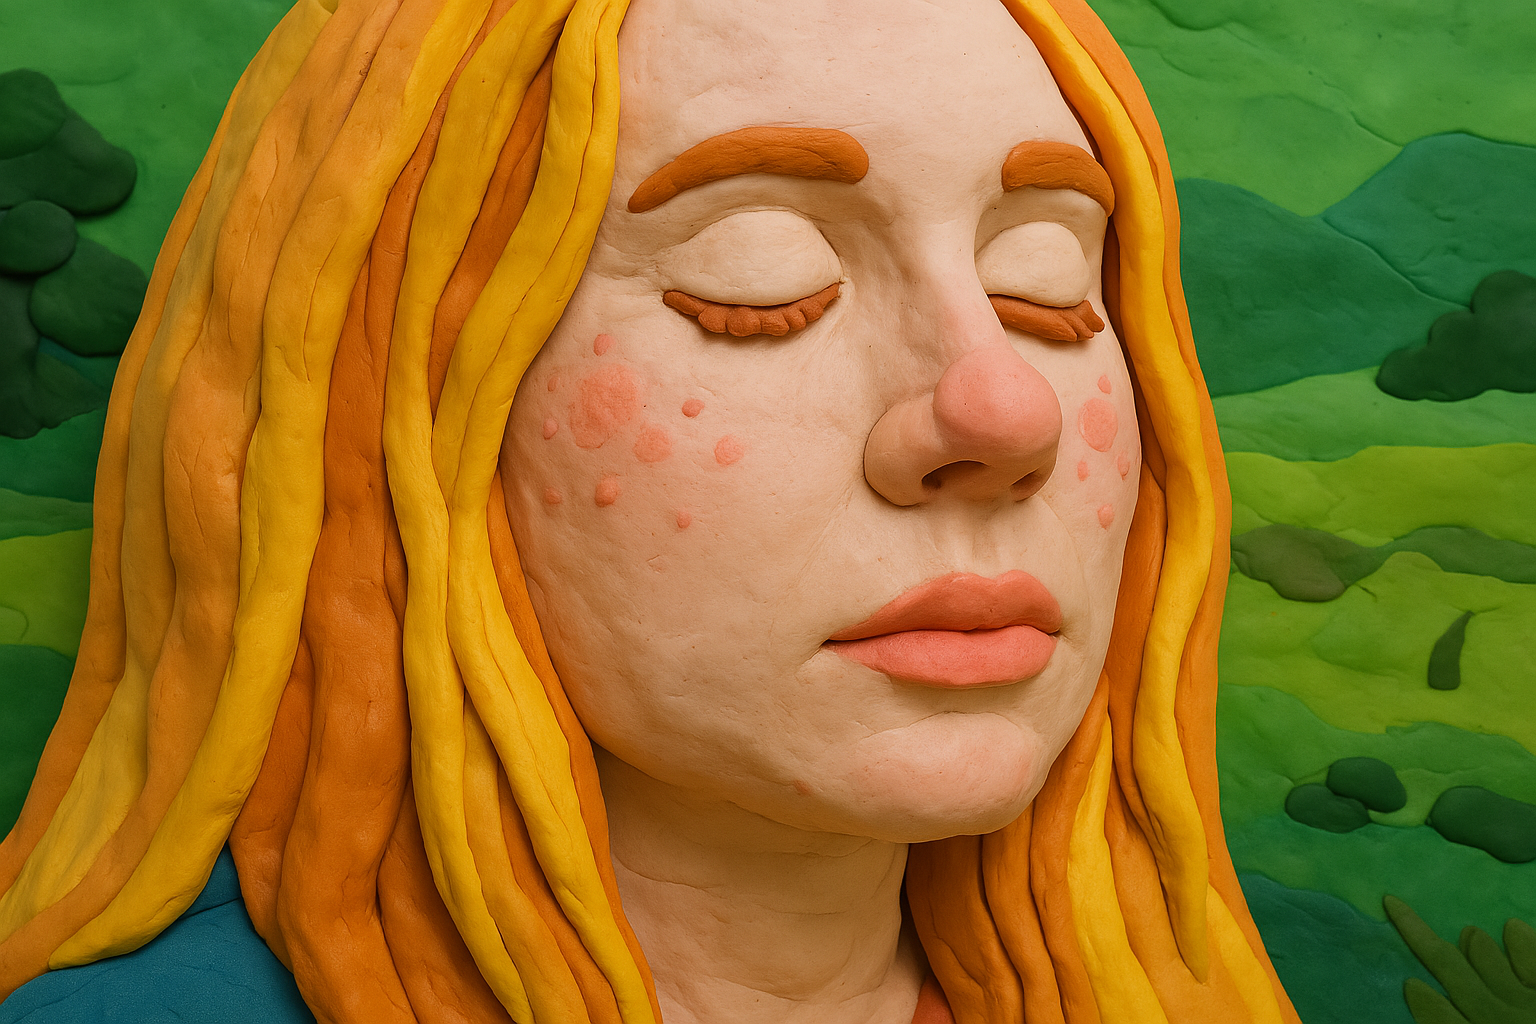
2. Complete the Workflow Step by Step
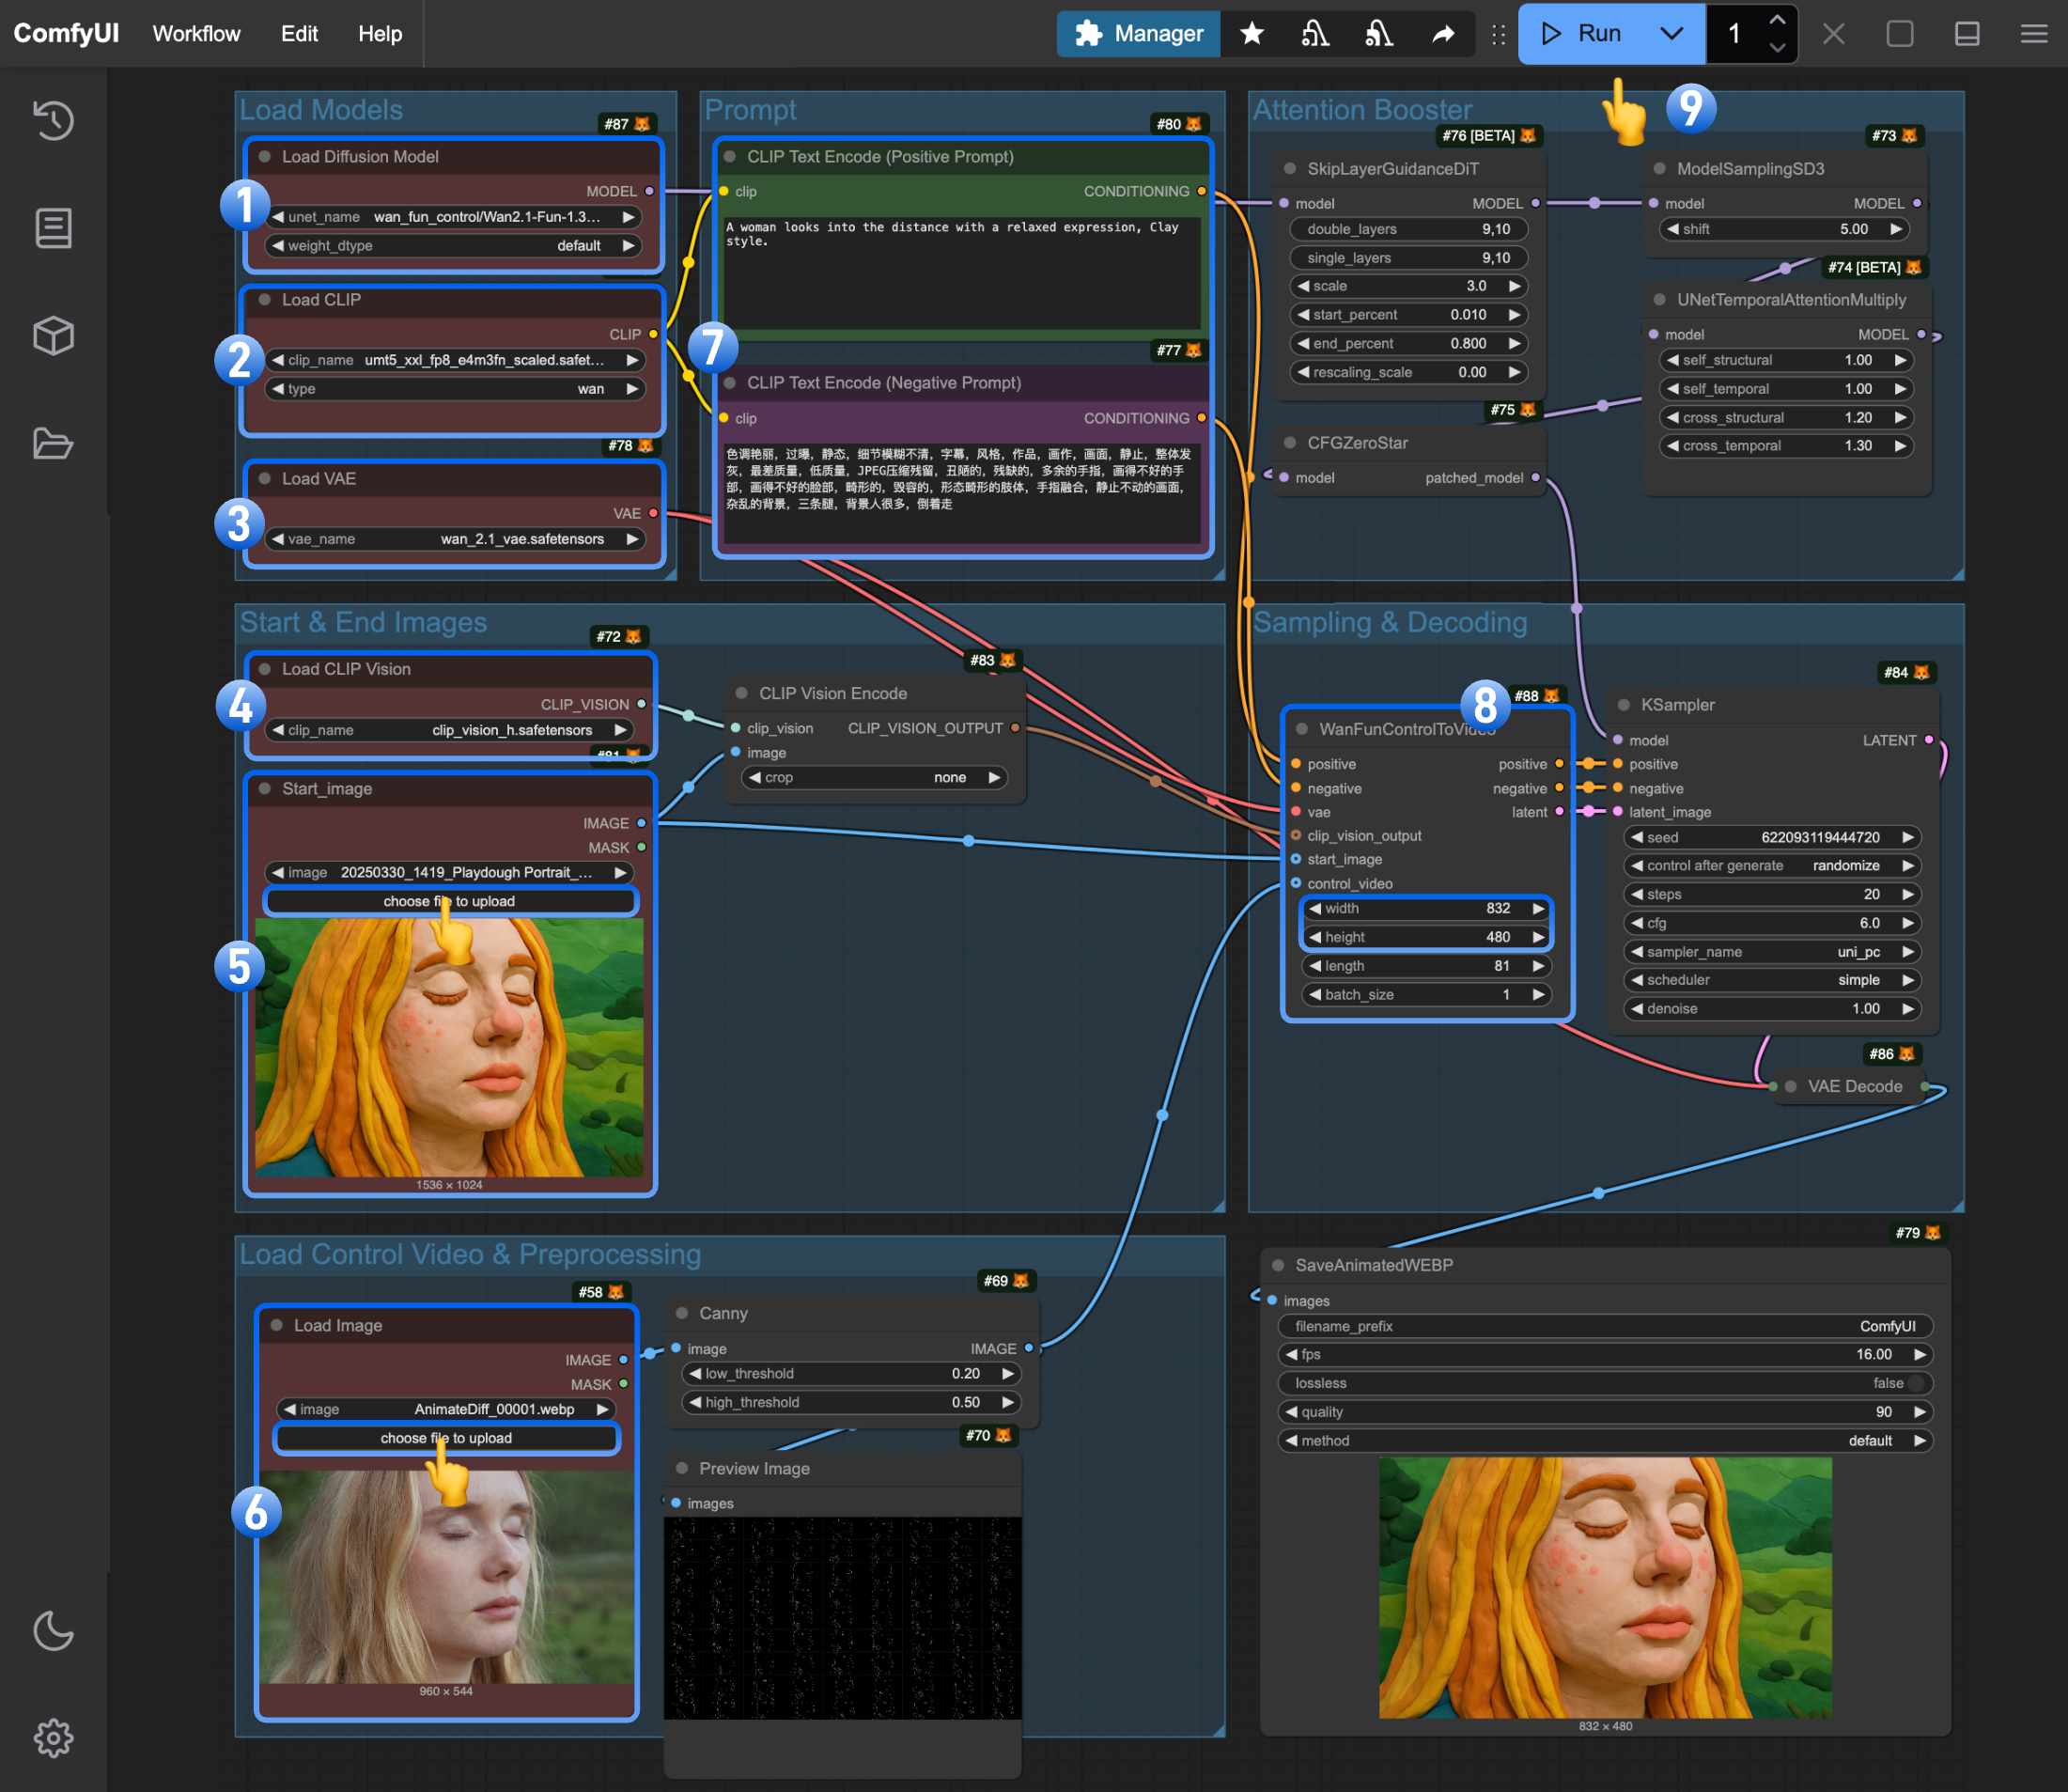
- Ensure the
Load Diffusion Modelnode has loadedwan2.1_fun_control_1.3B_bf16.safetensors - Ensure the
Load CLIPnode has loadedumt5_xxl_fp8_e4m3fn_scaled.safetensors - Ensure the
Load VAEnode has loadedwan_2.1_vae.safetensors - Ensure the
Load CLIP Visionnode has loadedclip_vision_h.safetensors - Upload the starting frame to the
Load Imagenode (renamed toStart_image) - Upload the control video to the second
Load Imagenode. Note: This node currently doesn’t support mp4, only WebP videos - (Optional) Modify the prompt (both English and Chinese are supported)
- (Optional) Adjust the video size in
WanFunControlToVideo, avoiding overly large dimensions - Click the
Runbutton or use the shortcutCtrl(cmd) + Enterto execute video generation
3. Usage Notes
- Since we need to input the same number of frames as the control video into the
WanFunControlToVideonode, if the specified frame count exceeds the actual control video frames, the excess frames may display scenes not conforming to control conditions. We’ll address this issue in the Workflow Using Custom Nodes - Avoid setting overly large dimensions, as this can make the sampling process very time-consuming. Try generating smaller images first, then upscale
- Use your imagination to build upon this workflow by adding text-to-image or other types of workflows to achieve direct text-to-video generation or style transfer
- Use tools like ComfyUI-comfyui_controlnet_aux for richer control options
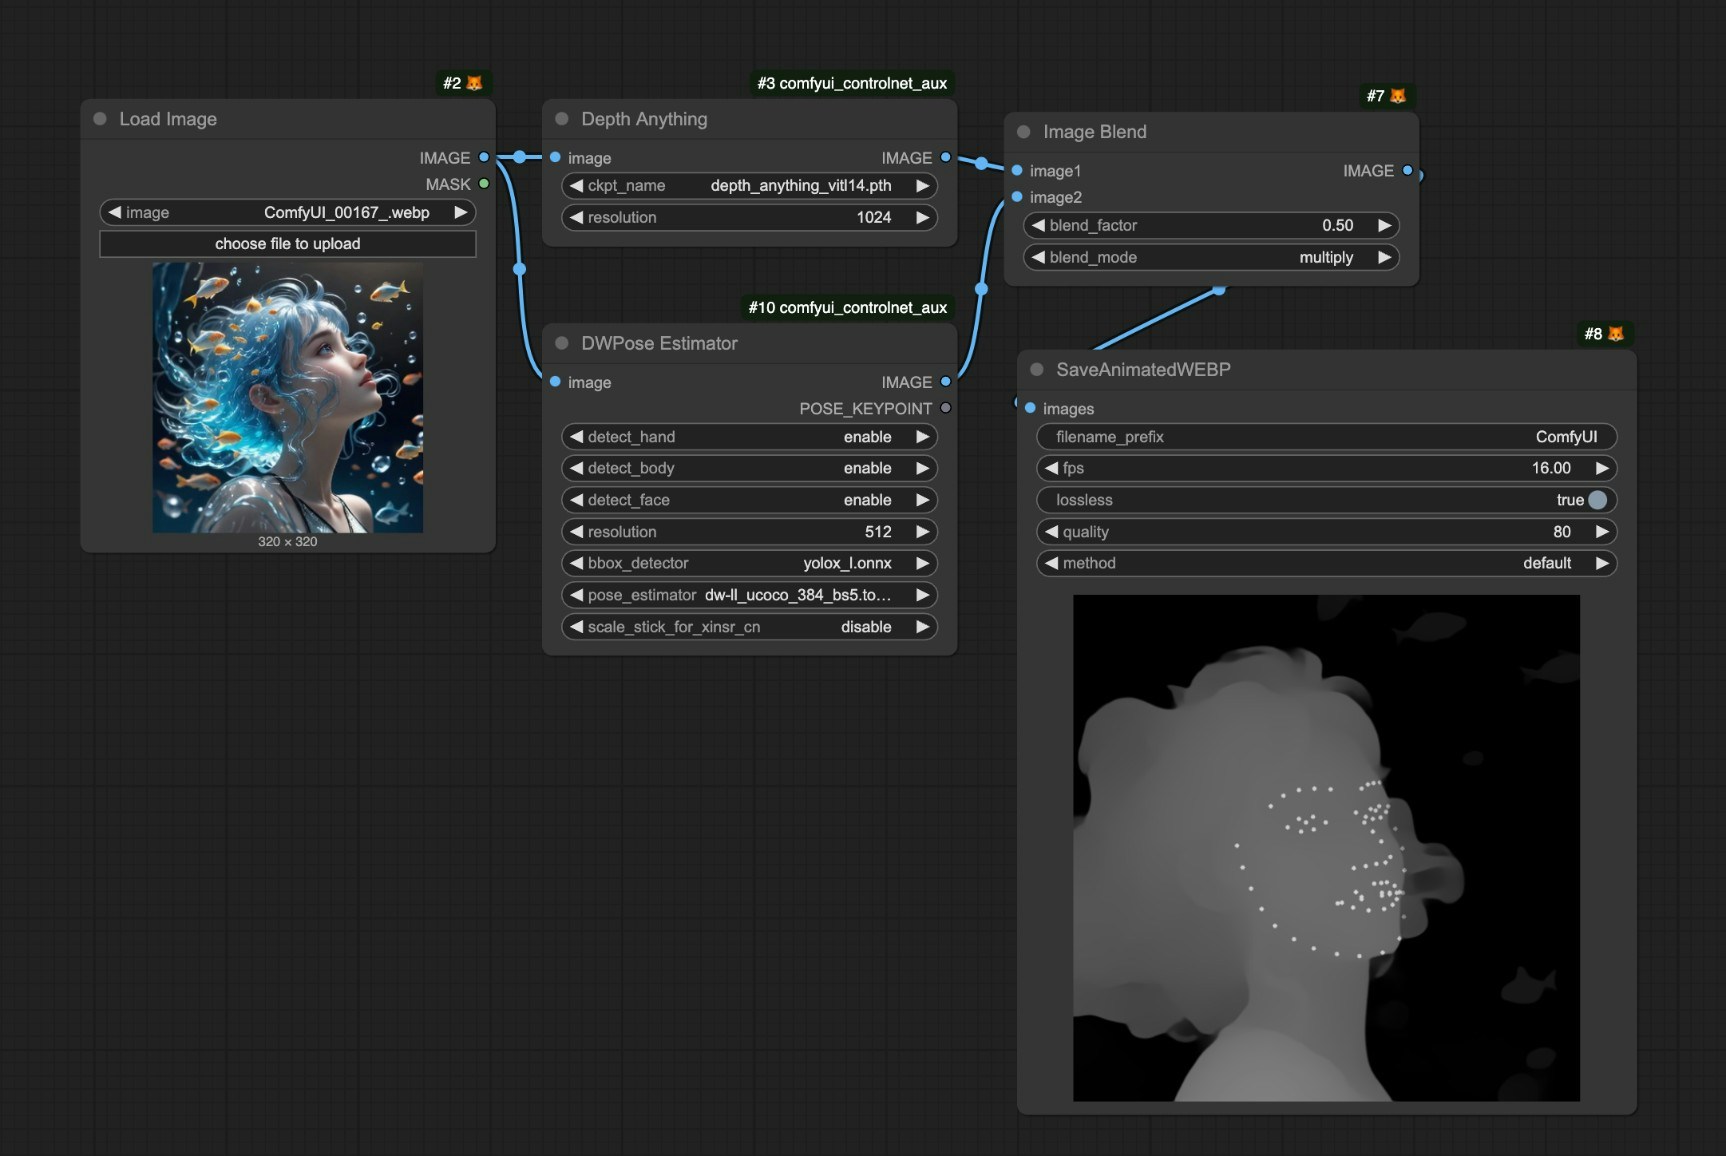
Workflow Using Custom Nodes
We’ll need to install the following two custom nodes: You can use ComfyUI Manager to install missing nodes or follow the installation instructions for each custom node package.1. Workflow File Download
1.1 Workflow File
Download the image below and drag it into ComfyUI to load the workflow:
Due to the large size of video files, you can also click here to download the workflow file in JSON format.
1.2 Input Images and Videos Download
Please download the following image and video for input:
2. Complete the Workflow Step by Step

The model part is essentially the same. If you’ve already experienced the native-only workflow, you can directly upload the corresponding images and run it.
- Ensure the
Load Diffusion Modelnode has loadedwan2.1_fun_control_1.3B_bf16.safetensors - Ensure the
Load CLIPnode has loadedumt5_xxl_fp8_e4m3fn_scaled.safetensors - Ensure the
Load VAEnode has loadedwan_2.1_vae.safetensors - Ensure the
Load CLIP Visionnode has loadedclip_vision_h.safetensors - Upload the starting frame to the
Load Imagenode - Upload an mp4 format video to the
Load Video(Upload)custom node. Note that the workflow has adjusted the defaultframe_load_cap - For the current image, the
DWPose Estimatoronly uses thedetect_faceoption - (Optional) Modify the prompt (both English and Chinese are supported)
- (Optional) Adjust the video size in
WanFunControlToVideo, avoiding overly large dimensions - Click the
Runbutton or use the shortcutCtrl(cmd) + Enterto execute video generation
3. Workflow Notes
Thanks to the ComfyUI community authors for their custom node packages:- This example uses
Load Video(Upload)to support mp4 videos - The
video_infoobtained fromLoad Video(Upload)allows us to maintain the samefpsfor the output video - You can replace
DWPose Estimatorwith other preprocessors from theComfyUI-comfyui_controlnet_auxnode package - Prompts support multiple languages
Usage Tips
-
A useful tip is that you can combine multiple image preprocessing techniques and then use the
Image Blendnode to achieve the goal of applying multiple control methods simultaneously. -
You can use the
Video Combinenode fromComfyUI-VideoHelperSuiteto save videos in mp4 format -
We use
SaveAnimatedWEBPbecause we currently don’t support embedding workflow into mp4 and some other custom nodes may not support embedding workflow too. To preserve the workflow in the video, we chooseSaveAnimatedWEBPnode. -
In the
WanFunControlToVideonode,control_videois not mandatory, so sometimes you can skip using a control video, first generate a very small video size like 320x320, and then use them as control video input to achieve consistent results. - ComfyUI-WanVideoWrapper
- ComfyUI-KJNodes